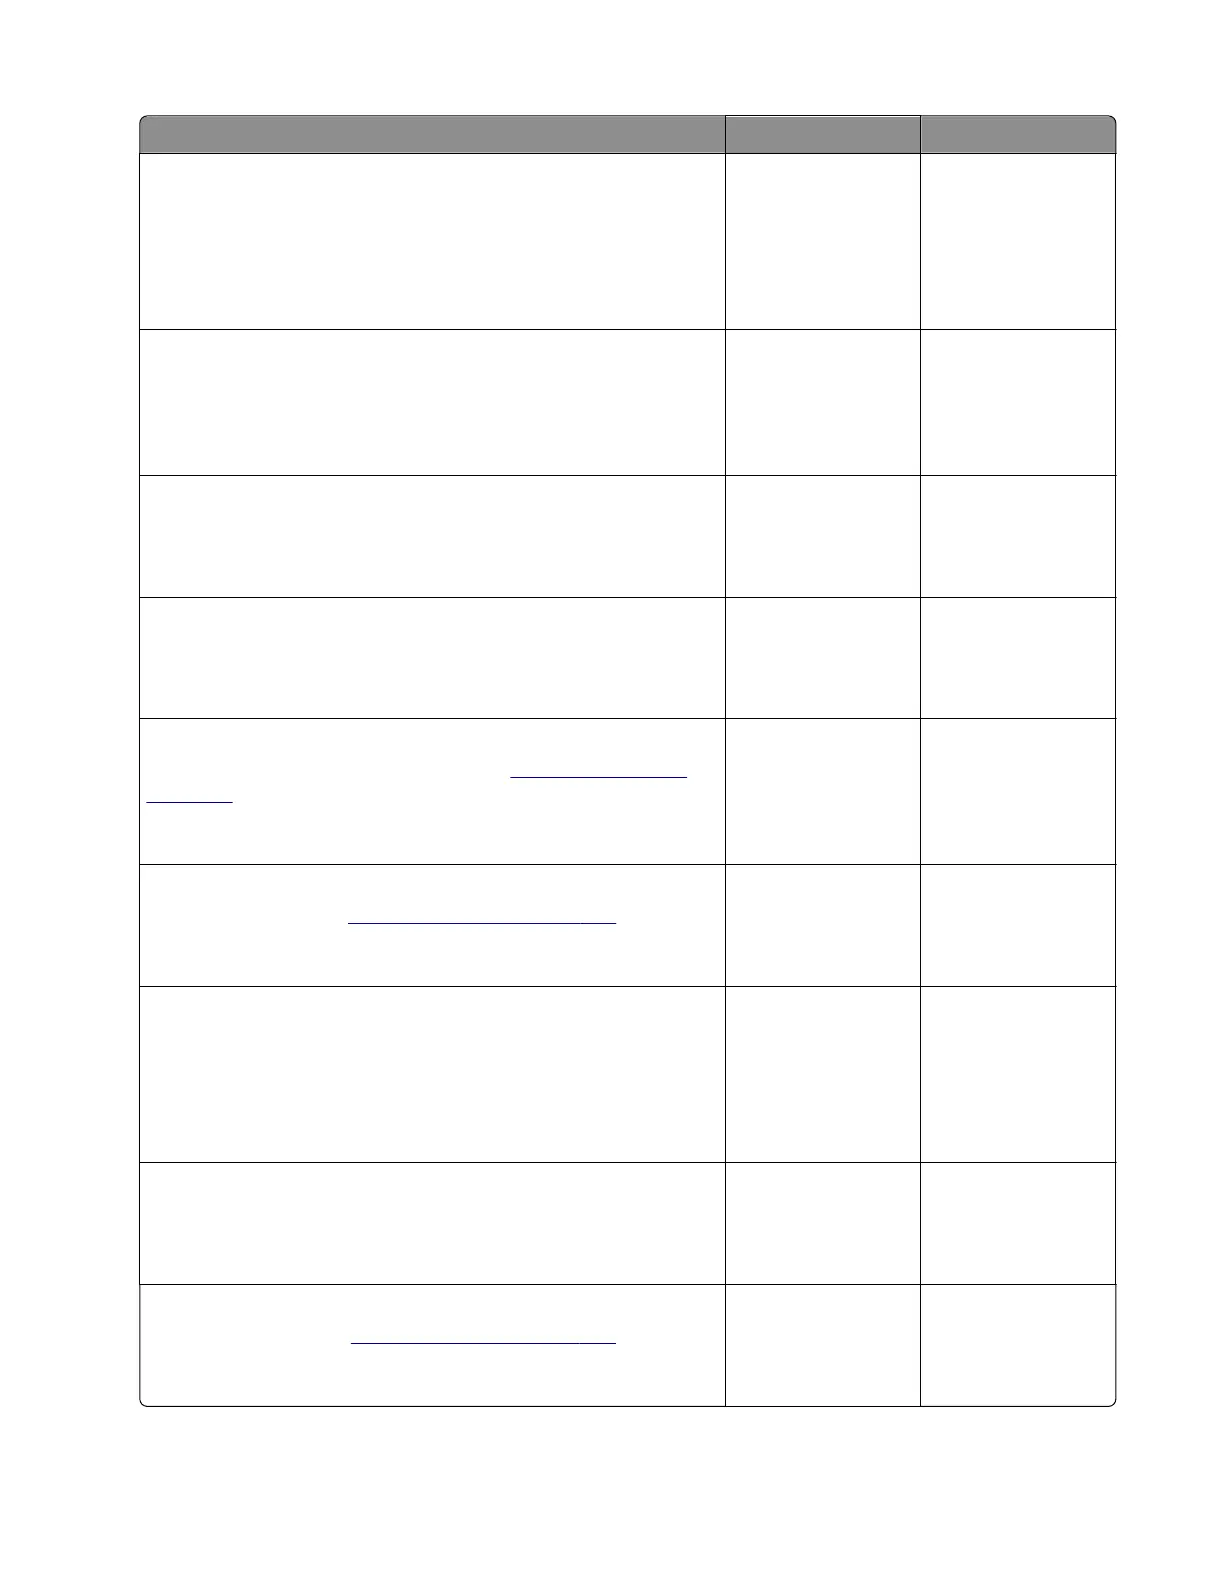
Actions Yes No
Step 1
a From the home screen, touch Settings > Device > Preferences.
b Check if the paper type and size settings match the paper type
and size set on the tray.
Do the settings match?
Go to step 3. Go to step 2.
Step 2
Change the paper size and type, or adjust the size settings in the
tray.
Does the problem remain?
Go to step 3. The problem is
solved.
Step 3
Check the paper for texture or rough finish.
Is the paper textured or rough?
Go to step 4. Go to step 5.
Step 4
Replace the textured or rough paper with plain paper.
Does the problem remain?
Go to step 5. The problem is
solved.
Step 5
Remove, and then reinstall the fuser. See
“Fuser removal” on
page 333.
Does the problem remain?
Go to step 6. The problem is
solved.
Step 6
Replace the fuser. See
“Fuser removal” on page 333.
Does the problem remain?
Go to step 7. The problem is
solved.
Step 7
a From the home screen, touch Settings > Device > Maintenance
> Configuration Menu > Reports > Event Log.
b Check the log history for fuser error codes.
Are there fuser error codes on the event log?
Go to step 8. Go to step 9.
Step 8
Perform the service check for the error code found.
Does the problem remain?
Go to step 9. The problem is
solved.
Step 9
Replace the LVPS. See
“LVPS removal” on page 305.
Does the problem remain?
Contact the next
level of support.
The problem is
solved.
5028
Diagnostic information
35

 Loading...