Operation
121
5
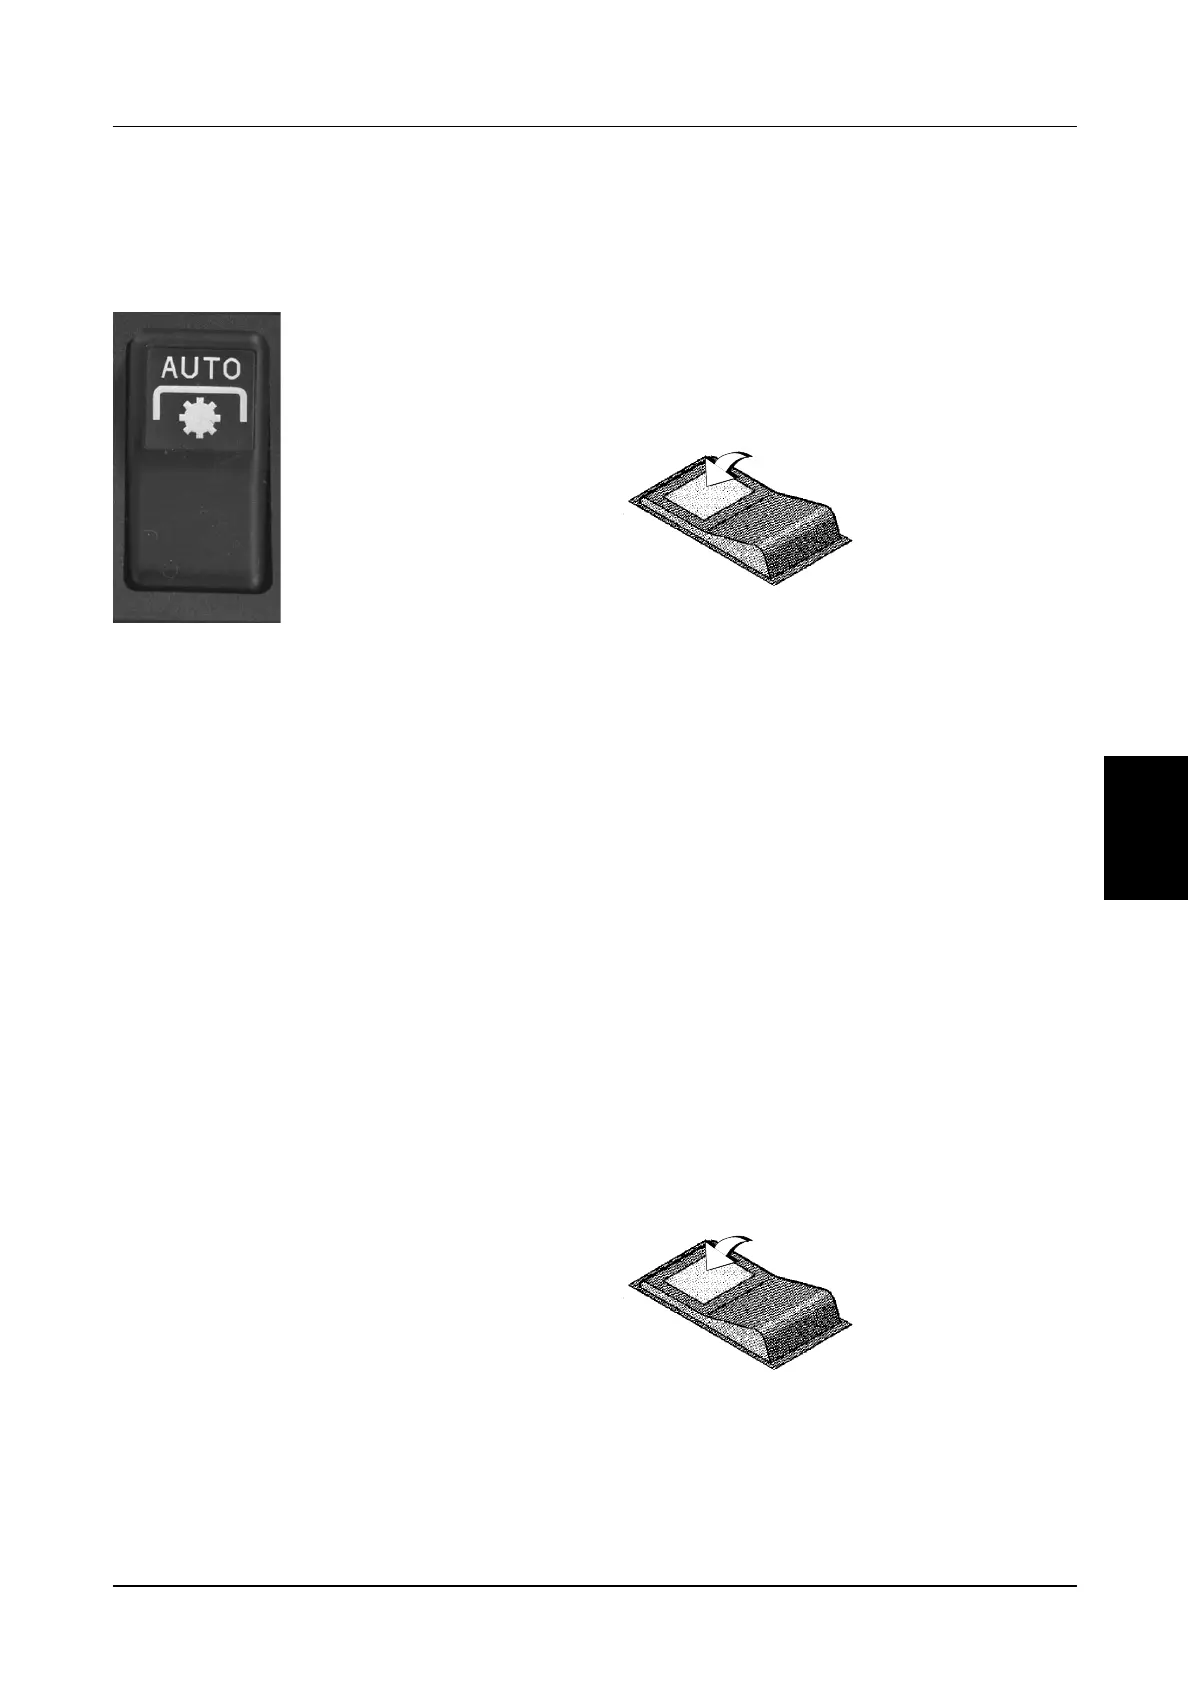
Auto PTO (If Equipped)
The auto PTO automatically disengages/engages
the PTO when raising/lowering an implement, i.e.
during a headland turn.
MD04C005
To operate in Auto PTO mode, you must program
the PTO ‘OFF’ and ‘ON’ set-points. The set-points
must be suitable to ensure correct operation of the
PTO, for the particular implement that is attached to
the hitch. The set-points can be programmed
anywhere between the lower stop and the upper
limit setting.
NOTE: The PTO ‘OFF’ set-point should be set
at the point where the implement has just
cleared the ground, when raised by the hitch.
NOTE: The PTO ‘ON’ set-point should be set
at a point which ensures the PTO is On and
fully engaged, before the implement enters
the ground, (refer to “Setting the PTO ‘ON’
set-point” on following page for a more
detailed explanation).
IMPORTANT: To program the Auto PTO set-
points, the tractor must be stationary and the
PTO switch must be in the OFF position.
IMPORTANT: The PTO ‘OFF’ and ‘ON’ set-points
will stay in memory, even if the battery is
disconnected and can only be changed by
repeating the following procedures.
Setting the PTO ‘OFF’ set-point
STEP 1
Raise or lower the implement to the required hitch
position where the implement is just clear of the
ground.
STEP 2
Setting the PTO ‘ON’ set-point
The PTO ‘ON’ set-point should be set at a position
which ensures that the PTO is ON and fully
engaged (full PTO clutch lock-up), before the
implement enters the ground.
IMPORTANT: PTO clutch damage may occur if you
do not ensure full PTO engagement has occurred
prior to the implement entering the ground. A
minimum of 3 seconds should be allowed between
PTO ‘ON’ set-point and the implement entering the
ground, by setting the hitch drop speed to comply.
STEP 1
Set the hitch to the desired PTO ‘ON’ set-point,
(hitch position for PTO engagement).
STEP 2
The Auto PTO Switch has
three positions:
SET (MOMENTARY
ON
OFF
Press the top of the
Auto PTO switch fully
forward to the SET
position and hold fo
1 second. The ligh
on the Auto PTO
switch will flash once
and the buzzer wil
sound once, to
indicate that the PTO ‘OFF’ set-point, (hitch
position for PTO disengagement), has been
stored in memory.
DS98K259
Press the top of the
Auto PTO switch fully
forward to the SET
position, twice within
1 second; on the
second press, hold
down for a minimum
of 1 second. The ligh
in the Auto PTO
switch will flash twice and the buzzer will sound
twice, to confirm that the PTO ‘ON’ set-point, has
been stored in memory.
DS98K259