Operation
122
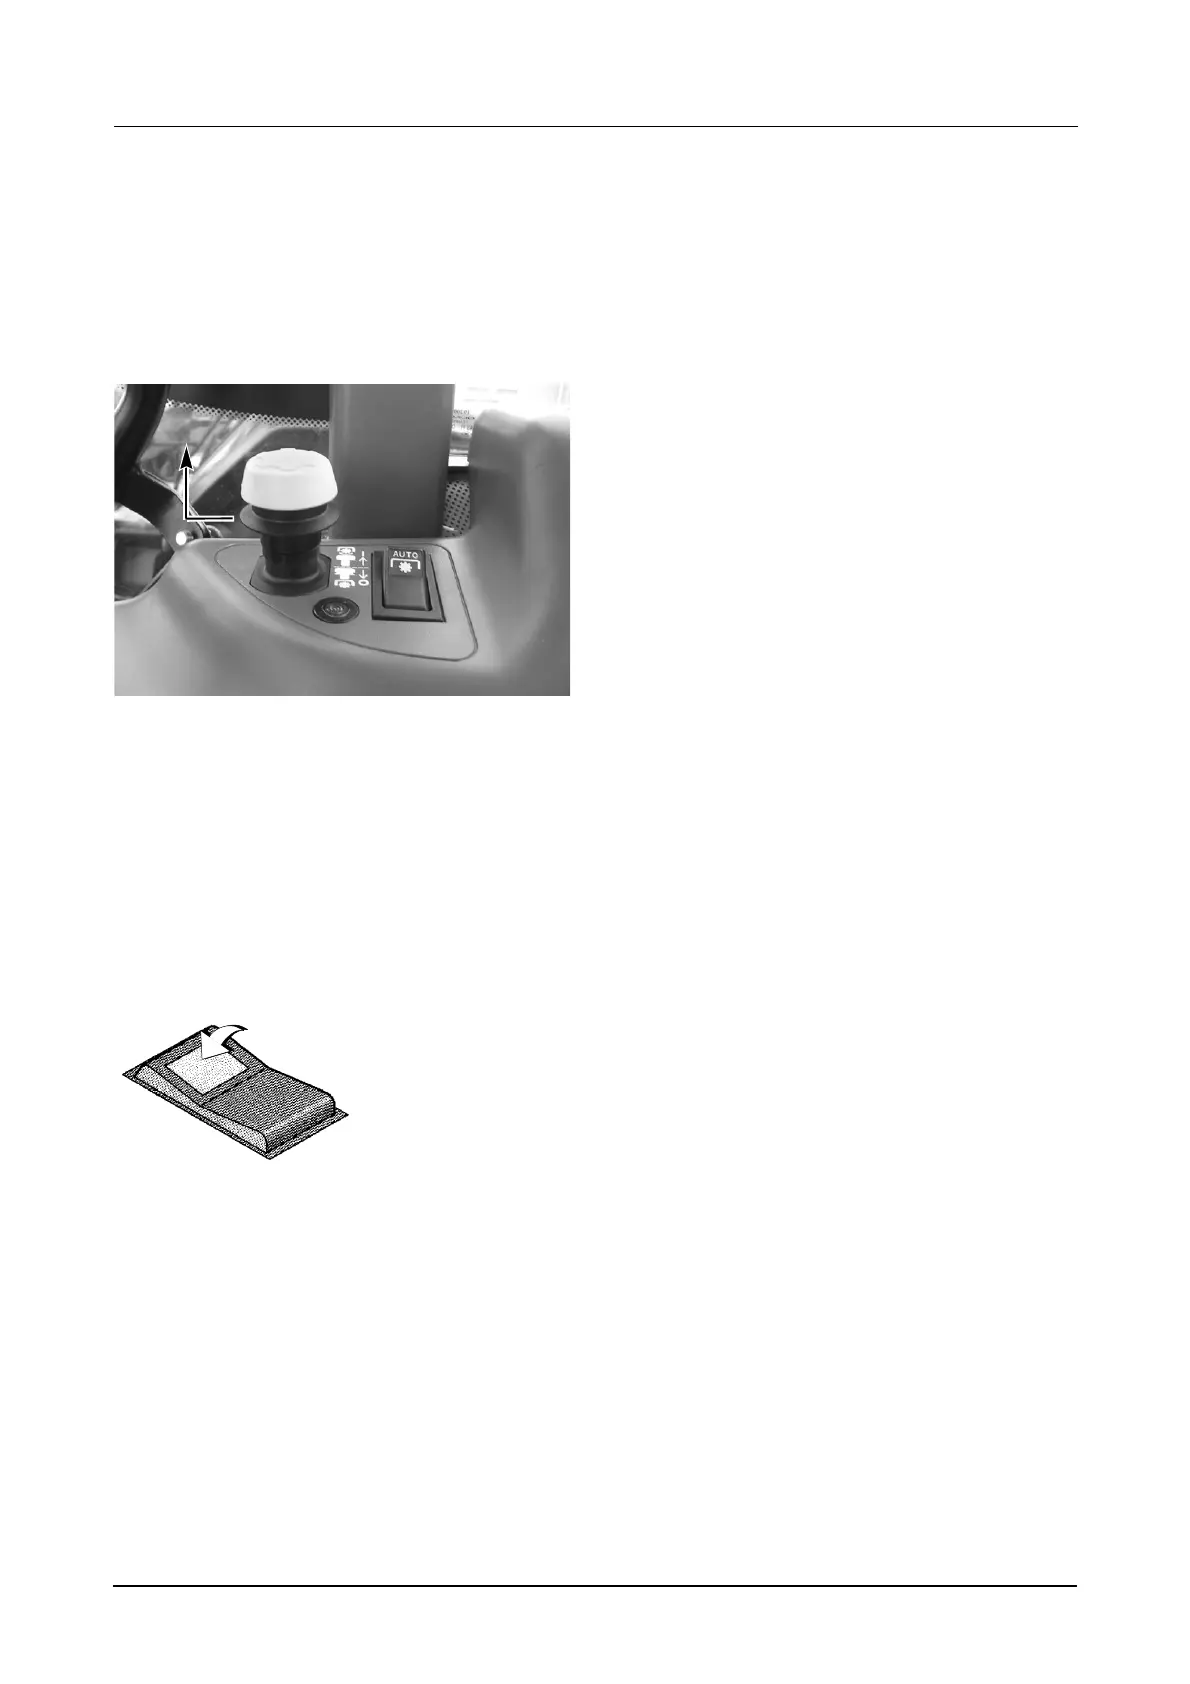
Activating Auto PTO mode:
STEP 1
Confirm PTO ‘OFF’ and ‘ON’ set-points are correct
for attached implement/hitch settings. (Change
settings as necessary).
STEP 2
MD05M021
Engage the PTO, (see Step 1 on Page 119 for
complete instructions).
NOTE: If the Auto PTO switch is moved to the ON
position, before the PTO is turned ON; then the
Auto PTO switch light will not illuminate until the
PTO is turned ON via the main PTO switch. (i.e The
Auto PTO function is not available until the PTO
ON/OFF switch is enabled).
STEP 3
If the hitch position is above the PTO ‘OFF’ set-
point, the PTO will automatically be turned OFF
and the PTO indicator light will go out.
If the hitch position is below the PTO ‘OFF’ set-
point, the PTO will continue to run.
IMPORTANT: When starting the tractor, if the Auto
PTO switch is ON, both the PTO indicator light and
the Auto PTO switch indicator light, will flash.
BOTH the PTO switch AND the Auto PTO switch
will have to be turned OFF, to re-enable either
function, as required.
Driving into the row
STEP 1
Lower the implement.
The PTO will automatically start up when the hitch
passes the PTO ‘ON’ set-point. The PTO indicator
lamp will illuminate.
IMPORTANT: Raising/Lowering the Hitch using
the UP/DOWN switch, IS the preferred method.
If, while using the Position Control Knob, the hitch
is raised above the OFF set-point, and disengages
the PTO; but is not raised above the ON set-point,
the PTO will re-engage as the hitch is lowered
through the OFF set-point.
IMPORTANT: If, when lowering the implement,
the PTO clutch has not been fully engaged within
3 seconds, the PTO indicator lamp will flash and
the PTO will disengage. This is caused by the
DROP SPEED being set too fast. Decrease the
Drop Speed and re-enable the PTO system by
pushing the PTO ON/OFF switch fully down to
the OFF position. The PTO indicator lamp will go
off. Then lift the locking collar on the PTO ON/
OFF switch and pull the switch up to the ON
position to re-engage the PTO.
Driving out of the row
STEP 1
Raise the implement using either the UP/DOWN
switch or the Position Control Knob).
IMPORTANT: Raising/Lowering the Hitch using
the UP/DOWN switch, IS the preferred method.
STEP 2
The PTO will automatically turn OFF when the PTO
‘OFF’ set-point is passed.The PTO indicator lamp
will go out.
ON
Push the Auto PTO
switch to the ON
position. Auto PTO is
activated and the
lamp on the switch
will illuminate.
DS98K260