Chapter 1 Before Use
1-14
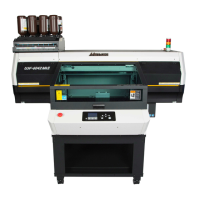
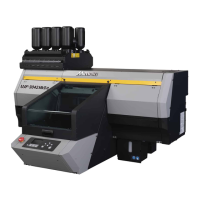
Replacing the ink bottles
When [INK END] or [INK NEAR END] shows up on the
display, follow the steps described below.
When [INK END] is displayed
1
Slide the lever on the tank all the way to
the right.
2
Lift the ink bottle straight up.
IC chip
• The IC chip contains information
regarding the color, remaining
level, and expiration date of the
ink.
When installing an ink bottle,
insert the IC chip that comes
with the ink bottle into the IC
chip slot on the ink cover.
• Inserting a wrong IC chip (that
is, an IC chip other than the one
that comes with the ink bottle)
into the slot can cause poor
image quality or other problems.
• The IC chip has a marking applied to it to provide
color information.
IC chip
Marking is
provided here.
Ink color and the corresponding marking
Ink color Marking
Black (One black circle)
Cyan (One blue circle)
Magenta (One red circle)
Yellow (One yellow circle)
White (One white circle)
Clear (Two white circle)
Light cyan (Two blue circles)
Light magenta (Two red circles)
• Remember to wear protective glasses.
• Do not turn the ink bottle.
Doing so can cause ink to leak out.
• After removing the ink bottle from the tank, confirm
that the light-blocking cover is closed.
If the lid is open, close it by hand. Leaving the
light-blocking cover open causes the ink to
harden.
• Be careful not to spill any ink from the bottle.

 Loading...