8.3 Printer Unit
8.3.2 Installing procedure
8 - 19
1
OVERVIEW
2
SYSTEM
CONFIGURATION
3
SPECIFICATIONS
4
PART NAME AND
SETTINGS
5
EMC AND LOW
VOLTAGE
DIRECTIVE
6
INSTALLATION
7
WIRING
8
OPTION
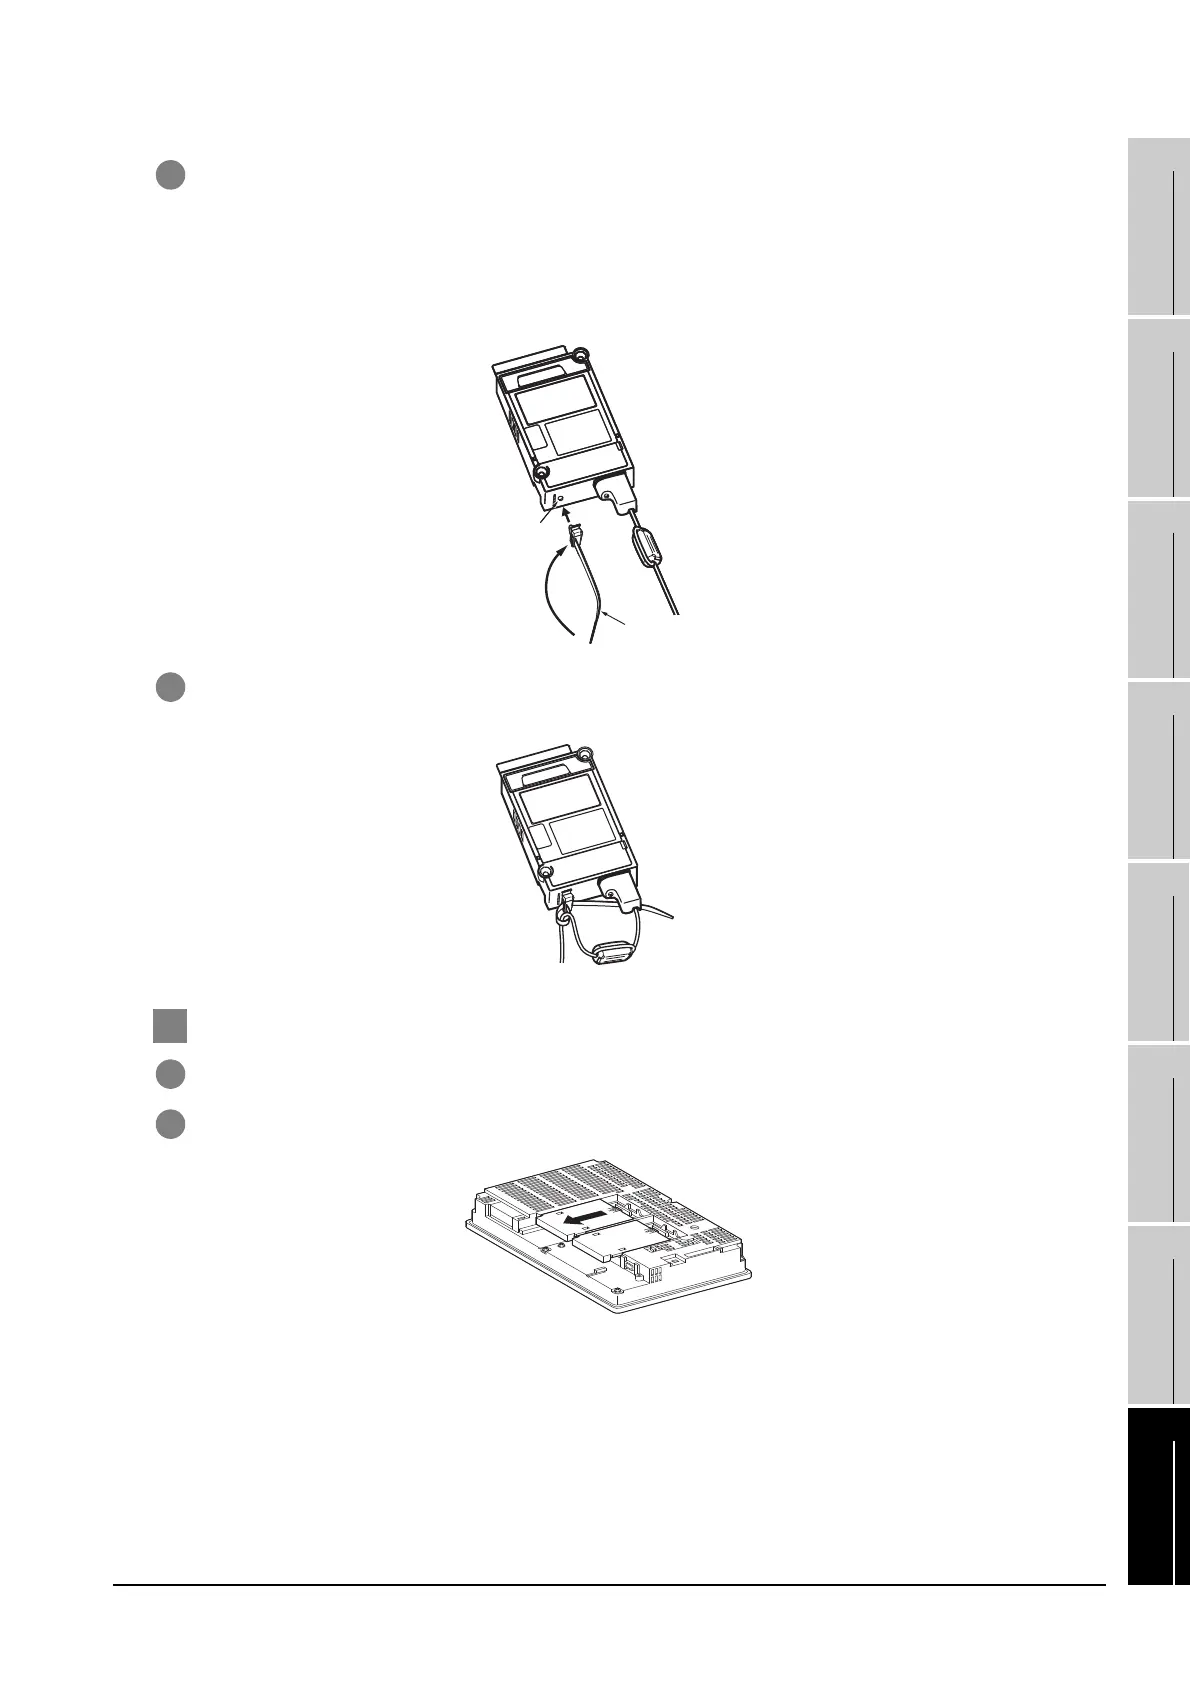
3 Depending on the use environment such as when fastening cable is difficult, attach a cable clamp to the
printer unit.
Be sure to attach the cable clamp to section A (see the following figure) with its band positioned outside
and press it until it clicks.
For the band inserting direction, refer to the arrow.
(As a cable clamp, "RST-1NB" manufactured by TAKEUCHI INDUSTRY CO.LTD. is used.)
4 Insert the dedicated printer connection cable in the looped cable clamp band and pull the band to fasten
the cable.
2 Unit installation
1 Power off the GOT.
2 Remove one extension unit cover of the GOT.

 Loading...

