8 - 20
8.3 Printer Unit
8.3.2 Installing procedure
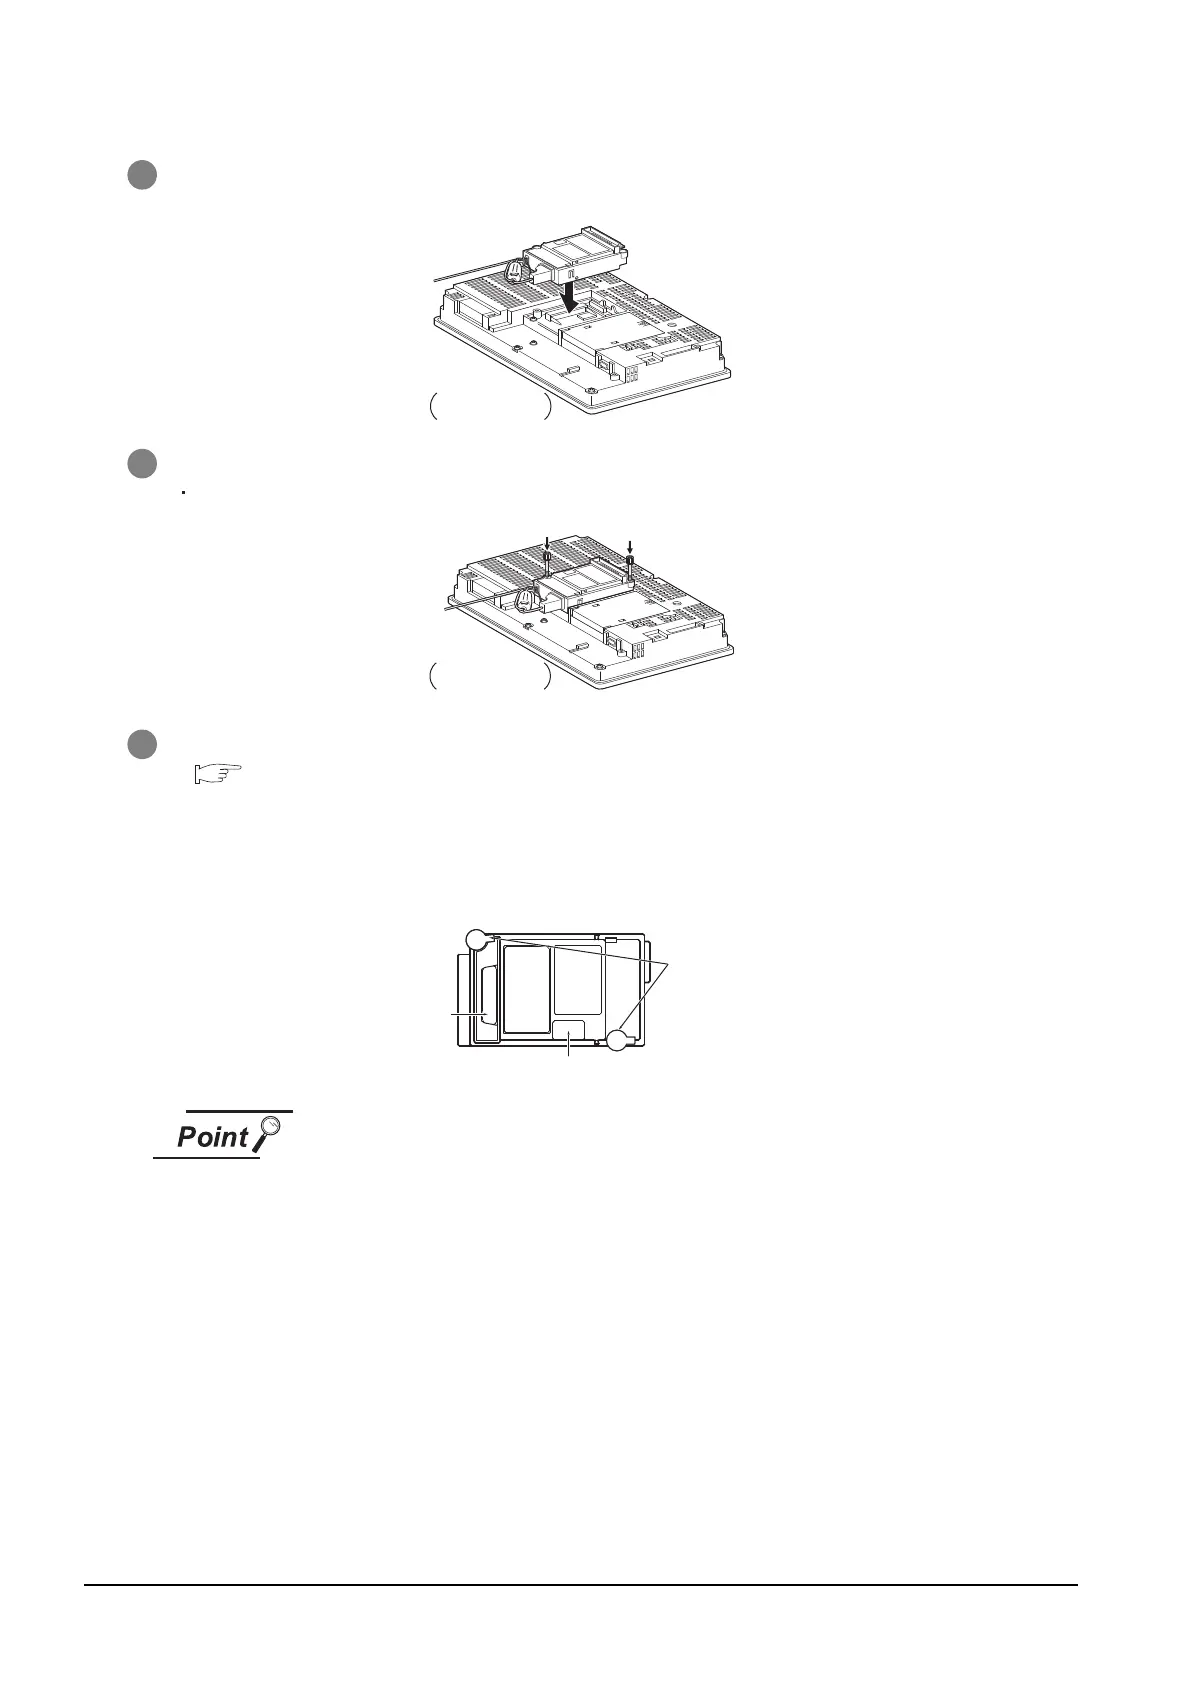
3 Fit the printer unit in the GOT case.
4 Fasten the printer unit by tightening its mounting screws (2 places) with tightening torque of 0.36 to 0.48
Nm.
5 When mounting any extension unit in a later stage, refer to the following.
8.1.3 Installing multiple extension units in layers
6 When not installing an extension unit on the unit that has been installed, stick accessory stickers on the
top of mounting screws (2 places) to cover the top of them in order to avoid receiving electrostatic
charge.
Keep the connector cover and sticker fixed as shown in the following figure.
(1) Cable to be used
When connecting the printer to the GOT, use the dedicated printer connection
cable supplied with the printer unit.
In the case a cable
clamp is attached
In the case a cable
clamp is attached
Sticker
Accessory stickers
Connector
cover

 Loading...

