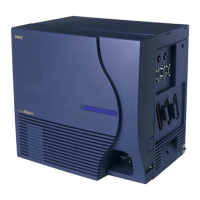
4. Pull out the Sub-Cover by pushing out the tabs.
Figure 2-7 Removing the Sub-Cover
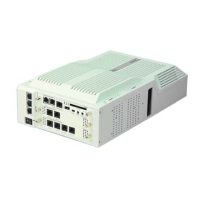
• The Sub-Cover can be opened and held in the open position.
Figure 2-8 Sub-Cover Open Position
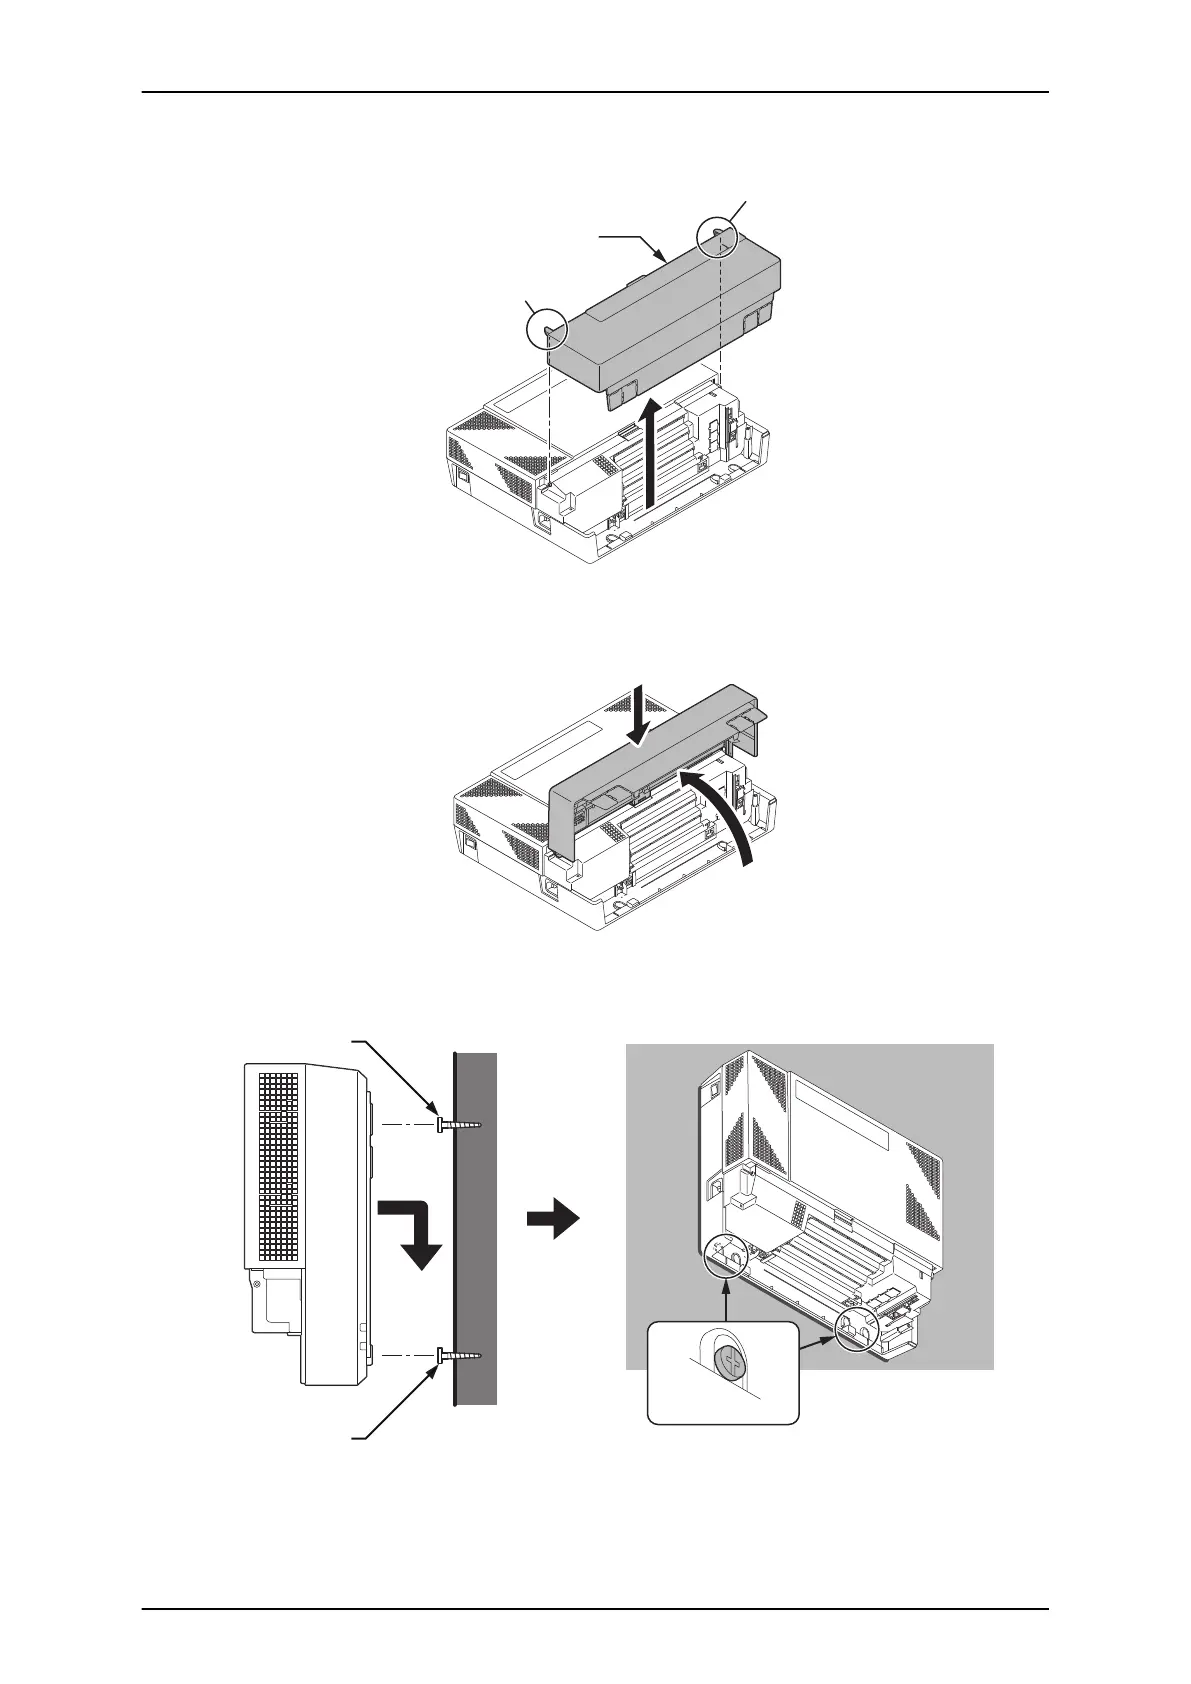
5. Align the four holes on the back of the KSU with the four screws installed in the wall.
Hook
Screw head
Screw head
Fasten screws
Figure 2-9 Mounting the KSU
6. Slide the KSU into position and tighten the lower two screws.
SL1100
ISSUE 4.1 (R5.1)
2-6 Installation