8-Port Gigabit (PoE+) Ethernet Smart Managed Pro Switch with (2 SFP or 2 Copper Ports and)
Cloud Management
Configure Routing User Manual255
The login page displays.
If the NETGEAR Business page displays, see
Register and access the switch with your
NETGEAR account on page 34.
4. Enter one of the following passwords:
• After registration, enter the local device password.
By default, the local device password is password.
• If you previously managed the switch through the Insight app or Cloud portal, enter
the Insight network password for the last Insight network location.
For information about the credentials, see
Credentials for the local browser interface on
page 32.
5. Click the Login button.
The System Information page displays.
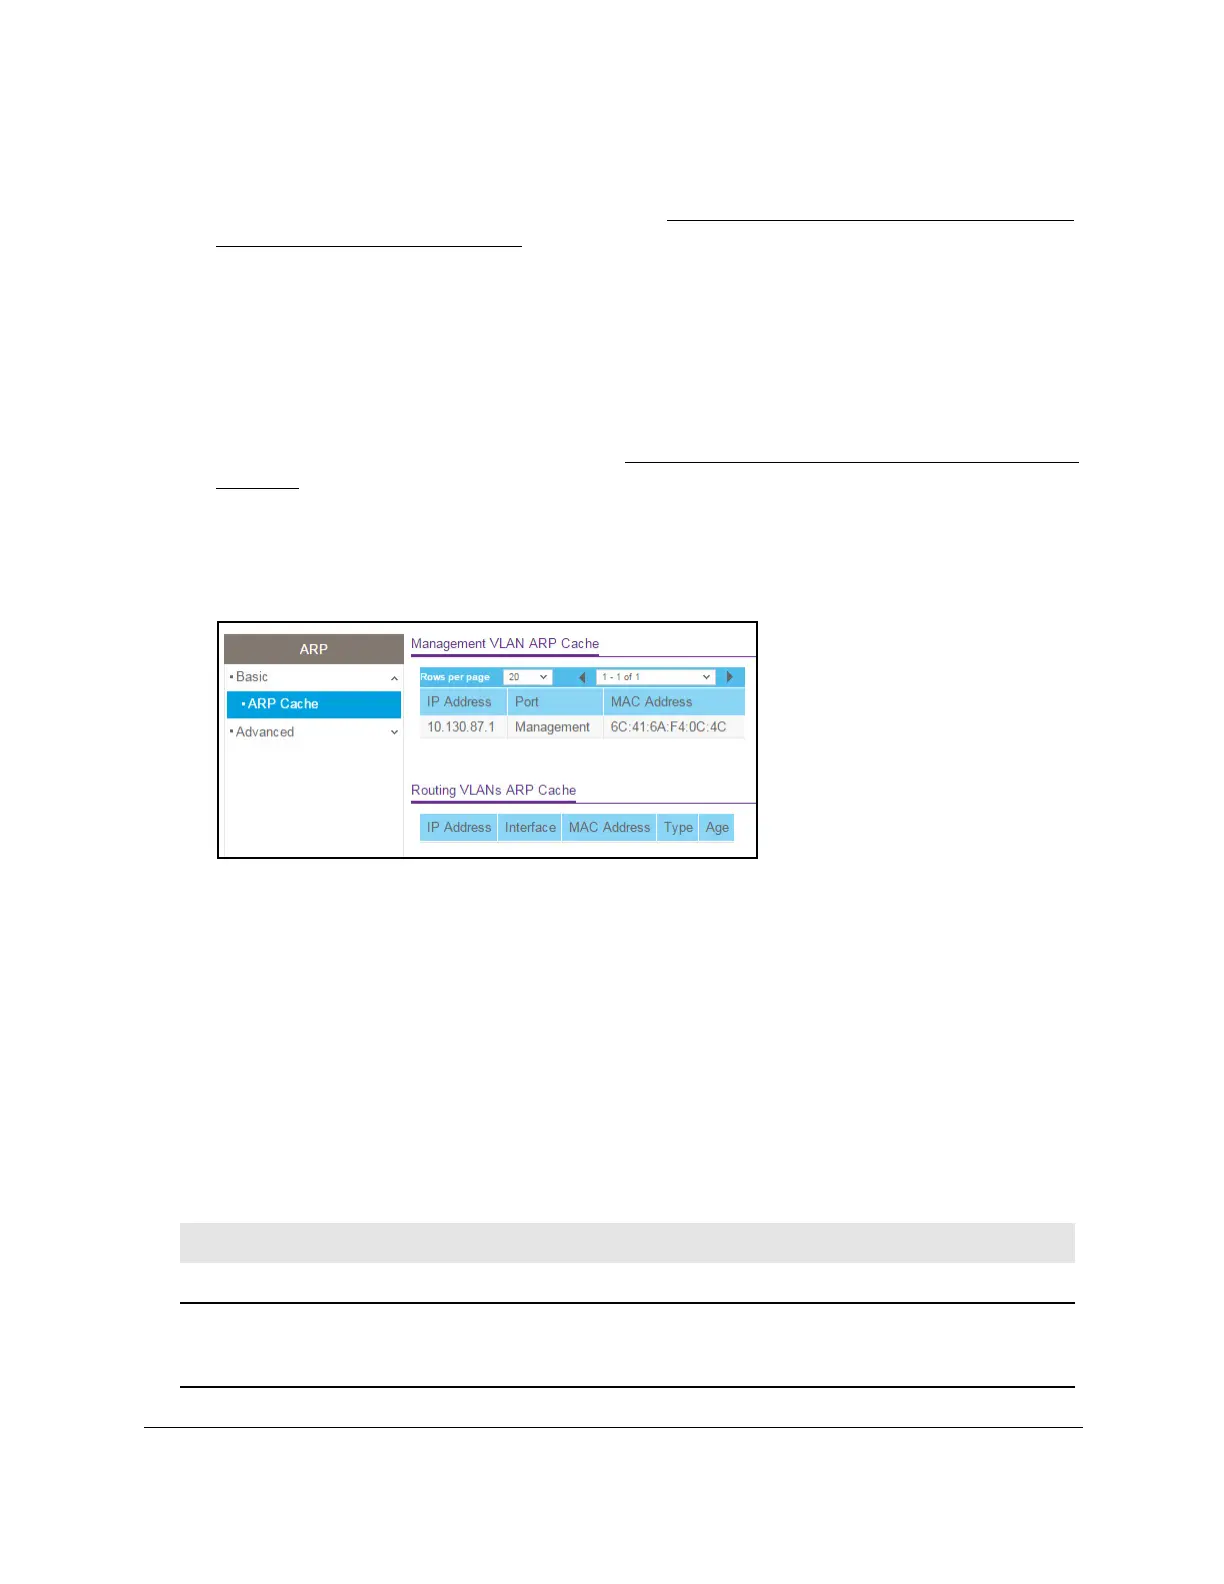
6. Select Routing> ARP
> Basic > ARP Cache.
7. Navigate through the table by doing the following:
• From the Rows per page menu, select how many table entries are displayed per
page.
Possible values are 20, 50, 100, 200, and All. If you select All, the browser might be
slow to display the information.
• Click the < button to display the previous page of the table data entries.
• Click the > button to display the next page of the table data entries.
8. T
o refresh the page with the latest information about the switch, click the Update button.
The following table describes the nonconfigurable information displayed on the page.
Table 54. ARP cache information
Field Description
Management VLAN ARP Cache
IP Address The IP address associated with the device’s MAC address. This must be the IP
address of a device on a subnet attached to one of the switch’
s existing routing
interfaces.
 Loading...