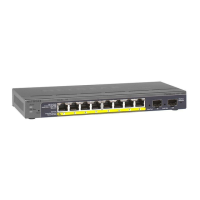
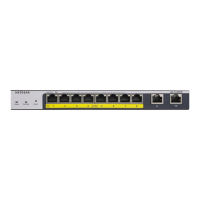
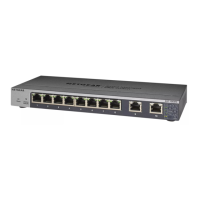
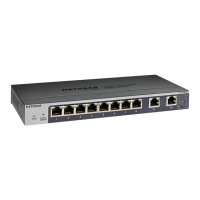
8-Port Gigabit (PoE+) Ethernet Smart Managed Pro Switch with (2 SFP or 2 Copper Ports and)
Cloud Management
Get Started User Manual45
Many of the pages that allow you to configure or view interface settings include links to
display all ports, all LAGs, or all ports and LAGs on the page.
Use these links as follows:
• To display all ports, click the 1 link.
• To display all LAGs, click the LAG link.
• To display all ports and LAGs, click the All link.
The procedures in this section describe how to select the ports and LAGs to configure. The
procedures assume that you are already logged in to the switch. If you do not know how to
log in to the switch, see
Access the switch on-network and connected to the Internet on
page 19 or Access the switch off-network on page 30.
To configure a single port by using the Go To Interface field:
1. Ensure that the page is displaying all ports, and not only the LAGs.
2. In the Go To Interface field, type the port number.
For example, type g4.
For more information, see Table 7, Naming conventions for interfaces on page 44.
3. Click the Go button.
The check box associated with the interface is selected, the row for the selected interface
is highlighted, and the interface number displays in the heading row.
4. Configure the desired settings.
5. Click the Apply button.
Your settings are saved.
To configure a single LAG by using the Go To Interface field:
1. Click the LAG link or the All link to display the LAGs.
2. In the Go To Interface field, type the LAG number, for example l3.
For information, see Table 7, Naming conventions for interfaces on page 44.
3. Click the Go button.
The check box associated with the interface is selected, the row for the selected interface
is highlighted, and the interface number appears in the heading row.
4. Configure the desired settings.
5. Click the Apply button.
Your settings are saved.
To configure a single port:
1. Ensure that the page is displaying all ports, and not only the LAGs.
2. Select the check box next to the port number.
 Loading...
