– Community Name — A 31-character, alphanumeric password or phrase. Do
not use factory-set default community names or obvious strings like public and
private.
SNMP Traps
The SL150 returns a finite set of SNMP traps.
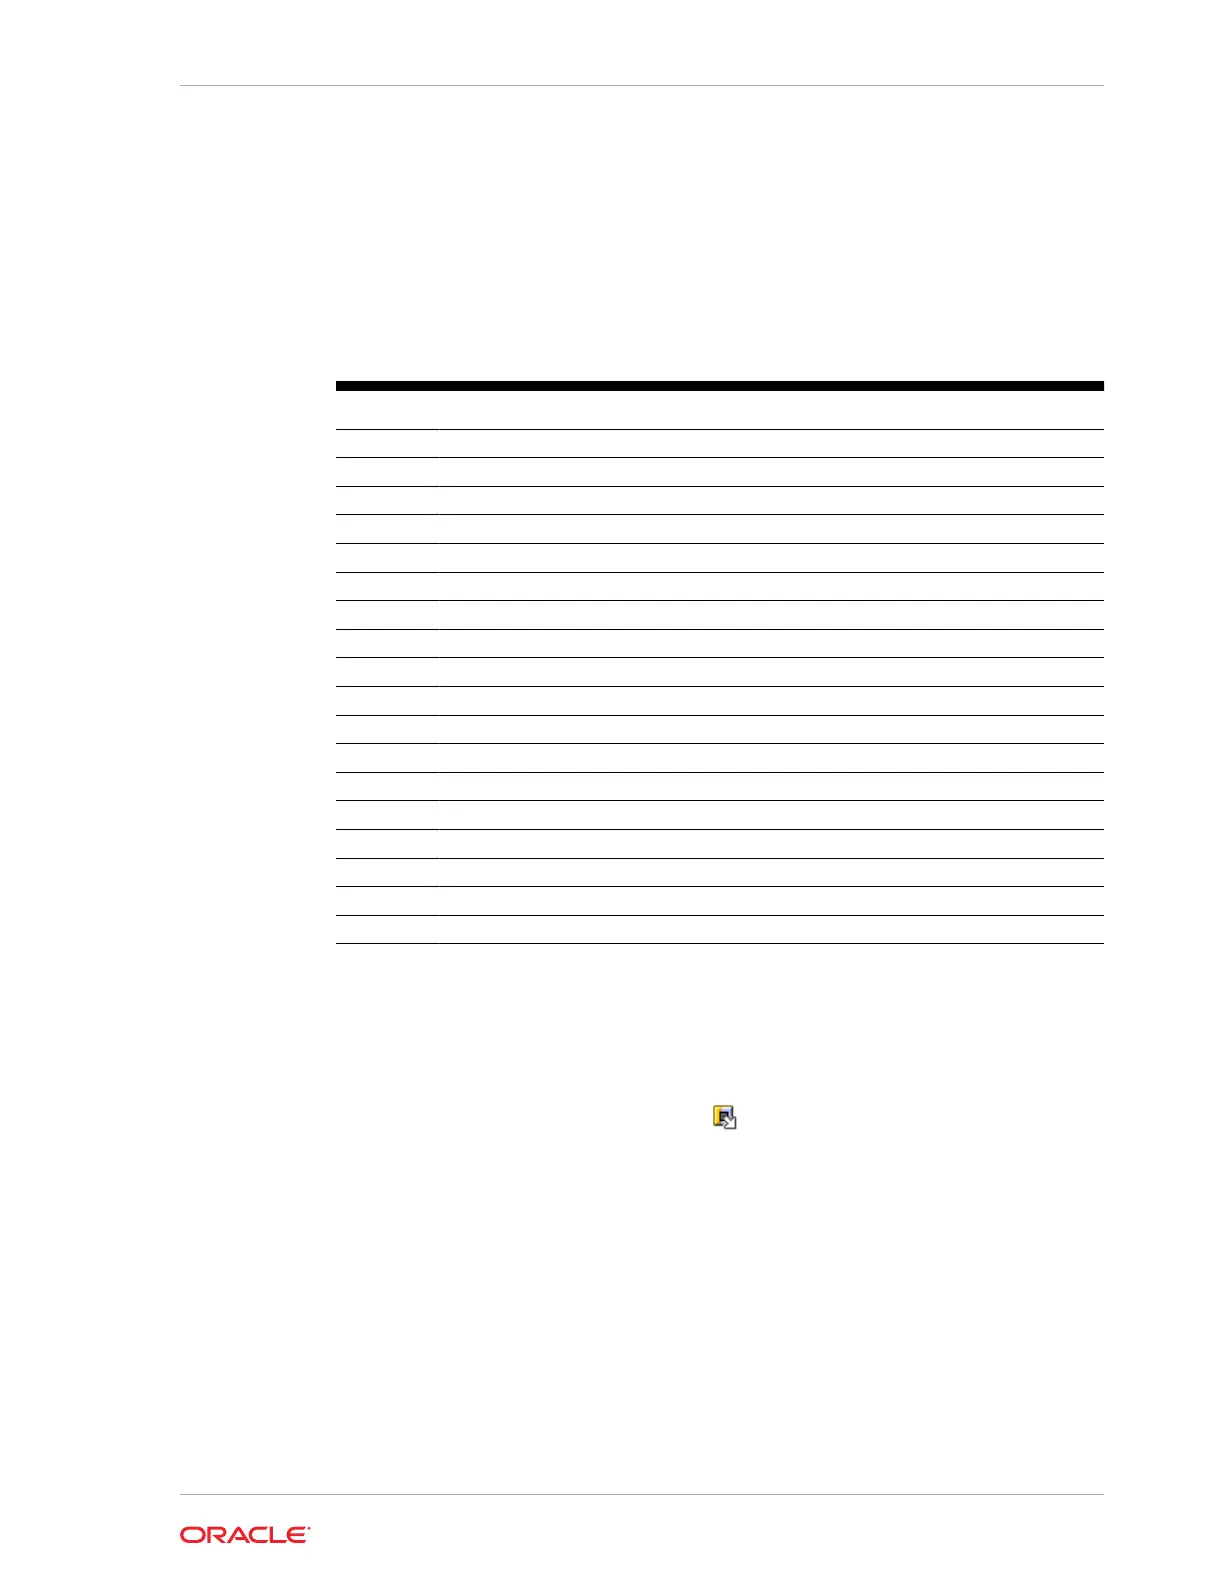
Table 8-1 SNMP Trap Levels
Trap Level Description
1 error log entry
2 warning log entry
3 info log entry
4 configuration
11 agent start
13 test
14 heartbeat A (2.5 minute period)
15 heartbeat B (24 hour period)
21 Library Status Good
25 Library Status Check
27 Environmental Hardware Check
41 Drive Status Good
45 Drive Status Check
61 CAP (mailslot) Status Good
63 CAP (mailslot) Status Open
65 CAP (mailslot) Status Check
100 Proprietary
102 Proprietary
Enable or Disable SNMP
Enable or disable SNMP using the remote interface.
1. From the remote interface, select SNMP in the left menu.
2. Click the SNMP is Enabled/Disabled drop-down.
3. Select either Enable SNMP or Disable SNMP.
4. Click OK to confirm the change.
Configure an SNMP User
SNMP users can access the library's SNMP agent. You can add, modify, or delete an
SNMP user.
1. From the remote interface, select SNMP in the left menu.
2. Select the SNMP Users tab.
Chapter 8
Configure Simple Network Management Protocol (SNMP)
8-5