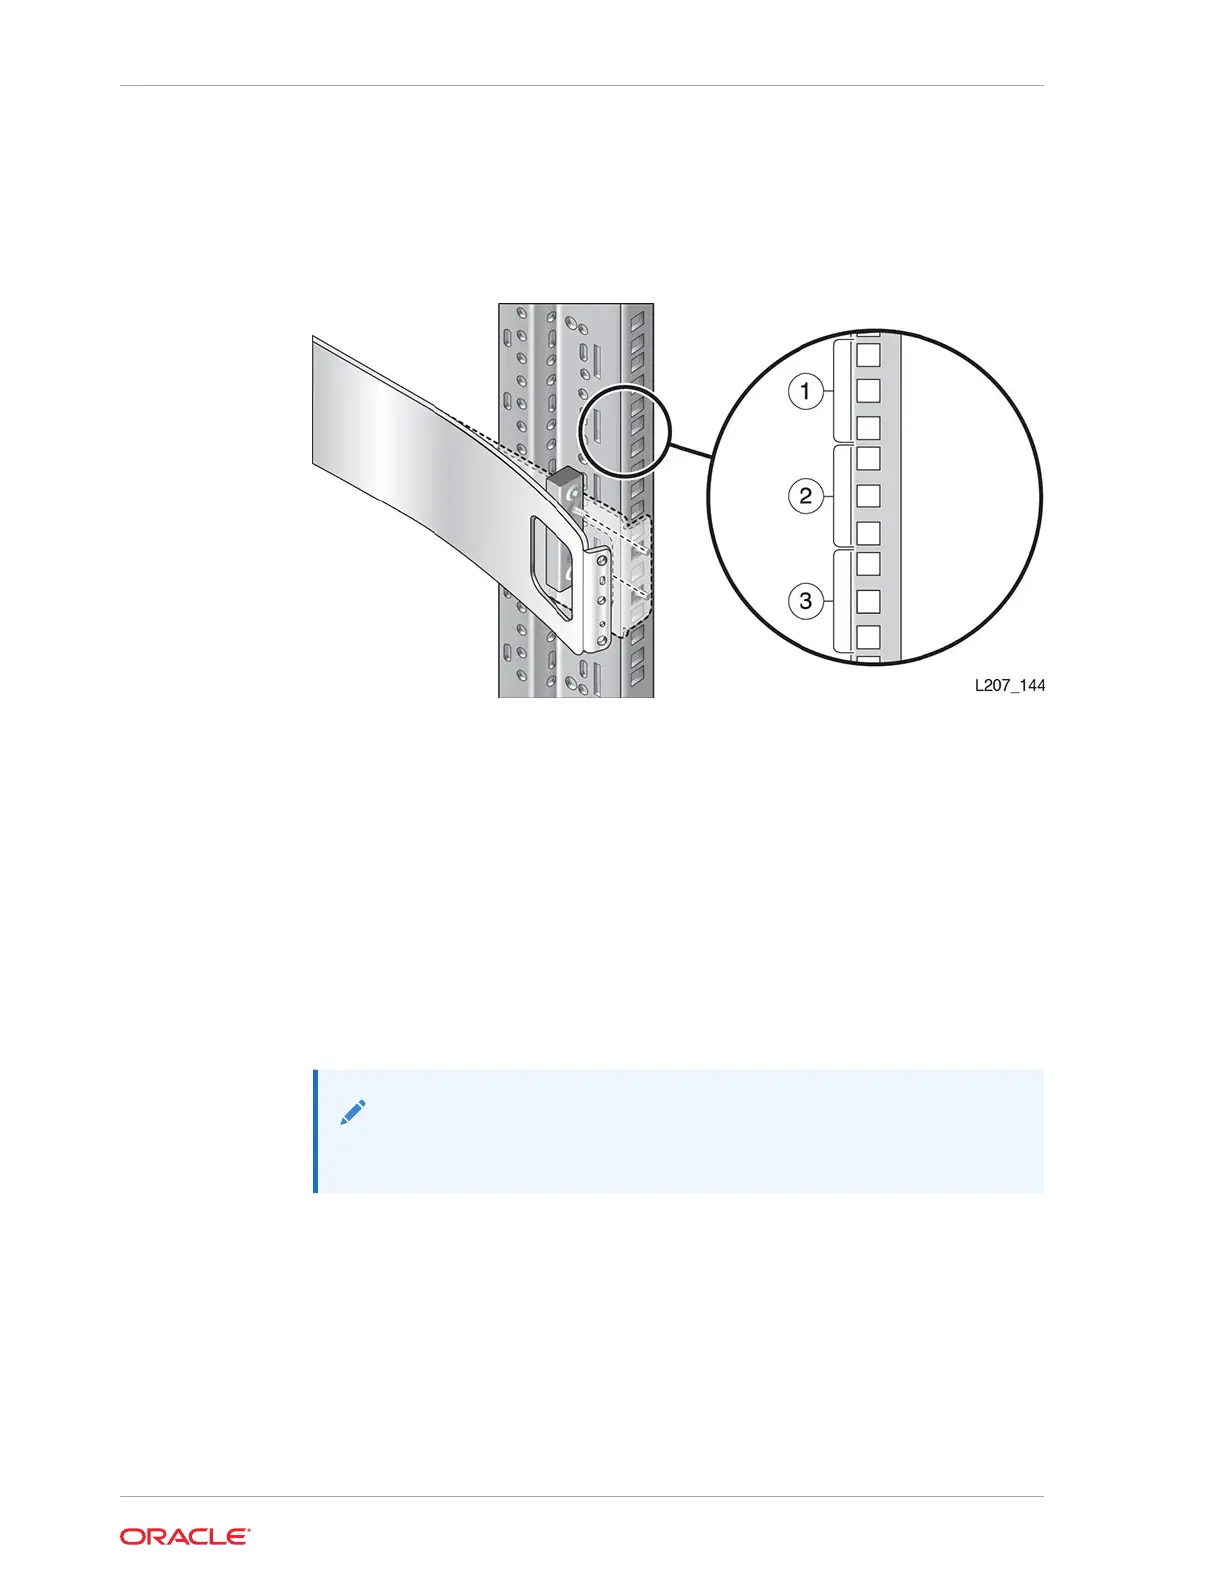
1. Position the mounting block behind the rack stile in the second U of the three U
span. See Figure 2-6. You might need to flex the front of the rail away from the
rack stile while positioning the mounting block.
Figure 2-6 Mounting Block for Front Rail (Right Rail Shown)
Illustration Legend:
1 - First U
2 - Second U
3 - Third U
2. Hold the block in position. Push the front rail against the rack stile.
3. Insert the 8–32 screw through the hole in the front rail and thread the screw by
hand a few turns into the mounting block.
4. Tighten the 8–32 screw with a Phillips screwdriver while making sure that the rail is
plumb with the inside edge of the rack stile.
Note:
The front rail should not tilt in or out.
5. Repeat to install other front rail on the other side of the rack
Verify the Installation of the Base Module Front Rail
The rails must be parallel and properly installed before mounting the Base Module.
1. Verify that the rack rails are parallel with each other. See Figure 2-7. If they are not
parallel, reinstall the rails. Do not proceed unless the rails are parallel.
2. If your rack has threaded holes, proceed to Mount the Base Module.
Chapter 2
Install the Base Module
2-10