Chapter 4 Settings — [PROJECTOR SETUP] menu
ENGLISH - 191
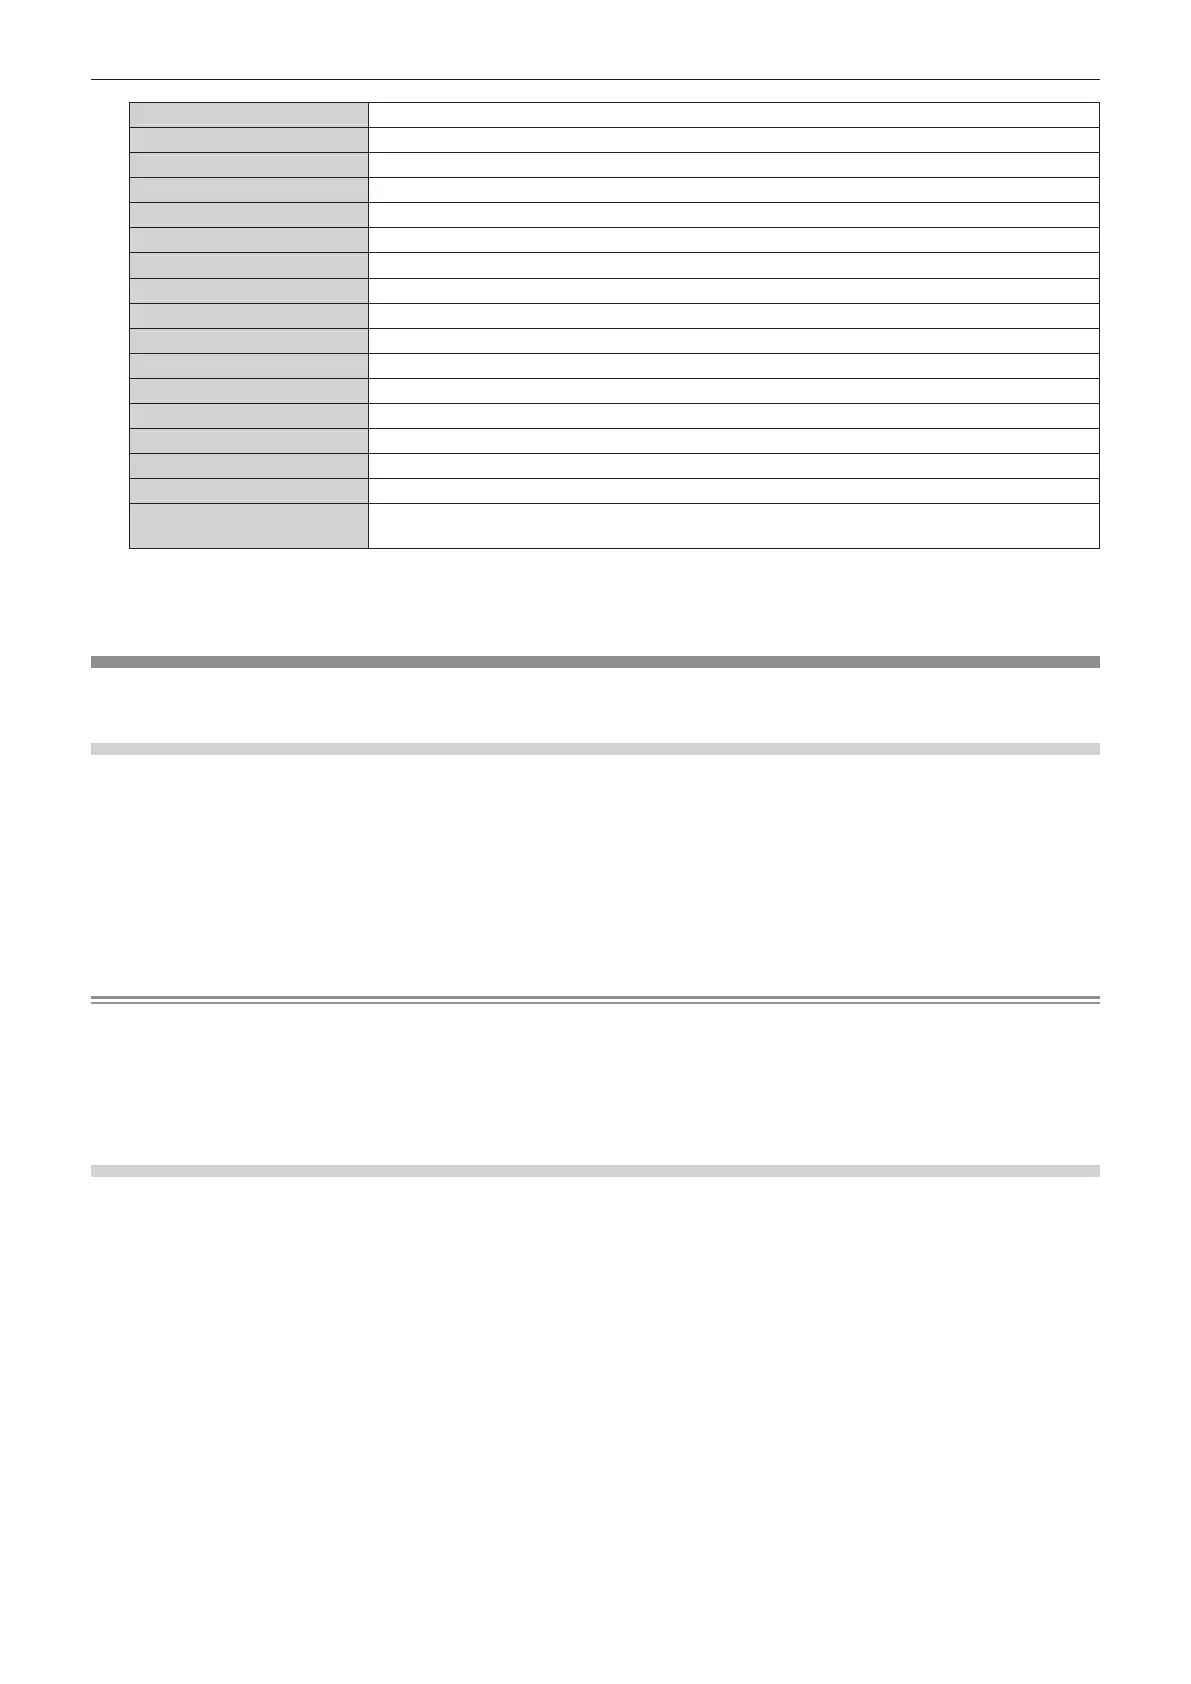
[HDMI] Sets the input to HDMI.
[DVI-D] Sets the input to DVI-D.
[SDI] Sets the input to SDI.
[DIGITAL LINK] Sets the input to DIGITAL LINK.
[HDMI1 [SLOT]]
*1
Sets the input to HDMI1 of the Interface Board.
[HDMI2 [SLOT]]
*1
Sets the input to HDMI2 of the Interface Board.
[DVI-D1 [SLOT]]
*1
Sets the input to DVI-D1 of the Interface Board.
[DVI-D2 [SLOT]]
*1
Sets the input to DVI-D2 of the Interface Board.
[DisplayPort1 [SLOT]]
*1
Sets the input to DisplayPort1 of the Interface Board.
[DisplayPort2 [SLOT]]
*1
Sets the input to DisplayPort2 of the Interface Board.
[SDI1 [SLOT]]
*1
Sets the input to SDI1 of the Interface Board.
[SDI2 [SLOT]]
*1
Sets the input to SDI2 of the Interface Board.
[SDI3 [SLOT]]
*1
Sets the input to SDI3 of the Interface Board.
[SDI4 [SLOT]]
*1
Sets the input to SDI4 of the Interface Board.
[SDI OPT1 [SLOT]]
*1
Sets the input to SDI OPT1 of the Interface Board.
[SDI OPT2 [SLOT]]
*1
Sets the input to SDI OPT2 of the Interface Board.
[INPUT1] - [INPUT10]
*2
Sets the input to DIGITAL LINK, and switches the input of the Panasonic twisted-pair-cable
transmitter to the specied input.
*1 This can be selected when the optional Interface Board equipped with corresponding input is installed in <SLOT>.
*2 When the optional DIGITAL LINK output supported device (Model No.: ET-YFB100G, ET-YFB200G) is connected to the projector, its input
name is automatically reected from [INPUT1] to [INPUT10]. When an item that does not reect the input name is selected, it will be disabled.
[DATE AND TIME]
Set the time zone, date, and time of the built-in clock of the projector.
Setting the time zone
1) Press as to select [DATE AND TIME].
2) Press the <ENTER> button.
f The [DATE AND TIME] screen is displayed.
3) Press as to select [TIME ZONE].
4) Press qw to switch [TIME ZONE].
Note
f The [TIME ZONE] setting is reset to the factory default setting when the projector is initialized by one of the following methods. However, the
date and time based on the local date and time setting (Coordinated Universal Time, UTC, Universal Time, Coordinated) will be maintained
without being initialized.
g When initialized by selecting the [PROJECTOR SETUP] menu → [INITIALIZE] → [FACTORY RESET]
g When initialized by setting the [PROJECTOR SETUP] menu → [INITIALIZE] → [USER SETTINGS] → [OTHER USER SETTING] to
[INITIALIZE]
Setting the date and time manually
1) Press as to select [DATE AND TIME].
2) Press the <ENTER> button.
f The [DATE AND TIME] screen is displayed.
3) Press as to select [ADJUST CLOCK].
4) Press the <ENTER> button.
f The [ADJUST CLOCK] screen is displayed.
5) Press as to select an item, and press qw to set the local date and time.
6) Press as to select [APPLY], and press the <ENTER> button.
f The setting of the date and time will be completed.

 Loading...