Chapter 5 Operations — Network connection
ENGLISH - 229
3) Press the <MENU> button to open the [NETWORK] menu from the main menu.
f The [NETWORK] screen is displayed.
4) Press as to select [WIRED LAN], and press the <ENTER> button.
f The [WIRED LAN] screen is displayed.
5) Perform the [WIRED LAN] setting.
f Refer to [WIRED LAN] (x page 216) for details.
Note
f To connect to an existing network, perform after consulting your network administrator.
r Factory default setting
f Following setting has been made as a factory default.
[DHCP] OFF
[IP ADDRESS] 192.168.0.8
[SUBNET MASK] 255.255.255.0
[DEFAULT GATEWAY] 192.168.0.1
[DNS1]/[DNS2] None
Operating the computer
1) Turn on the power of the computer.
2) Perform the network setting following the instruction of your network administrator.
f Operation from the computer is possible by conguring the network setting of the computer as follows if the
projector is in the factory default setting.
[IP ADDRESS] 192.168.0.10
[SUBNET MASK] 255.255.255.0
[DEFAULT GATEWAY] 192.168.0.1
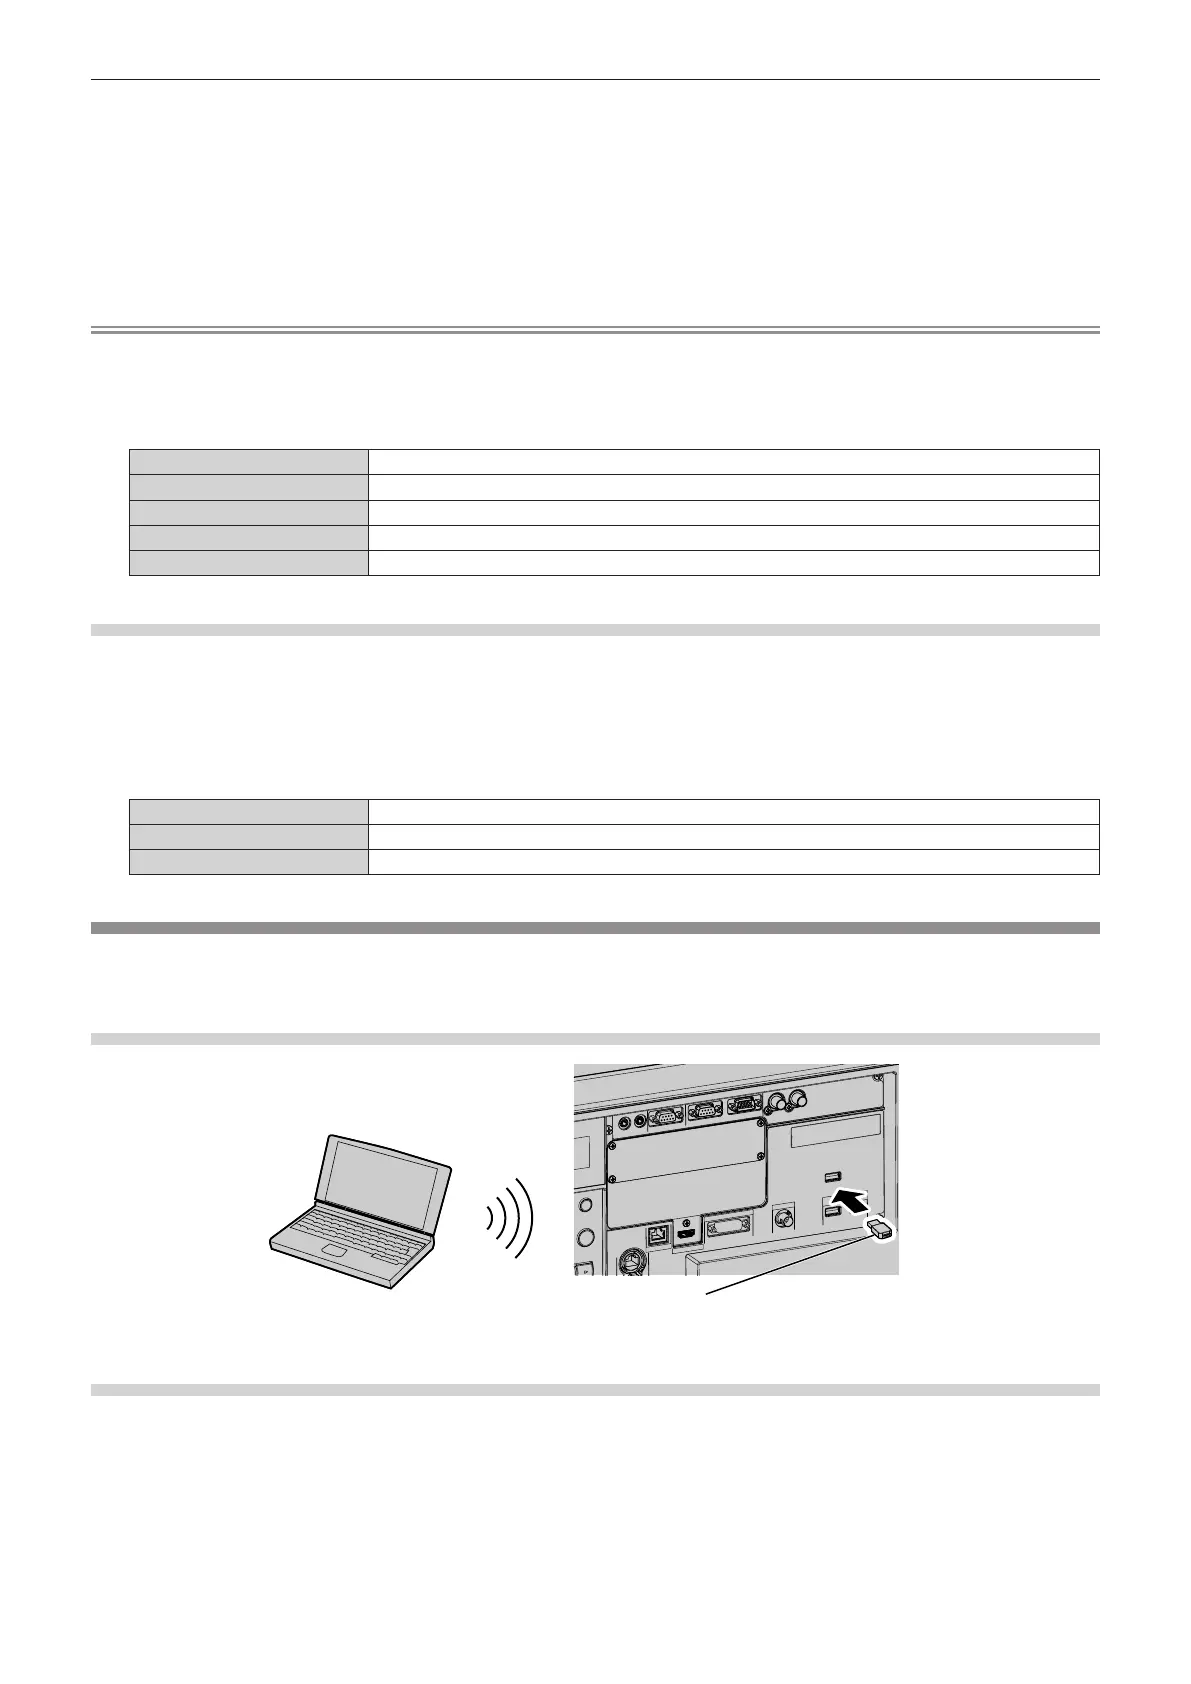
Connecting via wireless LAN
To use the wireless LAN function with the projector, it is necessary to attach the optional Wireless Module (Model
No.: AJ-WM50 Series) to the <USB> terminal.
Connecting example
IEEE802.11b/g/n
Optional Wireless Module
(Model No.: AJ-WM50 Series)
Preparing and conrming the projector
1) Insert the optional Wireless Module (Model No.: AJ-WM50 Series) all the way into the <USB> terminal.
2) Turn on the projector.
3) Press the <MENU> button to open the [NETWORK] menu from the main menu.
f The [NETWORK] screen is displayed.
4) Press as to select [WIRELESS LAN].

 Loading...