RealPresence Collaboration Server (RMX) 1500/1800/2000/4000 Getting Started Guide
Polycom®, Inc. 72
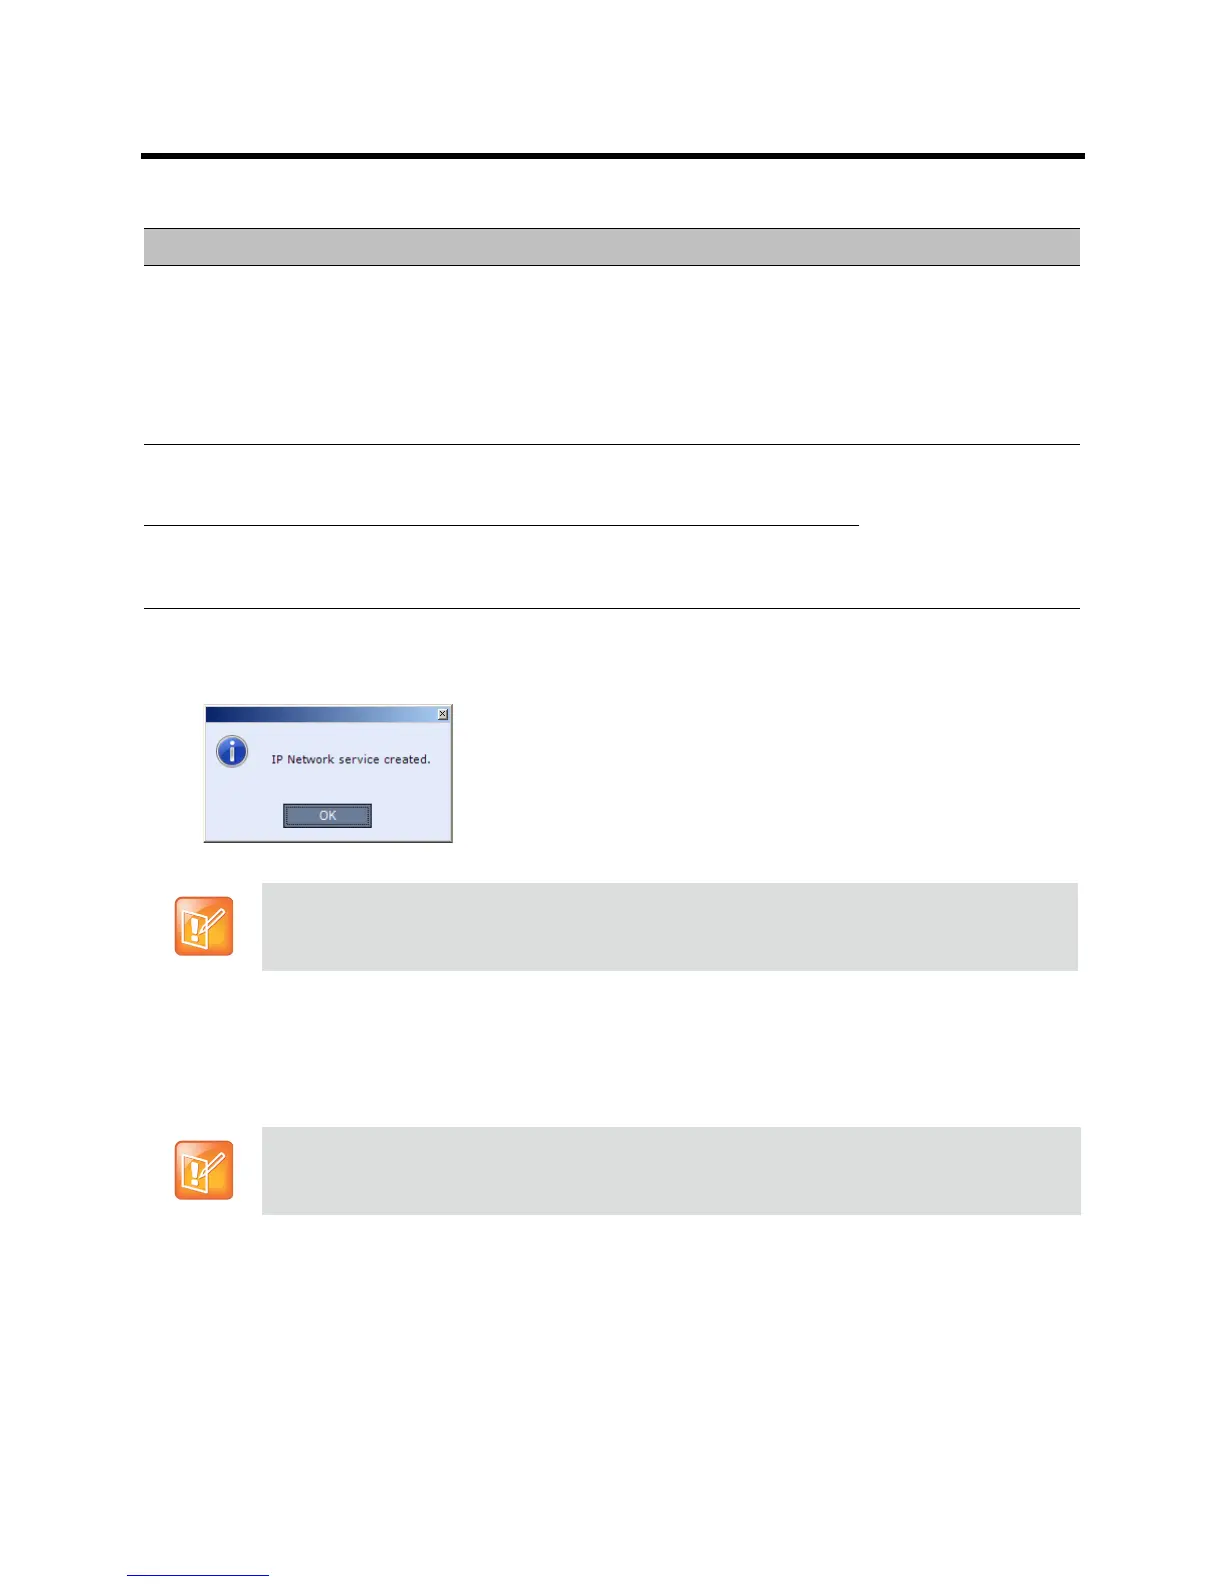
16 Click Save & Continue.
The IP Network Service is created and confirmed.
17 Click OK.
During the initial Collaboration Server setup, if the system detects the presence of the RTM ISDN
card, the ISDN /PSTN Network Service definition screens of the Fast Configuration Wizard are
enabled.
If there is no RTM ISDN card in the Collaboration Server or if you do not want to define an ISDN/PSTN
Network Service, go to Step 33.
The Fast Configuration Wizard’s ISDN/PSTN configuration sequence begins with the ISDN/PSTN
dialog box.
H.323 Authentication Click this check box to enable H.323 server authentication.
Select this check box only if the authentication is enabled on the gatekeeper, to
enable the Collaboration Server to register with the gatekeeper. If the authentication
is enabled on the gatekeeper and disabled on the Collaboration Server, calls will fail
to connect to the conferences.
Leave this check box cleared if the authentication option is disabled on the
gatekeeper.
User Name Enter the user name the Collaboration Server will use to
authenticate itself with the gatekeeper. This name must
be defined in the gatekeeper.
These fields can contain
up to 64 ASCII
characters.
Password Enter the password the Collaboration Server will use to
authenticate itself with the gatekeeper. This password
must be defined in the gatekeeper.
The IP Network Service cannot be saved if no Media cards are installed in the Collaboration Server.
A new ISDN/PSTN Network Service can be defined even when there is no RTM ISDN card is
installed in the system using the ISDN/PSTN Network Service ->Add New Service dialog box.
Default IP Network Service – Security
Field Description