FX-20
dent on the selection, the field will be displayed as “ON” or
“OFF”.
Adjustment flaps
Adjustment elevator
In the ‘SW’ cell, a switch can be assigned and its operating
direction defined. The pre-set condition is always on when the
display is set to ‘--’. To set a delay time for a smooth transition
between flight conditions, scroll to the “COND.DELAY” field
and set a delay time between 0 and 27.
The “CUT-SW” can be set by highlighting the item and selec-
ting a switch and its on direction in the H/W SELECT menu.
The pre-set of ‘--’, means that the mixer is permanently swit-
ched on. The mix rates and the servo throws are set by selec-
ting from AIL or FLAP or ELE in the RATE field in the CAMBER
MIX Display Menu. Highlight the control to be adjusted and
touch “RTN” to confirm and adjust the mix rates.
It should be noted that the Menu Displays differ according to
the model type selected and number of Aileron and Flap servos
assigned in Model Type of the Linkage menu.
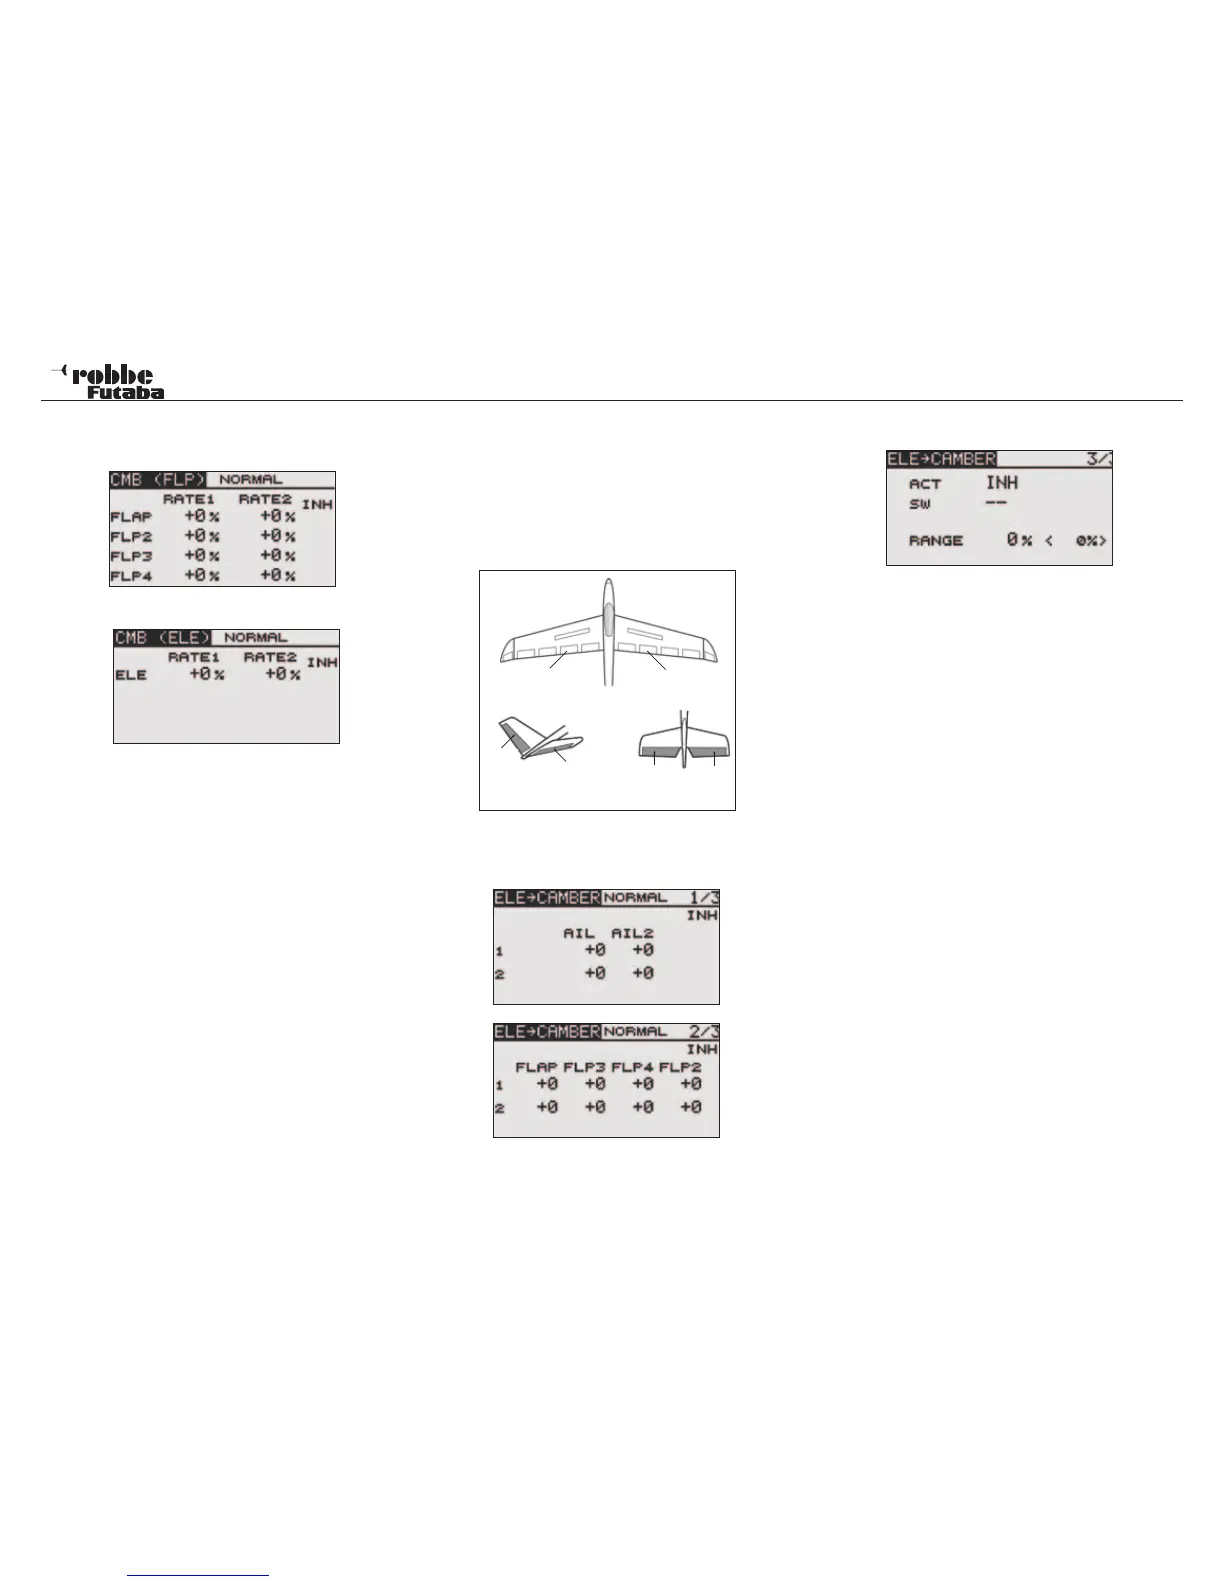
11.12 ELEVATOR -> CAMBER MIXER
The ELE-> CAMBER menu mixes camber flaps with elevator.
The flaps move in opposition to the elevator to increase/de-
crease the lift of the wing. This increases the effectiveness of
the elevator control and is used when tight turns and “square”
aerobatic manoevres are required to be flown. A switch may
be assigned to turn the mix on and off and the flap mix rate can
be precisely set.
Highlight the “ELE->CAMBER” option in the Model Menu using
the “CAP TOUCH SENSOR“ and confirm with “RTN”. The Dis-
play consists of three sub menus, which are as follows:
The mixer must be first activated in sub-menu 3/3 by selecting
from ACT/INH cell. Highlight this with the “CAP TOUCH SEN-
SOR“ and activate using “RTN”. This field will now indicate
“ON” or “OFF”, dependent upon the activation.
In the ‘SW’ cell, a switch can be assigned and its operating
direction defined in H/W SELECT menu. The pre-set condition
is always on when the display is set to ‘--’. That meas the mixer
is on.
The setting of the throws for up to a maximum of 2 ailerons and
4 flaps is made in separate sub menus. Each servo’s direction
and throw as %-age can be set. The settings are made in the
typical manner. Highlight the item and confirm, then adjust the
%-age value using the scroll on the “CAP TOUCH SENSOR“.
Finally, please note that the programming features and display
will differ according to model and wing type selected in the
Linkage Menu.
To set a dead point on the elevator control before the mix be-
comes active, go to page 3/3 and select “RANGE”. To set this
value, move the elevator stick to the point (this stick position
will be displayed in (0%) cell) where the mix should become
active and press “RTN“ key for approximately 1 second.
40
Model menu
Camber Flap
left (FLP)
Camber Flap
right (FLP2)
RUD
ELE
ELE2
ELE2
V-Tail Ailvator