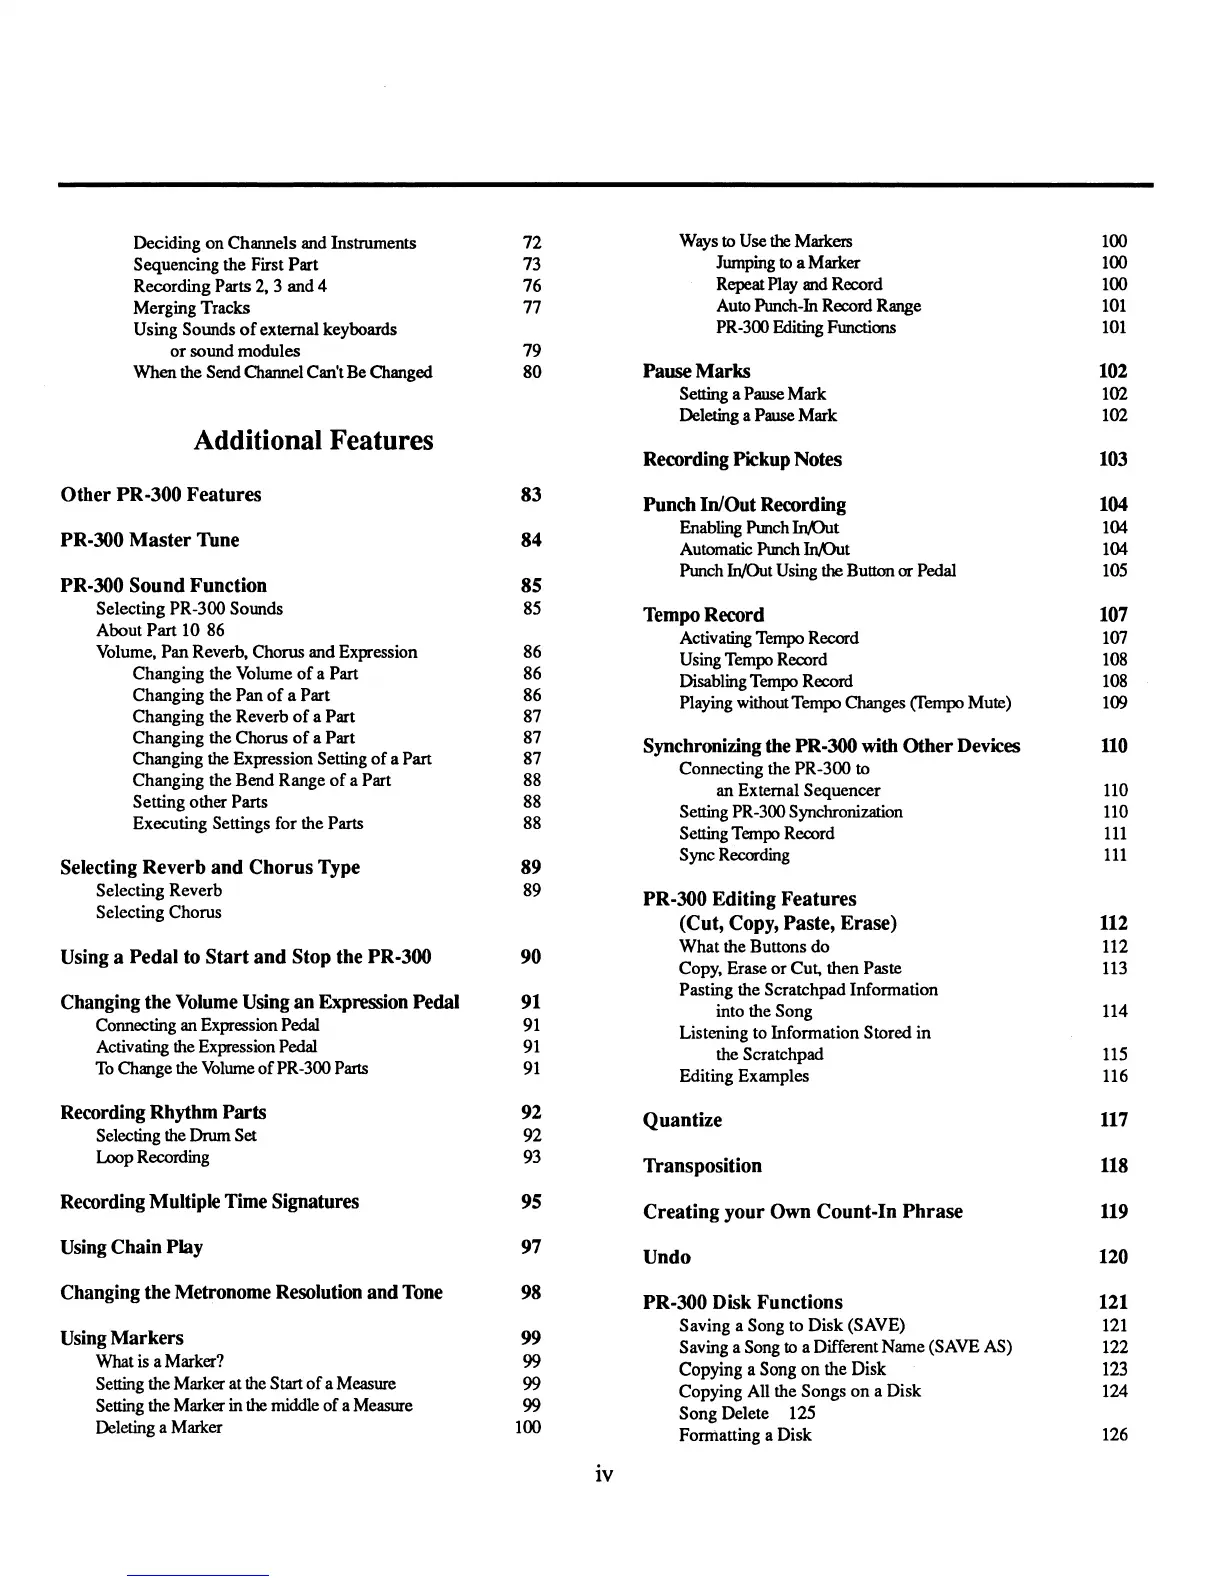
Deciding
on
Channels and Instruments
72
Ways to Use
the
Markers
100
Sequencing
the
First
Part
73
Jumping to a Marker
100
Recording Parts 2, 3
and
4
76
Repeat Play and Record
100
Merging Tracks
77
Auto Punch-In Record Range
101
Using Sounds
of
external keyboards
PR-300 Editing Functions
101
or
sound
modules
79
102
When
the SendChannel Can't
Be
Changed
80
PauseMarks
Setting a Pause
Mark
102
Deleting a Pause
Mark
102
Additional Features
Recording Pickup Notes
103
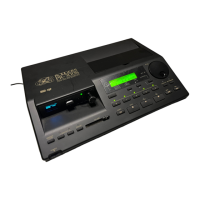
Other
PR-300 Features
83
Punch In/Out Recording
104
Enabling Punch
hvOut
104
PR-300
Master
Tune 84
Automatic Punch
hvOut
104
Punch
WOut
Using
the
Button
or
Pedal 105
PR-300 Sound Function
85
Selecting PR-300 Sounds
85
Tempo Record 107
About
Part
10
86
Activating Tempo Record 107
Volume,
Pan
Reverb, Chorus and Expression
86
Using Tempo Record
108
Changing the Volume
of
a Part
86
DisablingTempo Record
108
Changing the
Pan
of
a Part
86
Playing withoutTempo Changes
(fempo
Mute)
109
Changing the Reverb
of
a Part
87
Changing the Chorus
of
a Part
87
Synchronizing the PR-300 with
Other
Devices
110
Changing the Expression Setting
of
a Part
87
Connecting the
PR-300
to
Changing the
Bend
Range
of
a Part 88
an
External
Sequencer
110
Setting other Parts
88
Setting PR-300 Synchronization
110
Executing Settings for the Parts 88
Setting Tempo Record
111
Sync Recording
111
Selecting Reverb
and
Chorus
Type
89
Selecting Reverb
89
PR-300 Editing Features
Selecting Chorus
(Cut, Copy, Paste, Erase)
112
What
the Buttons
do
112
Using a Pedal to
Start
and
Stop the PR-300 90
Copy, Erase
or
Cut,
then
Paste
113
Changing the Volume Using an Expression Pedal
91
Pasting the Scratchpad Information
into the Song
114
Connecting an Expression Pedal
91
Listening to Information Stored
in
Activating the Expression Pedal
91
the Scratehpad
115
To Change the Volume
of
PR-300 Parts
91
Editing Examples
116
Recording Rhythm Parts 92
Quantize
117
Selecting the Drum Set
92
Loop Recording 93
Transposition
118
Recording Multiple Time Signatures
95
Creating
your
Own Count-In
Phrase
119
Using Chain Play 97
Undo 120
Changing the Metronome Resolution and Tone
98
PR-300 Disk Functions 121
Saving a Song to
Disk
(SAVE)
121
Using Markers 99
Saving a Song to a Different
Name
(SAVE AS)
122
What is a Marker?
99
Copying
a
Song
on
the
Disk
123
Setting the Marker at the Start
of
a Measure
99
Copying
All the
Songs
on
a
Disk
124
Setting the Marker in
the
middle
of
a Measure
99
Song
Delete
125
Deleting a Marker
100
Formatting a
Disk
126
iv