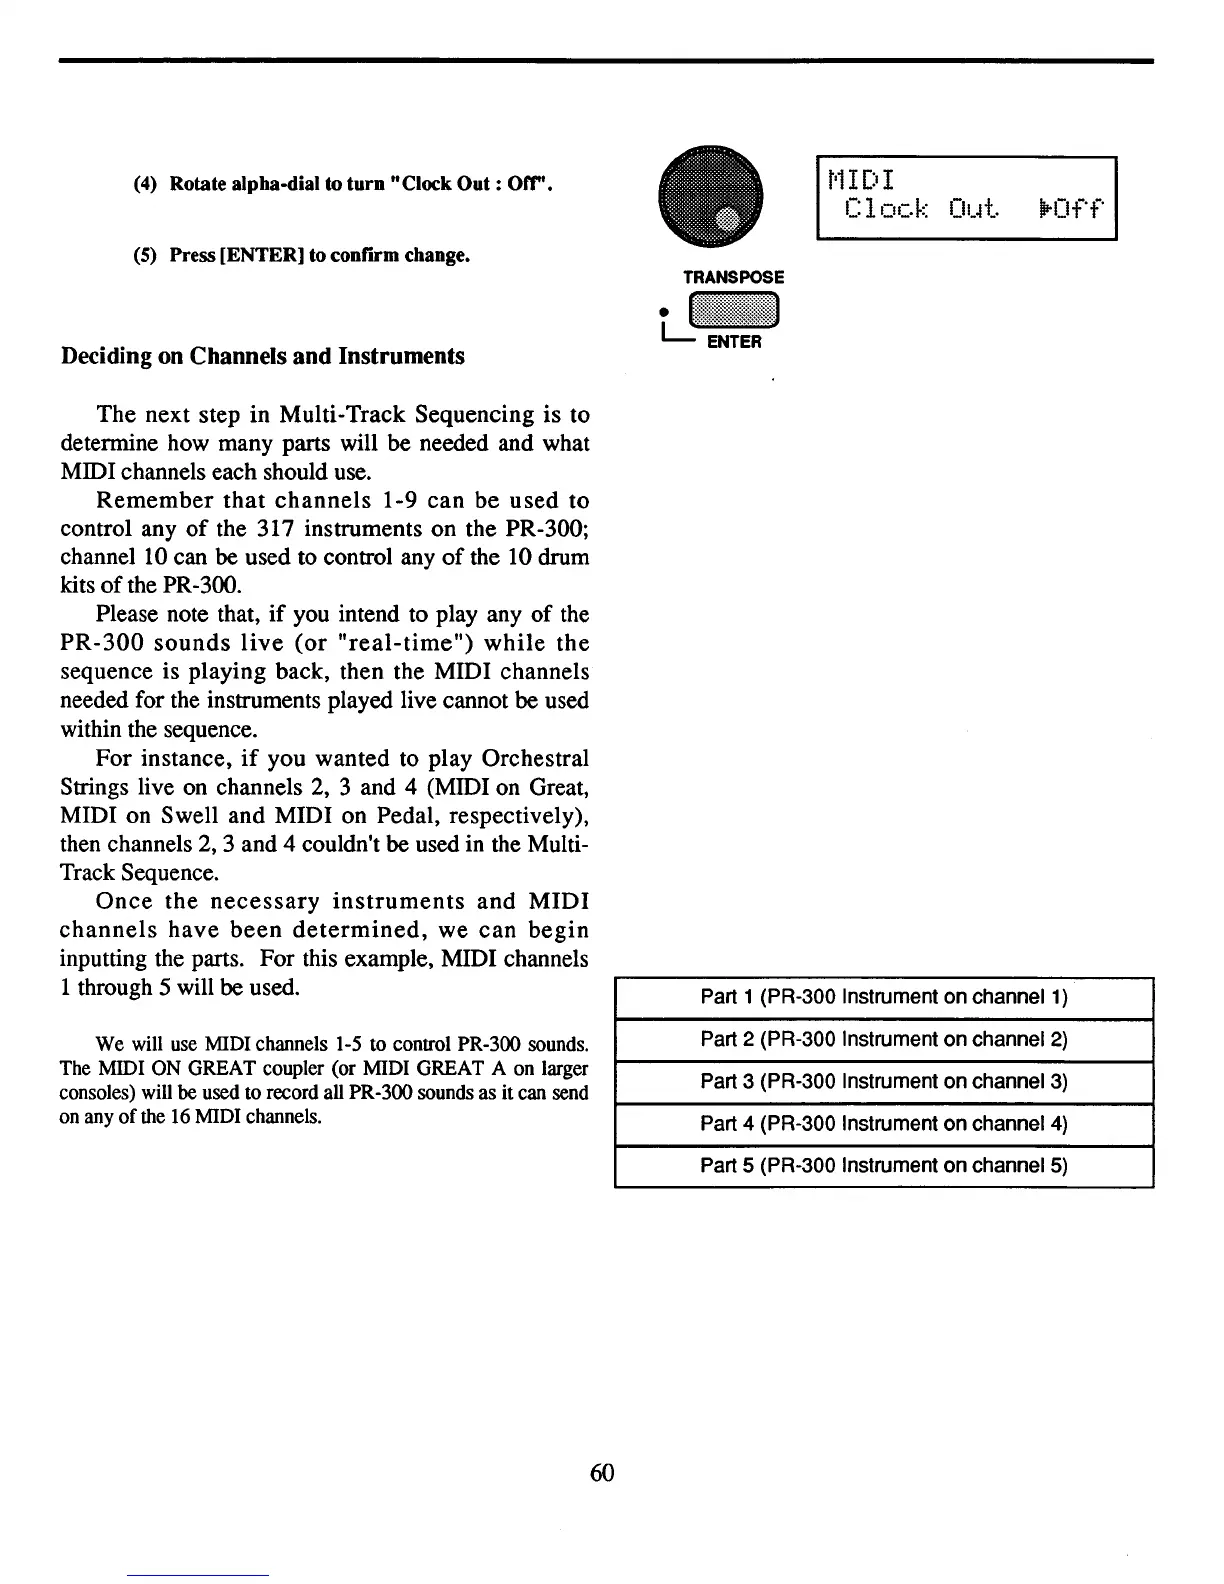
(4)
Rotate alpha-dial to
turn
"Clock
Out:
Off".
(5)
Press [ENTER] to conrIl'm change.
Deciding on Channels
and
Instruments
TRANSPOSE
t.J~:~:~!!~:!!~:~:~1
r
l
1IDI
Clock
Ol.~t.
lP-Off
The next step in Multi-Track Sequencing is to
determine how many parts will be needed and what
MIDI channels each should use.
Remember
that
channels
1-9 can be used to
control any
of
the 317 instruments on the PR-300;
channel
10
can
be
used to control any
of
the 10 drum
kits
of
the PR-300.
Please note that,
if
you
intend to play any of the
PR-300
sounds
live
(or
"real-time")
while
the
sequence is playing back, then the MIDI channels
needed for the instruments played live cannot
be
used
within the sequence.
For instance,
if
you wanted to play Orchestral
Strings live
on
channels
2,
3 and 4 (MIDI on Great,
MIDI on Swell and MIDI on Pedal, respectively),
then channels
2,
3 and 4 couldn't
be
used in the Multi-
Track Sequence.
Once
the
necessary
instruments
and
MIDI
channels
have
been
determined,
we can
begin
inputting the parts. For this example, MIDI channels
1 through 5 will
be
used.
We
will use MIDI channels 1-5
to
control PR-300 sounds.
The MIDI
ON
GREAT coupler (or MIDI GREAT A
on
larger
consoles) will be used
to
record all PR-300 sounds
as
it can send
on any
of
the 16 MIDI channels.
60
Part 1 (PR-300 Instrument on channel 1)
Part 2 (PR-300 Instrument on channel
2)
Part 3 (PR-300 Instrument on channel 3)
Part 4 (PR-300 Instrument on channel
4)
Part 5 (PR-300 Instrument on channel 5)