5
Part of
Practice
Fully Utilizing Cutting Function
138
3.
Check the result of the cutting test, and make adjustment.
Open the front cover.
Check the result of the cutting test, and make adjustment.
P. 134, "Fine-tuning the Cutting Conditions," p. 136, "Accurately Adjusting the Cutting-in Amount"
4.
Check the result of the adjustment.
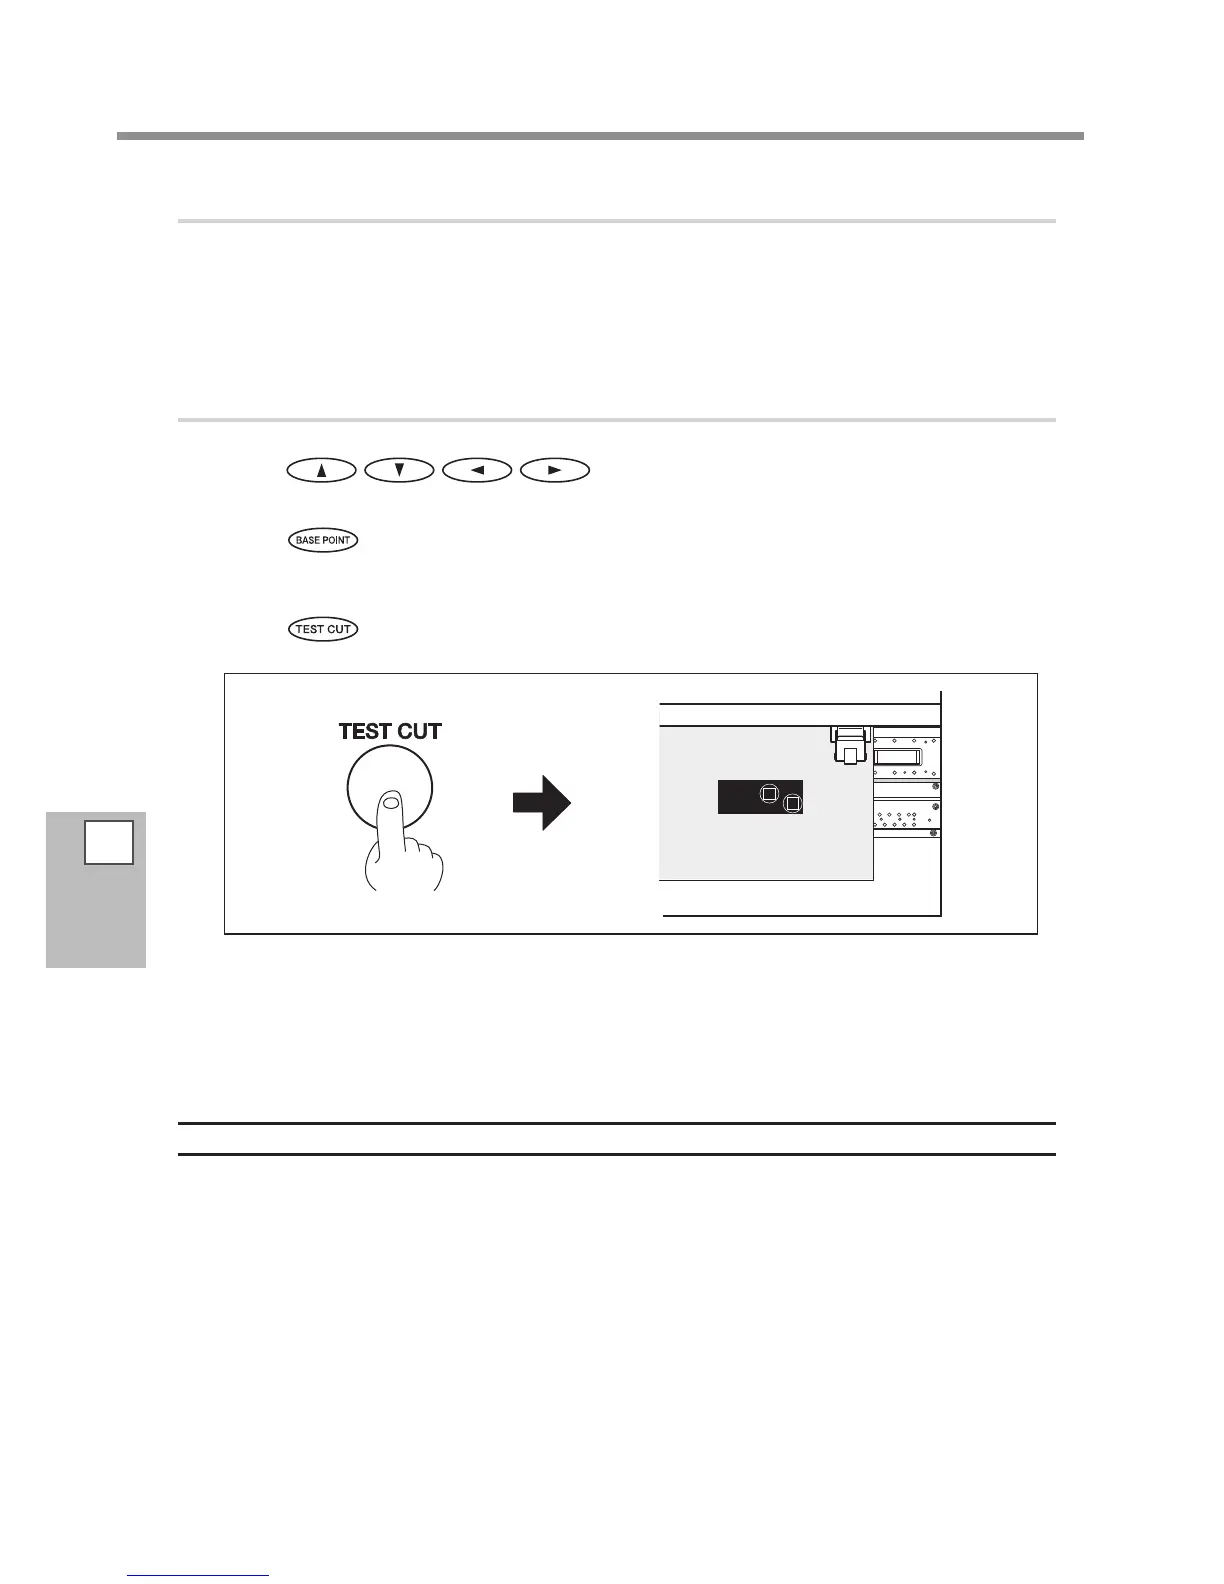
Press to move the cutting carriage to the position where
the cutting test should be performed on the printed surface.
Press .
Close the front cover.
Press .
The test pattern is cut on the printed surface.
Open the front cover.
Check the result of the cutting test.
Adjustment is complete when optimal results are obtained. If further adjustment is needed, go back to
step
3.
-
and ne-tune the adjustment.
Description
Hardened ink is thick. Therefore, dierent cutting conditions are required for cutting on the printed surface
from cutting on the unprinted surface. For cutting on the printed surface, use this [CUT TEST PRINT] and adjust
the cutting conditions.
Note: These adjustments are general suggestions. Their accuracy is not assured.
 Loading...