62
Live Streaming
Streaming with Custom Settings
Getting ready
à Make sure that the VR-6HD is connected to the Internet for
livestreaming.
à To record audio/video, set AUDIO REC and VIDEO REC to “ON” (p.
58).
Operating this unit
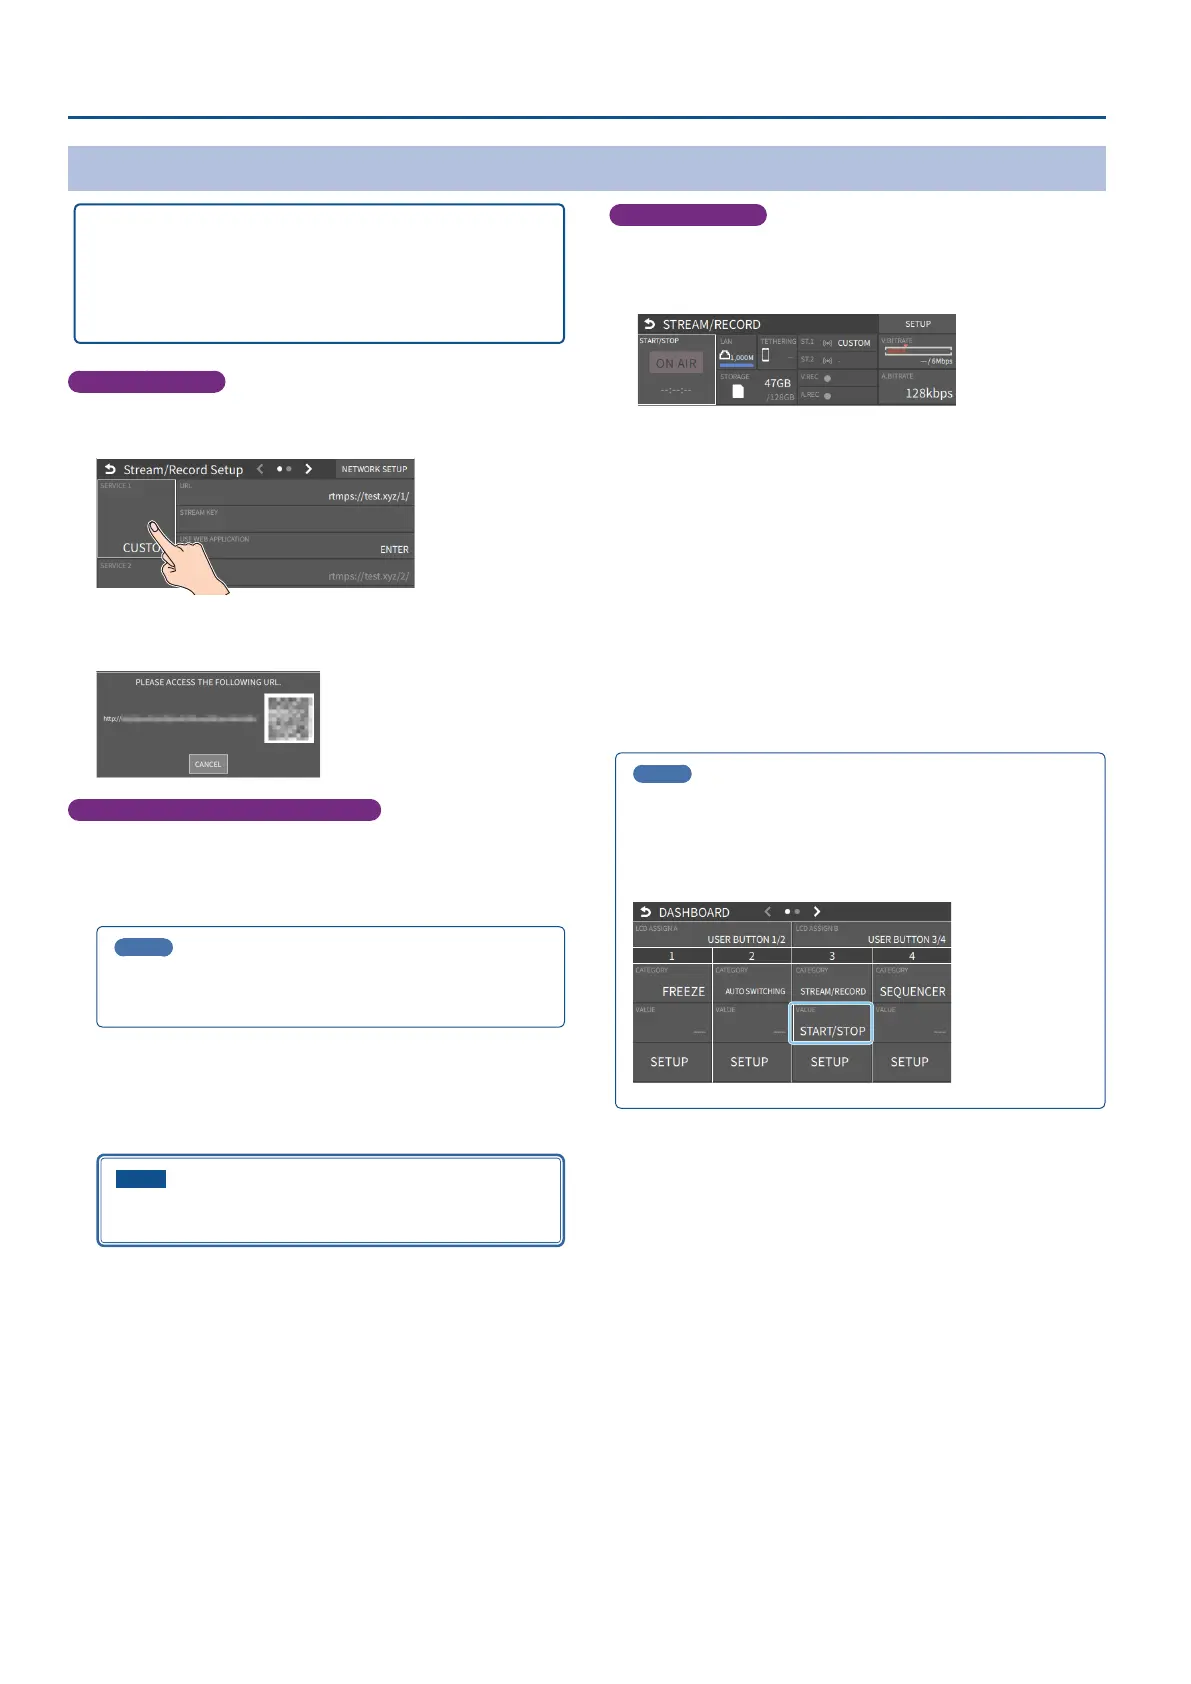
1. On the streaming/recording setup screen, touch either
<SERVICE 1> or <SERVICE 2> and select “CUSTOM”.
2. Touch <USE WEB APPLICATION>.
The shortened URL and QR code for the Web app are shown.
Operating your computer or smartphone
3. On the Web browser of your computer or smartphone, open
the link that’s shown.
4. Input the “RTMP URL” and “Stream Key”.
MEMO
You can nd the “RTMP URL” and “Stream Key” on the website or
other resource of the streaming platform you are going to use.
5. Click “SUBMIT!”.
When the data transmission is nished, the message “Success!”
appears.
The URL and STREAM KEY are applied to the VR-6HD.
NOTE
Don’t close the QR code screen until the “URL” and “STREAM
KEY” have been applied.
6. Click “OK”.
7. Close the page.
Operating this unit
8. Select the streaming/video recording screen.
The parameters for stopping/starting the livestream, audio and video
recording are shown in the status area.
9. Touch <ON AIR>.
The message “ARE YOU SURE YOU WANT TO START STREAMING?” is
shown.
10. Touch <OK>.
Livestreaming starts.
If audio/video recording is turned on, the audio/video starts at the
same time as the livestream.
11. Touch <ON AIR> once more to stop streaming.
The message “ARE YOU SURE YOU WANT TO STOP STREAMING?” is
shown.
12. Touch <OK>.
The livestream ends.
MEMO
You can also assign streaming start/stop to the USER buttons on the
dashboard.
From “LCD ASSIGN A” or “LCD ASSIGN B” on the dashboard screen
Ó
“USER BUTTON 1/2 or 3/4”, select “STREAM/RECORD” for CATEGORY
and “START/STOP” for VALUE.
 Loading...