Installation Method
1-16
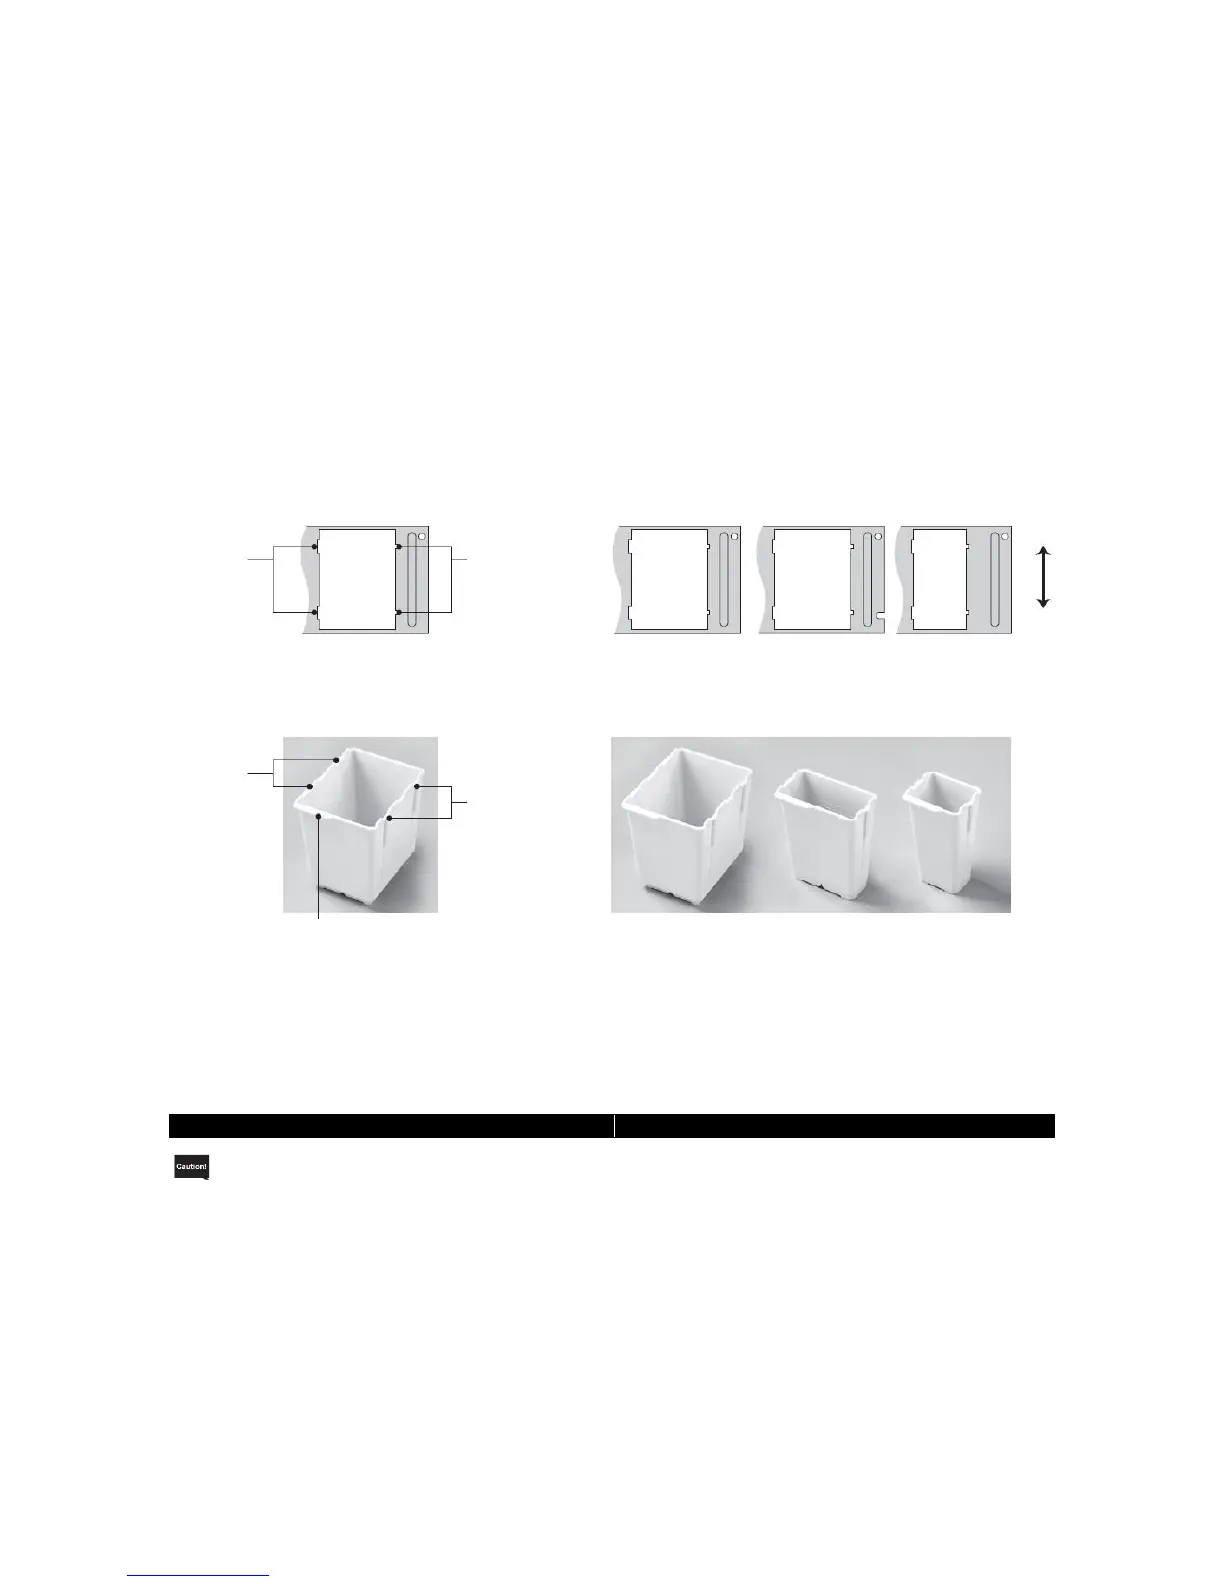
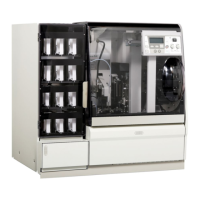
● Installing the solution reservoirs
Set the solution reservoirs in each tray. There are three types of solution reservoirs: standard solution
reservoir, small solution reservoir and special stain solution reservoir. The type of applicable tray and
setting orientation are different for each solution reservoir type.
• Type
A 3-position or 4-position reservoir tray contains standard solution reservoirs and small solution
reservoirs. A special stain reservoir tray contains only special stain solution reservoirs.
• Direction
Orient each solution reservoir so that the "solution name tab" on top of the reservoir faces the front side
of the instrument, and set the reservoir by aligning the "grooves" on both sides of the reservoir with the
grooves in the tray. Pay attention to the widths of the grooves provided on both sides of the solution
reservoir. When the solution reservoir is set in the tray, the wider grooves should come to the left, while
the narrower grooves should come to the right.
Use a power cord appropriate for the power-supply voltage. Be sure to connect the power cord to a
power outlet with grounding bar.
1. Confirm that input voltage has been set according to the installation environment.
2. Connect the power cord to the power-supply inlet on the right side face of the instrument at the bottom.
3. Confirm that the power switch at the bottom right on the front face of the instrument is turned off, and
then connect the plug on the power cord to the power outlet on the facility side.
4. Turn on the power switch to start the instrument.