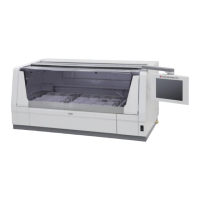
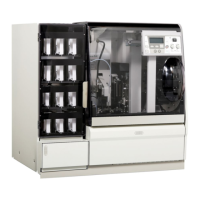
1. Confirm that the location where the instrument will be installed is flat and sufficiently strong.
2. Two or more persons work together to lift the instrument and move it to the installation location. If the
instrument rattles or is inclined too much when installed, adjust the level adjusters underneath the
instrument. Also when the instrument is linked to the Tissue-Tek Film or Tissue-Tek Glass g2, use the
level adjusters underneath the instrument to adjust the height and inclination of the instrument.
3. Once the instrument has been installed, remove the transport handles and install the attached bushing
(bolt caps) in the threaded parts on the system.
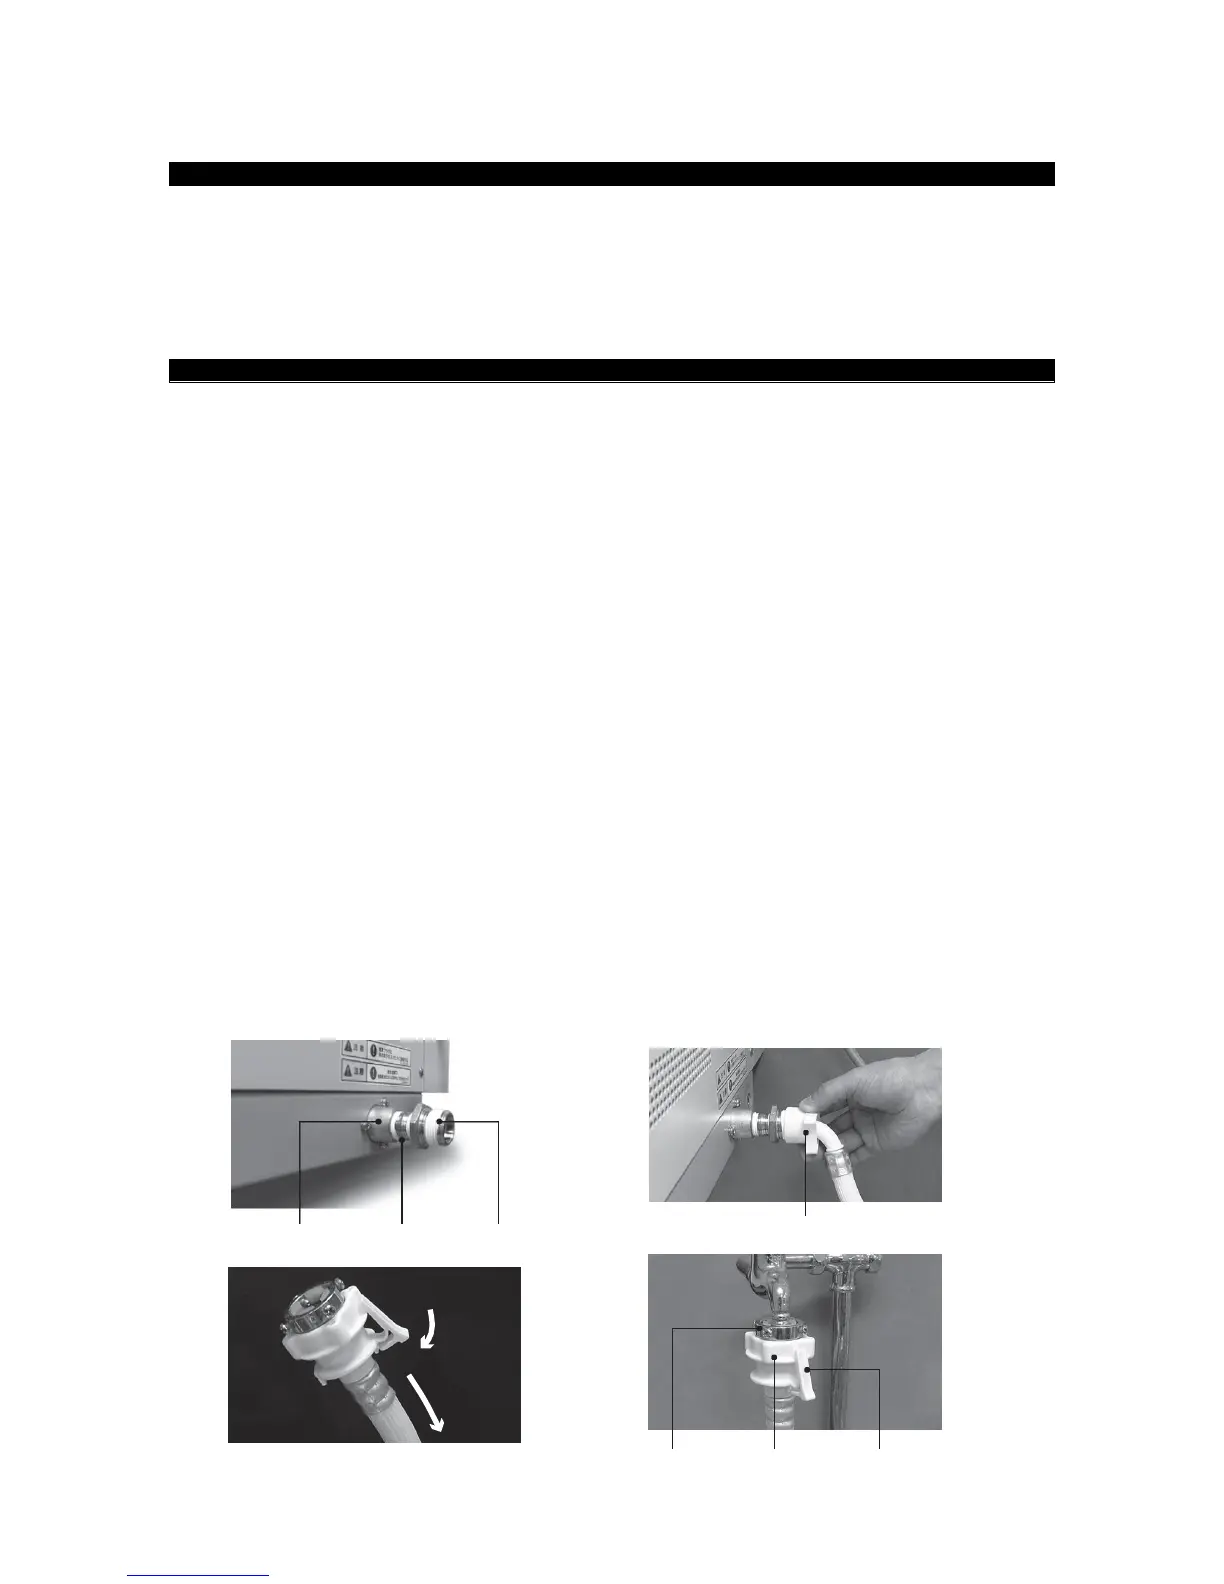
● Attach the water supply hose connect it to a water supply facility (tap water supply) meeting the
following conditions:
Pressure: Dynamic pressure = 0.098 to 0.441 MPa
Maximum static pressure = 0.74 MPa
Temperature: 30C max. (non-freezing)
Faucet: A faucet of general shape having a tip of 12 mm to 17 mm in size. (The
water supply hose cannot be connected to a faucet of any other size or to a
special shaped faucet such as chemical faucet or aerator faucet.)
Facility requirements: Use a facility meeting the following items in order to prevent health damage
caused by flow-back:
[1] Water supply facility not directly connected to public water pipes
[2] Water supply facility not directly connected to a water supply system
used for drinking water, etc.
[3] Water supply facility designed to prevent flow-back caused by reverse-
siphoning
• Water supply facility equipped with a flow-back protection mechanism
meeting the law of each country/region
1. Connect a nipple o the water supply port on the instrument via a bushing, and then screw the threaded
part of the water supply hose into the bushing.
2. Pull the flange on the other end of the water supply hose toward the hose and separate the water tap
joint.
3. Loosen the four screws on the water tap joint.
4. Tighten the four screws uniformly while pressing the black rubber in the water tap joint against the tip
of the water faucet.
5. Turn and tighten the nipple.
6. Insert the water supply hose into the water tap joint with the flange pulled back.
7. Gently pull the water supply hose by hand to confirm that it does not come off from the water tap joint.
]