12
Over/Under Checkweighing
This program is used to check whether products are within a specific tolerance range, to sort and classify items, and to fill and
batch products.
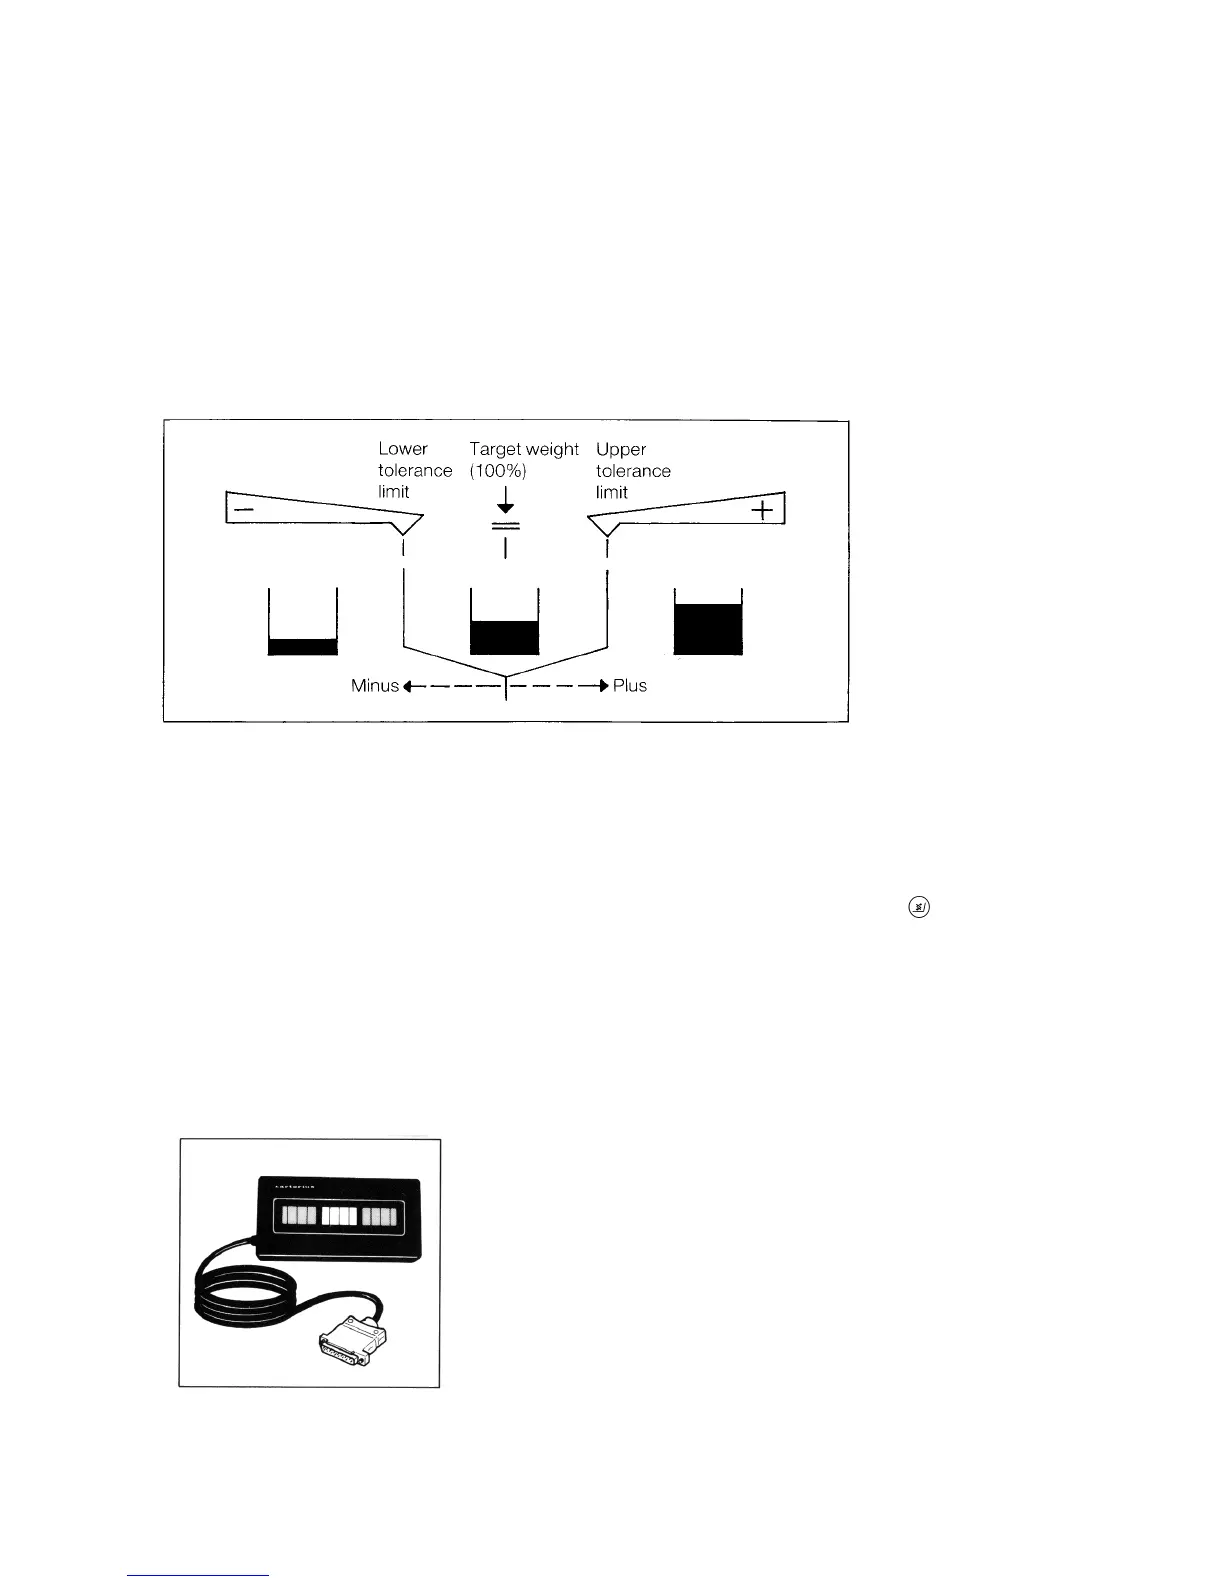
Symbols are displayed above the bar graph as visual aids for this type of program:
the equal sign indicates the target weight; the minus sign, the underweight limit; and the plus sign, the overweight limit.
Within the tolerance range, the response sensitivity of the bar graph is increased. You can define the tolerance limits between
0.1 % and 10% as required. To find these setting options, see the chart on page 24. The factory setting is for tolerance limits of
+/- 1.0 %
For checkweighing, you can choose between two programs:
— checking net weights - code 2 2 3
— checking variations in weight - code 2 2 4
These programs enable you to checkweigh in any range that can be selected with the toggle key labeled
.
Instead of weights, you can use percentages or piece counts for checkweighing if you have selected the corresponding
application program by menu code. You will find examples of these in the section dealing with checking net weights.
Both programs provide four control lines via the balance interface, which are called data output port lines. This means you can
interface a remote display unit that has colour-coded indicators, which are activated by the lines depending on the target
weight and the tolerance limits selected.
For more information, see the "Interface Description" in Part V.
You can use the Sartorius Three-Segment Checkweighing Display Unit, model
YRD10Z, as a visual aid during checkweighing.