7
2.2.2 Wireless Connection
ScreenBeam 960 receiver provides a built-in WLAN Adapter, which allows the receiver to
wirelessly connect to your network. It is required to set up the wireless connection
parameters before starting the connection.
To connect the receiver to a wireless network, follow this procedure:
1. Go to the receiver’s Local Management Interface (LMI), and set IP address assignment
and DNS assignment to auto in the Remote Management tab page.
Note:
If you want to set the receiver’s IP address or DNS server to static, consult your
network administrator.
Refer to Section 5.2 Using Local Management on ScreenBeam for detail on how to log
into the receiver’s Local Management Interface.
Refer to Section 5.3.7.2 Setting up the Receiver’s IP Address for detail on how to set
up the receiver’s IP address.
Refer to Section 5.3.7.3 Specifying a DNS Server for the Receiver for detail on how to
set up the receiver’s DNS server.
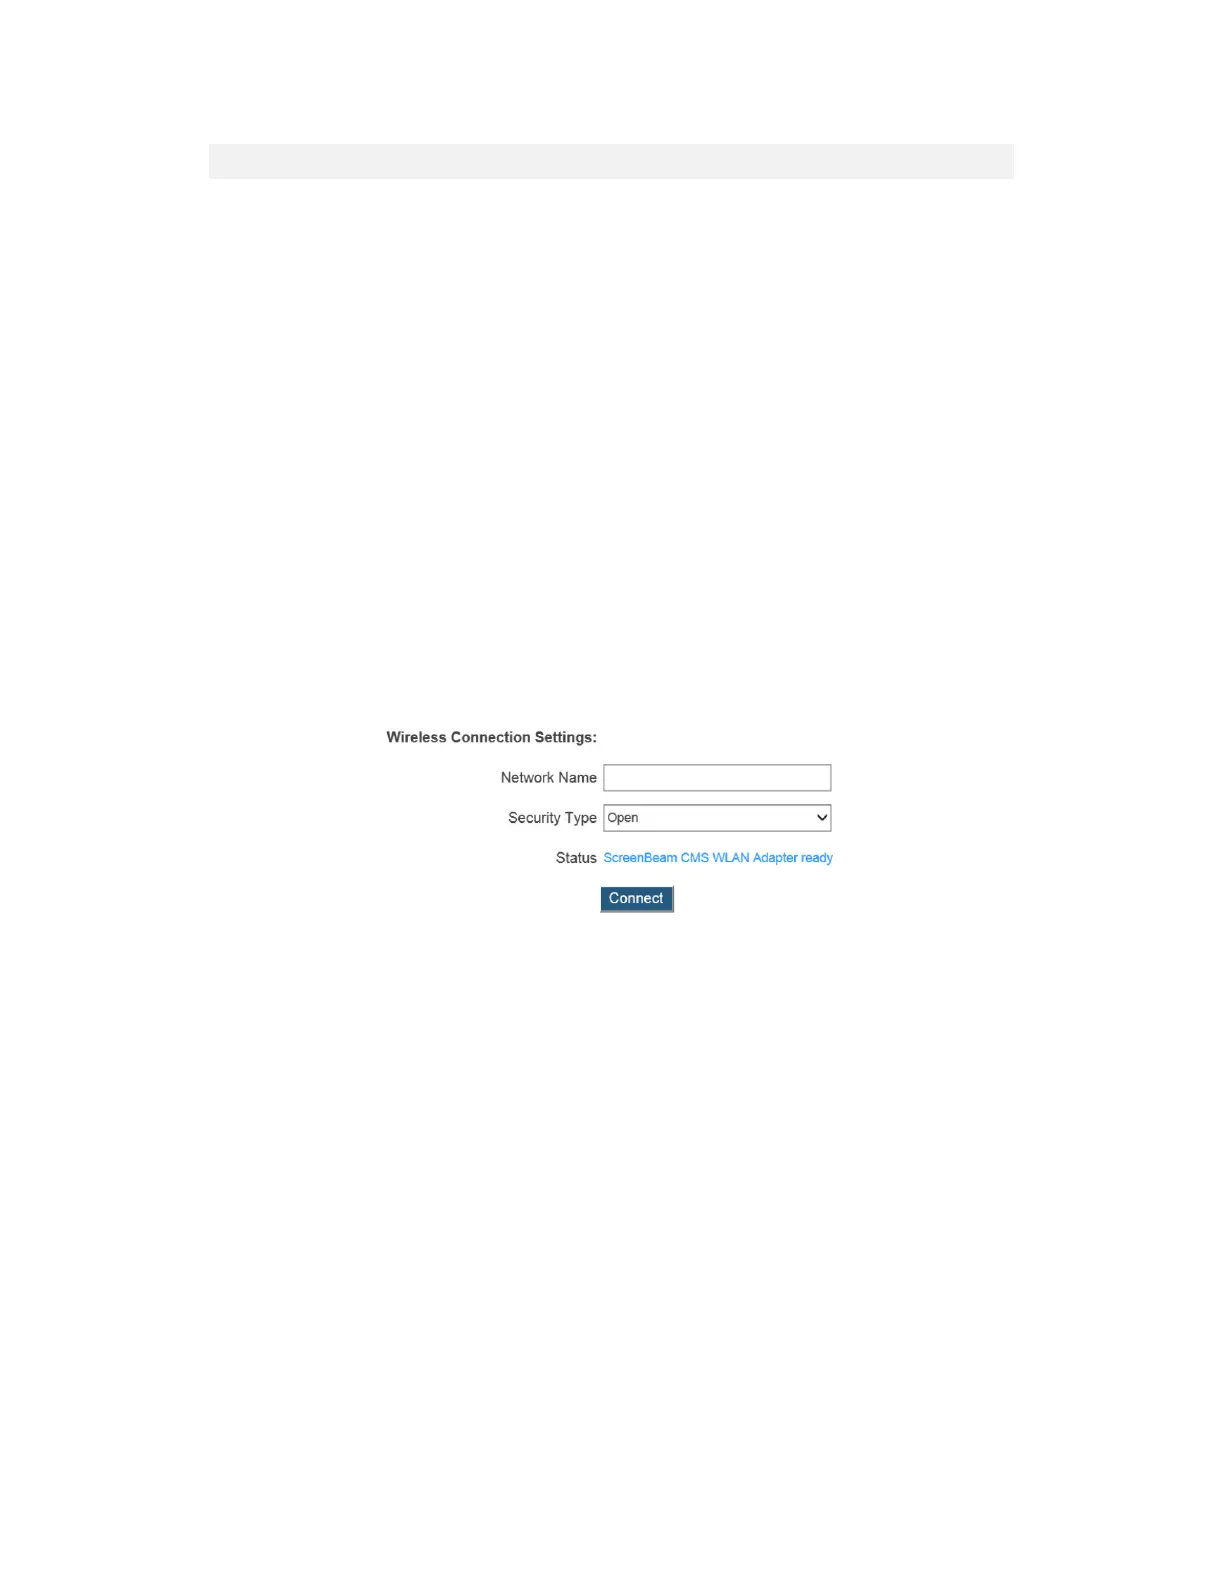
2. Go to LMI > Remote Management > Wireless Connection Settings, and configure
the parameters according to specific requirements.
Network Name: The SSID of the wireless router (AP).
Security Type: Select a security type, the one you have selected on your wireless
router. Available security types are Open, Shared, WPA-PSK[TKIP], WPA2-PSK[AES],
WPA-PSK[TKIP]+WPA2-PSK[AES], PEAP/MSCHAPV2, and EAP-TLS.
Status: It displays the connection states.
When Shared, WPA-PSK[TKIP], WPA2-PSK[AES], or WPA-PSK[TKIP]+WPA2-PSK[AES]
is selected,
User Name: Not used.
Password: The pre-shared password for the wireless SSID.
When PEAP/MSCHAPV2 is selected,
User Name: This is for authentication through a RADIUS server. It is RADIUS account
User Name.
Password: It is RADIUS account password.