201
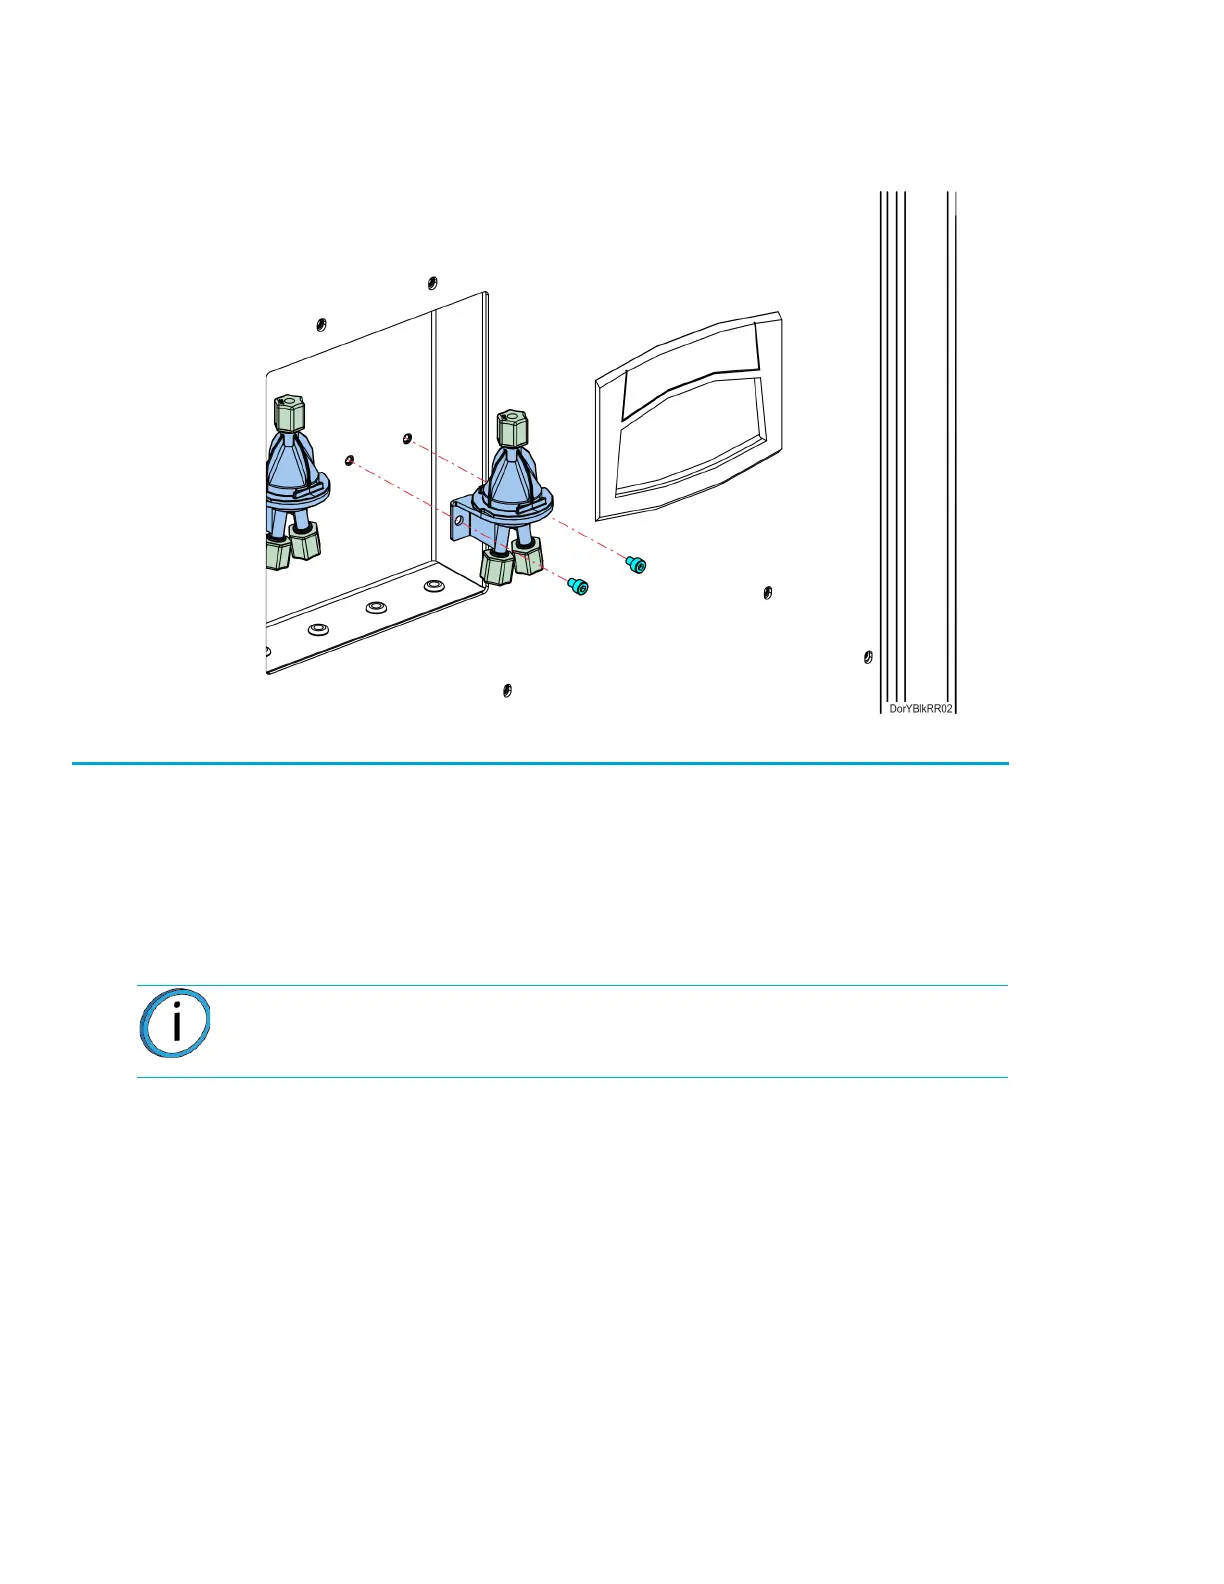
4. Using a 3 mm hex wrench, remove the Y block mounting screws (2). See Figure 7-43.
5. Remove the Y block.
Figure 7-43: Y Block Mounting Screw Locations
Installing the Y Blocks
1. Align Y block with the mounts and use a 3 mm hex wrench to reinstall the mounting screws (2).
See Figure 7-43.
2. Reconnect the material tubes to the Y block by pushing them through the loose compression
fittings until they bottom out. Tighten the compression fittings with the tubes fully seated. See
Figure 7-42.
3. Power ON the printer.
4. Load material to the head from the first model and support material bays.
5. Unload material from the head.
6. Load material to the head from the second model and support material bays.
Note: Verify that tubes are going to correct model and support connections.