Operating & Maintaining the Objet24 3D Printer
6–30
DOC-34014 Rev. C
7. Inthewizardscreen,selectthecheckboxtoconfirmthatthe
transparencysheetisonthebuildtray,andclick
Next.
Theprinterprintstheheadalignmenttestonthetransparency.
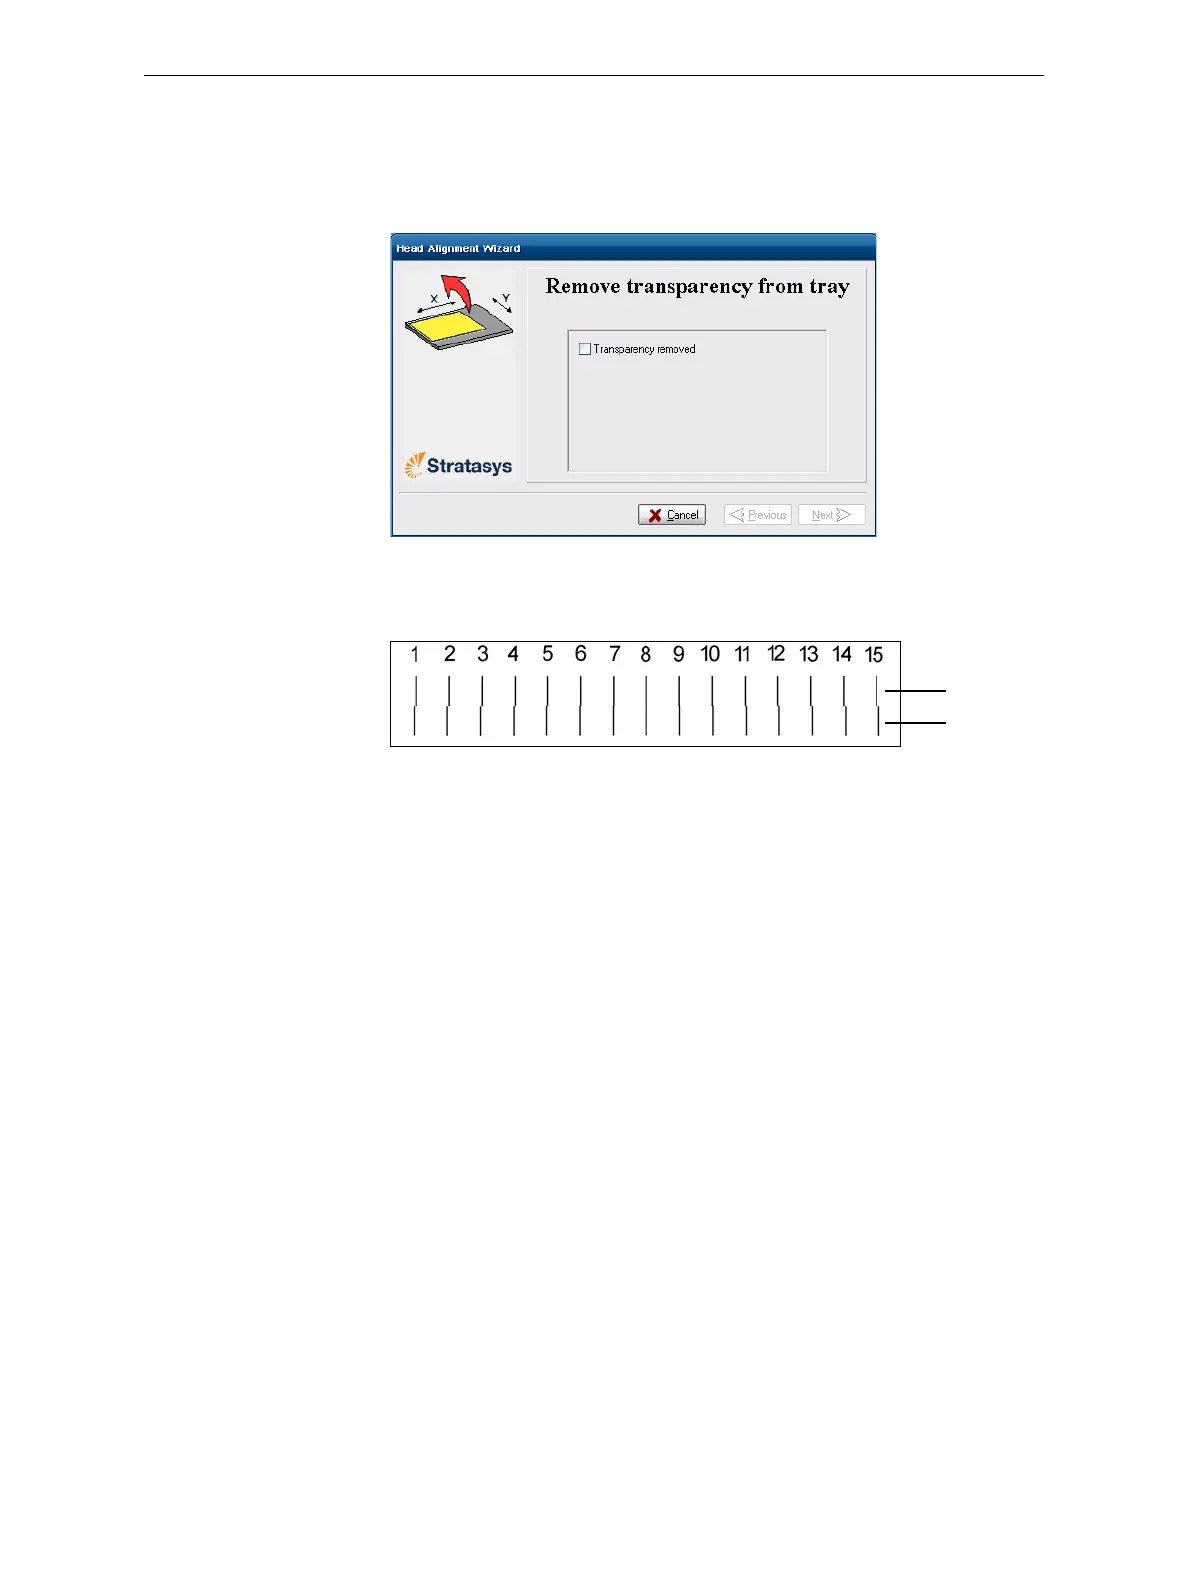
8. Whenthefollowingscreenappears,removethetransparency.
Figure 6-43: Head Alignment wizard—steps 8–10
Thetransparencysheetisprintedwithsetsofverticallinesintworows,
eachshowingtheresultsfromadifferentprinthead.
Figure 6-44: Sample head-alignment test
• ThetoprowwasprintedbytheheadusedforapplyingModel
materialwhenproducingmodels.
• ThebottomrowwasprintedbytheheadusedforapplyingSupport
material.
9. Useamagnifyingglassorloupetoinspectthetr ansparency.
Optimumheadalignmentisshownwhenthetwo#8lines,intheupper
andlowerrows,arealigned,asinfigure 6‐44.Intheexampleshown,no
changeto
theheadalignmentisnecessary.Ifotherlinesinthesetare
aligned,youneedtochangethealignment—inthenextwizardscreen.
10. Inthewizardscreenshowninfigure 6‐43,selecttheTransparency
removedcheckbox,andclick
Next.
Model head
Support head
 Loading...