14.
Turn the motor rpm adjustment knob to “0” and stop the
rotation of the pump.
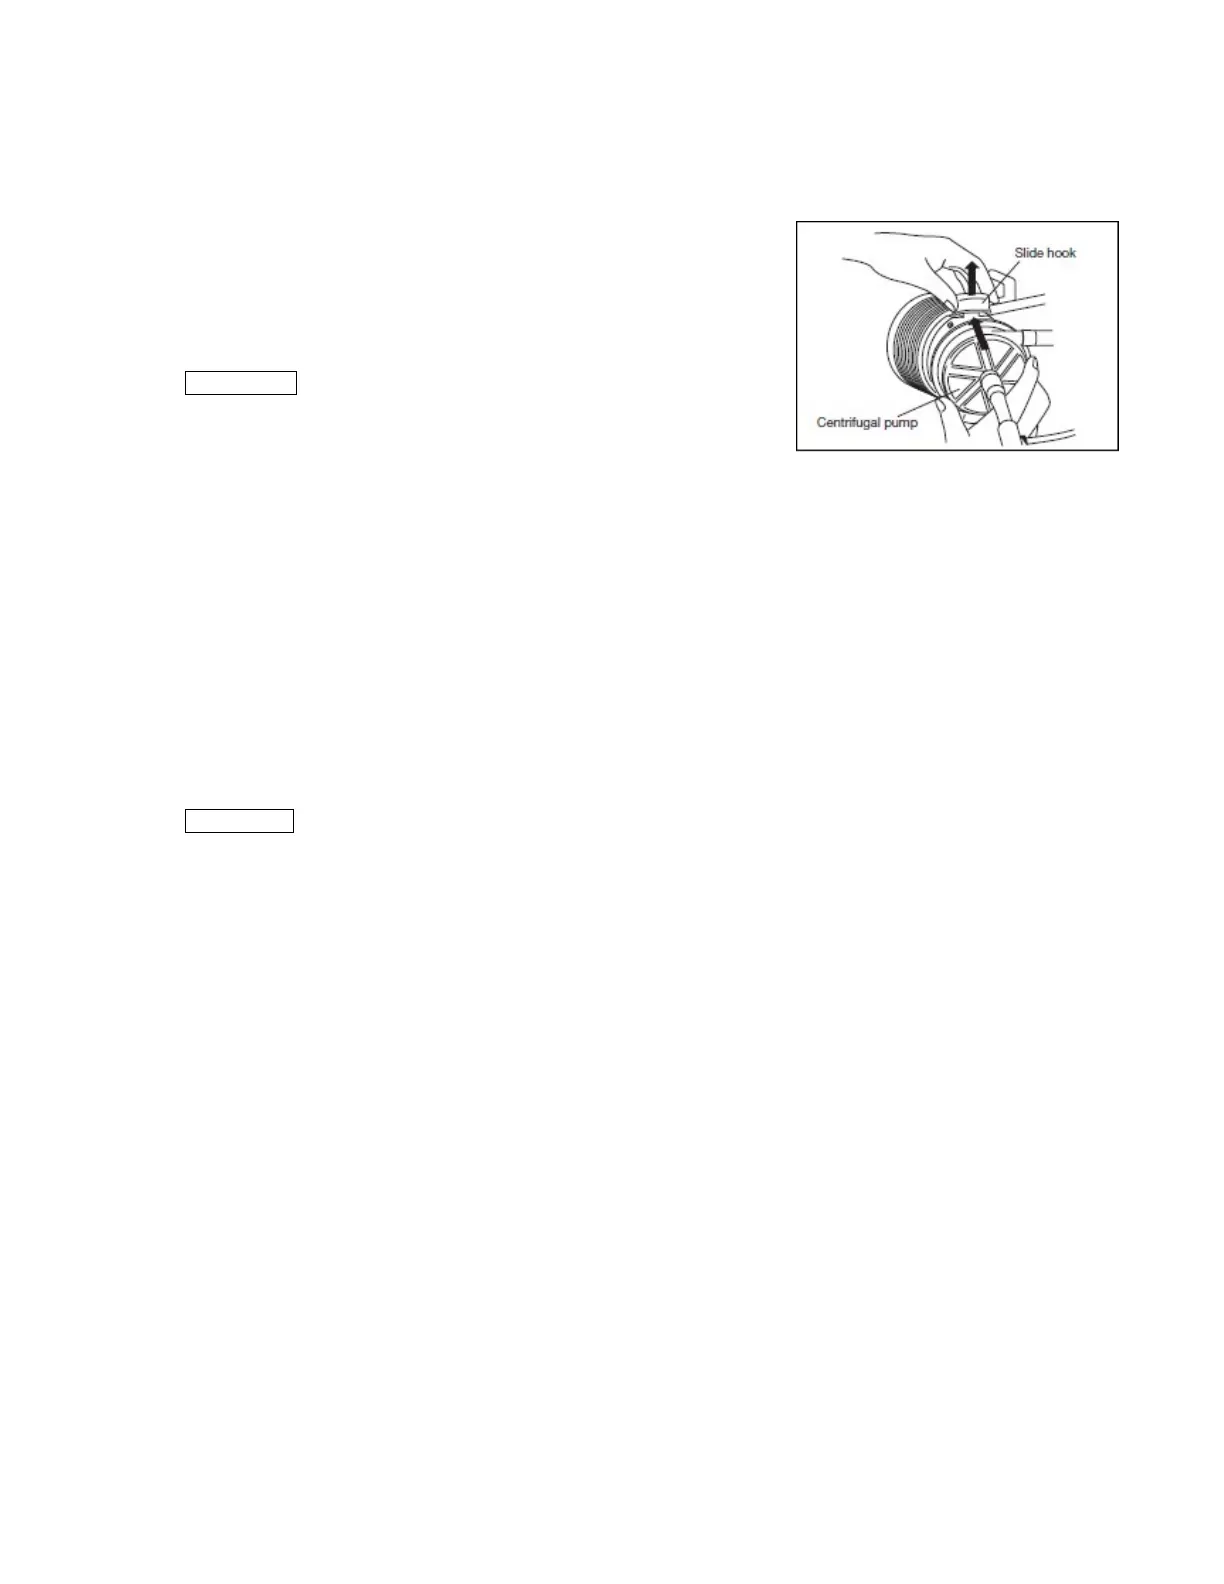
15.
Pulling up the slide hook of the drive motor, remove the
centrifugal pump from the drive motor (Figure 14).
After confirming that the centrifugal pump has been thoroughly
primed and there is nothing wrong with it, set the pump to the
drive motor again.
・Only when the display of the motor rpm indication
shows “0”, the centrifugal pump can be attached
or detached.
・ In case that the bubbles still remain in the
centrifugal pump, set the centrifugal pump to the
drive motor again, and remove them circulating
priming solution.
・After the bubbles were completely removed from
the circuit, until the extracorporeal circulation
starts, stop the centrifugal pump with its pump
speed "0". Do not continue circulation
excessively.
16.
Close the clamp and the 3-way stopcock on the priming line.
If circulation starts without closing the clamp and the
3-way stopcock, air will enter the circuit. Therefore,
be sure to close them.
Figure 14
CAUTION
CAUTIONS