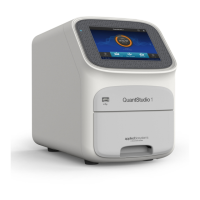
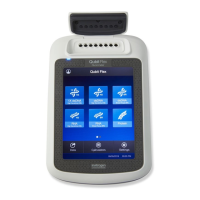
Transfer, view, or manage files and results
1.
In the home screen, when a run ends, touch Transfer File.
2.
Select the data destination for the EDS le.
3.
Navigate to and select a folder.
4.
Touch OK.
5.
Touch Transfer.
Note: Touch
Seings4Run History to transfer EDS les at any time.
In the home screen, touch Seings4Run History.
• Touch an individual run record to view its details, then complete one of the
following actions:
– Touch Delete to delete the run record.
– Touch Transfer to export the run data.
• Touch Manage to select multiple run records for simultaneous viewing, deletion,
or transfer.
Note:
·
Guests (users not signed-in) can only view guest run records.
·
Users signed into their instrument proles can also view their own run records.
·
Administrators can view all run records.
Note: If the connection between the instrument and the desktop software is
interrupted during the run, the instrument still completes the run. However, the run
data (EDS le) must be transferred from the instrument to the desktop software using
a USB drive or a network drive.
This feature applies to templates (EDT les) on a
USB or in
My Instrument. To
manage run results les (EDS les), see “Transfer EDS les from the instrument home
screen“ on page 23.
1.
In the home screen, touch Load Experiment.
2.
Touch USB or
My Instrument.
3.
Touch Manage Files.
4.
(Optional) Navigate through the My Instrument, Public, USB, and Post Read
folders to access an EDT le. Folder availability depends on your sign-in status.
5.
Touch one or more les to select for managing.
Transfer EDS
files
from the
instrument home
screen
View run history
and delete or
transfer files from
the instrument
Manage templates
(EDT files)
Chapter 2 General procedures to operate the instrument
Transfer, view, or manage files and results
2
QuantStudio
™
1 Real-Time PCR System Installation, Use, and Maintenance Guide
23