Configure the instrument and
manage instrument profiles
■
Initial start-up ....................................................... 25
■
Installation and instrument verication ................................. 26
■
Use the instrument without signing in .................................. 26
■
Create an administrator instrument prole during initial start-up ........... 27
■
Create a new instrument prole ........................................ 27
■
Overview of Seings .................................................. 28
■
Manage instrument seings ........................................... 30
■
Learn about the instrument ............................................ 34
■
Manage home screen notications ...................................... 35
■
Manage maintenance, service, and calibrations ........................... 35
■
Manage Users ....................................................... 36
■
Link an instrument prole with the Thermo Fisher Cloud ................. 38
Initial start‑up
Perform these tasks during initial instrument start-up or after you restore factory
defaults (see “Restore factory defaults“ on page 34).
1.
(Optional) Select one of the following options.
• Congure the instrument for either wired connection or wireless network
connection (see “Congure the network“ on page 32).
• Touch Neither/Decide Later.
2.
(Optional) Enter an instrument name (see “Manage the instrument name
(Administrator only)“ on page 31).
3.
Set the date and time (see “Set the date and time (Administrator only)“ on
page 32).
4.
Select one of the following options.
• Select a Cloud region (see “Select a Cloud region (Administrator only)“ on
page 32).
• Touch Next to continue.
3
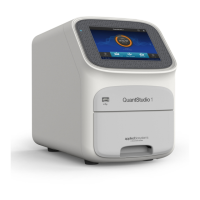
QuantStudio
™
1 Real-Time PCR System Installation, Use, and Maintenance Guide
25