Thaw, vortex, and centrifuge an RNase P plate
IMPORTANT! Expose the RNase P plate to room temperature for no more than
45 minutes, inclusive of thawing and preparation time.
After thawing, the RNase P plate cannot be refrozen.
1.
Remove the RNase P plate from the freezer, then thaw the plate in its packaging.
• Thaw the plate for approximately 5 minutes.
• Use the plate within 30 minutes of thawing.
2.
Conrm that the bench, vortex, and centrifuge are clean. Before use, wipe the
vortex and centrifuge using a lint-free tissue.
3.
While wearing powder-free gloves, remove the plate from its packaging.
4.
Vortex the plate for 5 seconds, then centrifuge at 750–1,000 × g for 2 minutes.
5.
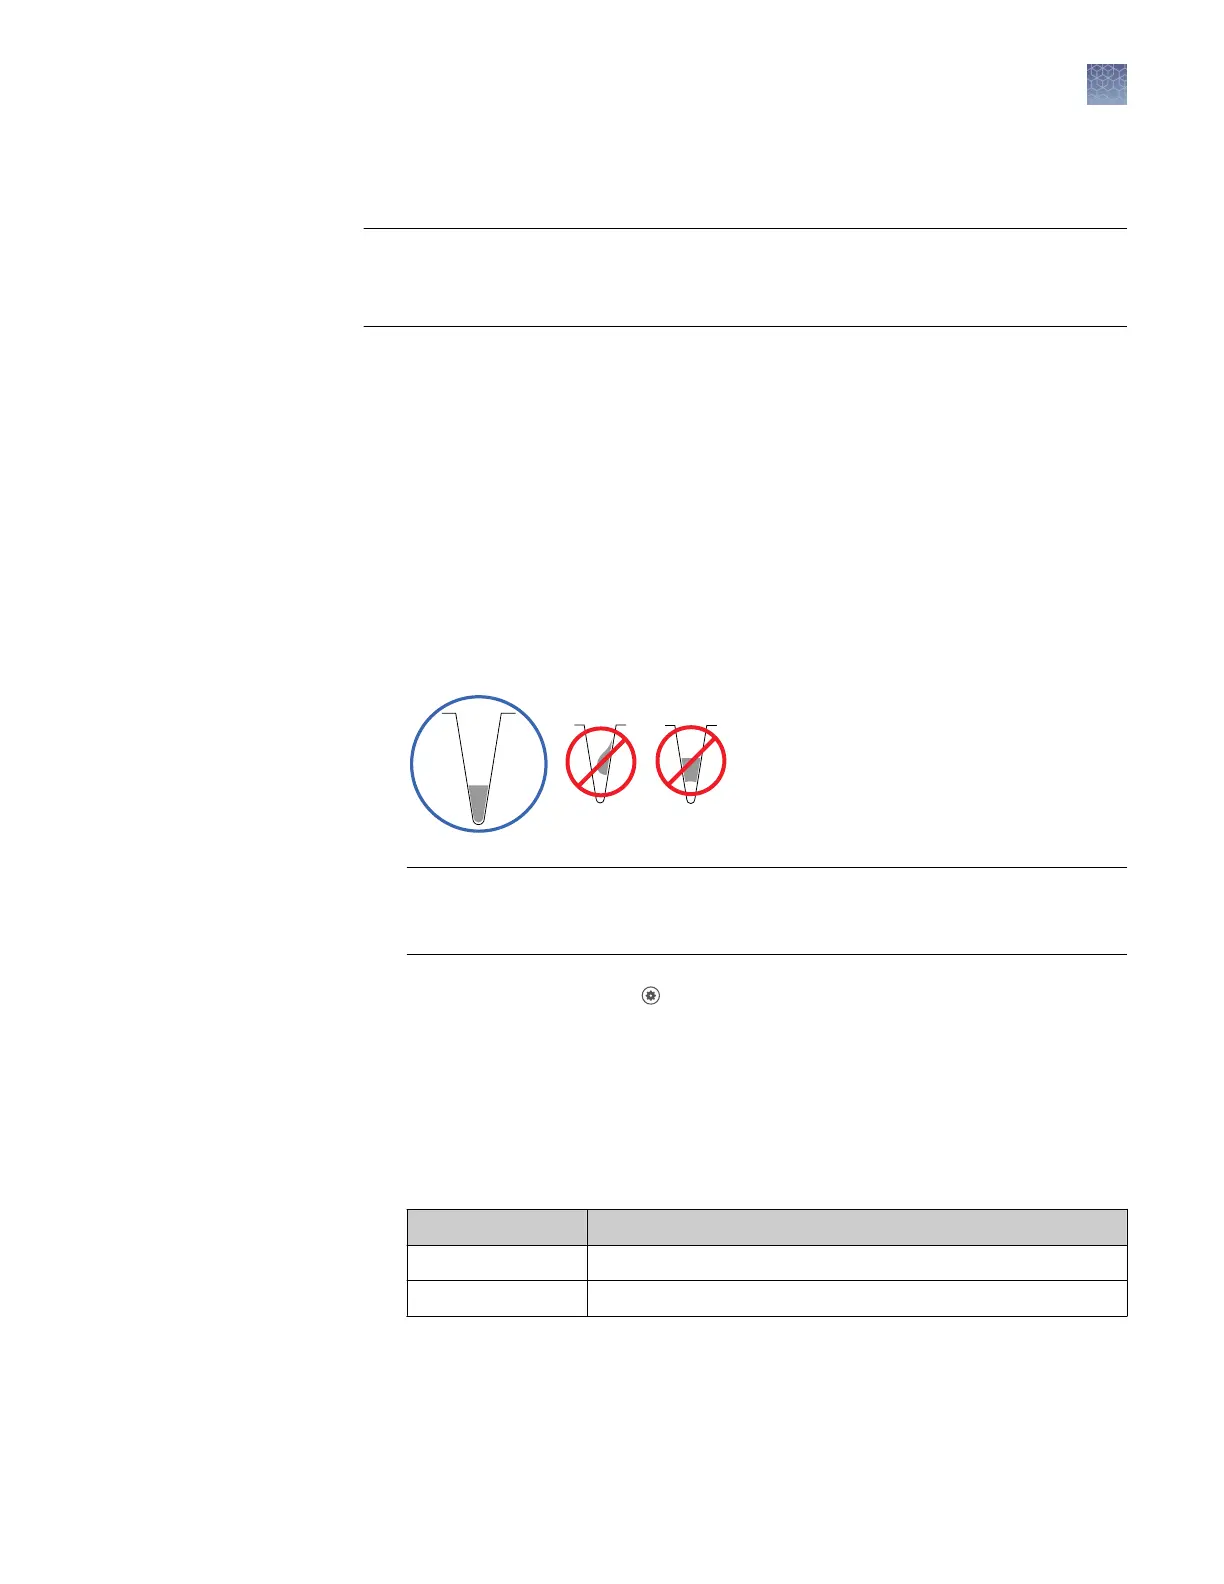
Conrm that the liquid in each well is at the boom of the well and free of
bubbles. If it is not, centrifuge the plate again.
IMPORTANT! Keep the boom of the plate clean. Fluids and other contaminants
on the boom of the plate can contaminate the sample block and cause an
abnormally high background signal.
1.
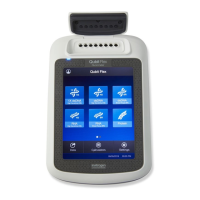
In the home screen, touch Seings4Maintenance and Service4RNase P
Verication.
2.
Load the plate into the instrument.
3.
Touch Start.
4.
When the run is complete and the screen displays Verication Complete, touch
View Results to conrm the status of the run.
Calibration status Action
Passed Instrument is ready for use.
Failed See “Troubleshoot verification failure“ on page 61.
Perform RNase P
verification
Chapter 5 Calibrate and verify instrument performance
Perform instrument verification using RNase P plates
5
QuantStudio
™
1 Real-Time PCR System Installation, Use, and Maintenance Guide
59