Set up a wired connection
1.
In the home screen, touch Seings4Instrument Seings4Network
Connection4 Wired.
2.
In the Network Conguration screen, touch a radio buon to connect to a
network either by DHCP or by a Static IP address.
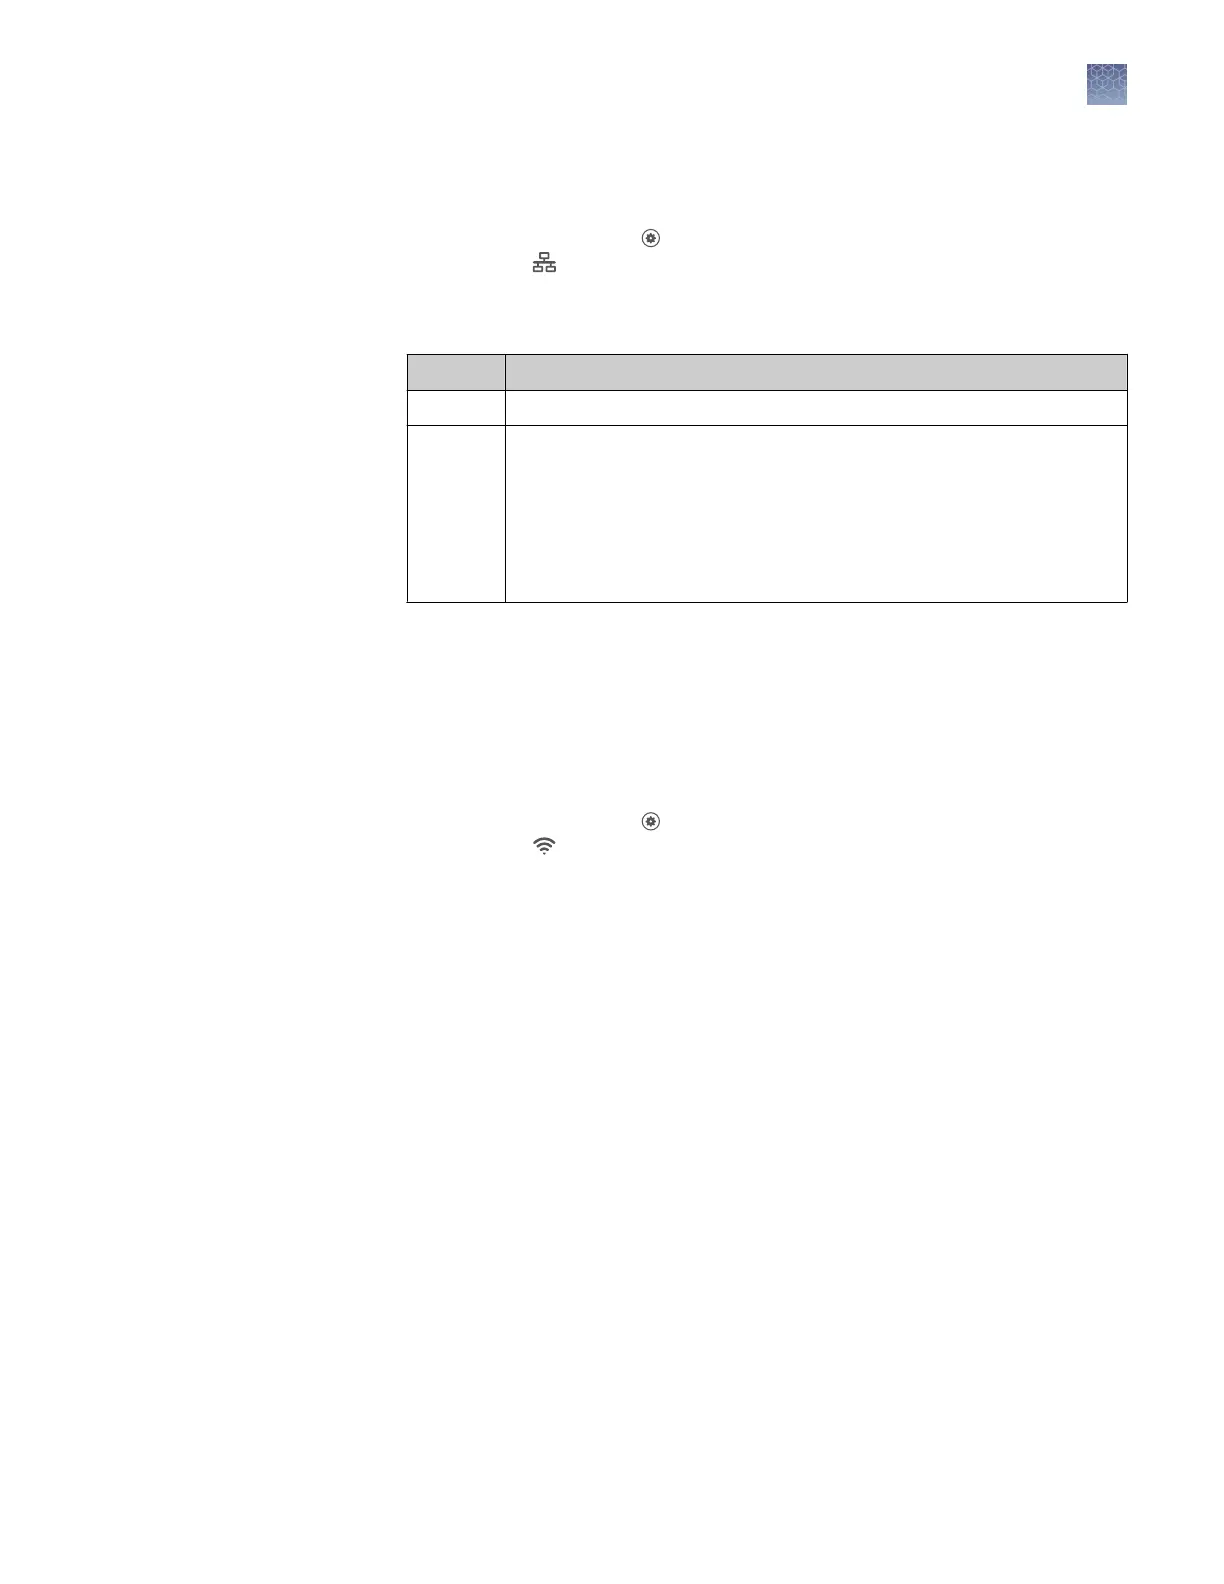
Option Action
Automatic Touch DHCP.
Manual
1. Touch Static IP.
2. Enter the IP address for the instrument, the Subnet Mask, the
Default Gateway, and
(optional)
the Primary DNS Server and the
Secondary DNS Server.
Addresses are in the form of X.X.X.X, where each X is a number
from 0 to 255.
Note:
Ask your system administrator if the IP address is assigned statically or
dynamically. For static addresses, you need to know the IP address for the
instrument, the Subnet Mask, and the Default Gateway.
3.
Touch OK.
Set up a wireless connection
1.
In the home screen, touch
Seings4Instrument Seings4Network
Connection4 Wireless to display a list of the available networks.
2.
Select a network or touch Join other network, enter the network password, then
touch Enter.
If you select Join other network, enter the network name and security type.
3.
Touch Join to continue.
4.
In the Network Connection Complete screen, touch Next.
5.
Touch OK.
6.
In the Network Conguration screen, edit the Network details or touch Done.
Chapter 3 Configure the instrument and manage instrument profiles
Manage instrument settings
3
QuantStudio
™
1 Real-Time PCR System Installation, Use, and Maintenance Guide
33