RPTU ISDN Primary Rate Interface Unit
DK40 Universal Slot PCBs
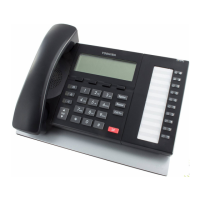
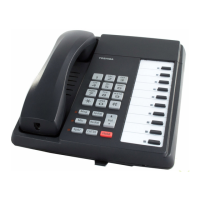
Strata DK40 I&M Manual Spring 1999
3-31
Refer to the Strata DK40 Programming Manual or DK Library CD-Rom for more details.
Program *63-1: Assigns a “Sub-Address Timeout” facility between dialled number and
“Sub-Address” information being sent to line
Program *63-2: Assigns a system “Inter Digit Pause Timeout” to start after a valid trunk
access code has been dialled
Programs 71~75: Assigns the stations that are to be members of the system groups nominated
(as per the settings in Program *09).
Program 76: Assigns Alpha Tagging to system groups nominated (as per Program *09).
Program 78: Assigns special ringing of lines; includes Night Ring Over Page, DISA, Remote
Maintenance via the Internal Maintenance Modem (IMDU), and integrated Auto Attendant.
Programs 81~89: (DEL Mode only)
◆ Assigns lines to ring selected stations
◆ Assigns Delayed Ringing to any line.
Program 93: Assigns names to lines
To Install the RPTU PCB
4. Turn the DK40 system power OFF.
5. Insert the RPTU (component side facing right) into the appropriate slot (see “Slot
Assignments” on Page 3-29) and apply firm, even pressure to ensure proper seating of
connectors.
6. After installing the RPTU, gently pull the PCB outward. If the connectors are properly
seated, a slight resistance is felt.
Note
For cabling information and requirements, refer to “Cabling” on Page 3-34.
 Loading...