PCB Chapter Layout
DK40 Universal Slot PCBs
Strata DK40 I&M Manual Spring 1999
3-3
Refer to the Strata DK40 Programming Manual or DK Library CD-Rom for more details.
PCB Chapter Layout
Each PCB outline begins with the PCB’s designation and title (the outline appears in the
chapter in alphabetical order by designation). A brief synopsis of the PCB appears next and
includes a notation of the system(s) that the PCB can be used in, the circuits supplied by the
PCB and what equipment the PCB interfaces with.
Installation and programming instructions follow the synopsis with a table showing the
PCB’s controls, indicators and connectors and an illustration of the board.
sample.pg
System:
DK40 Expansion KSU
Circuits per PCB:
eight standard telephone circuits
Interfaces with:
standard telephones
voice mail ports
off-premises stations
other similar devices
alternate BGM source (circuit 2 only)
auto attendant digital announcer
Compatible Slot(s):
slots 15~18
Older Versions:
PSTU2-190V P-P or 130V P-P W1 jumper
RSTU
Standard Telephone Interface Unit
RSTU2 Standard Telephone Interface Unit
DK40 Universal Slot PCBs
PCB Title
System:
Circuits per PCB:
Gives the type of system that is
compatible with the given PCB. Be
sure to read this information before
attempting to use a PCB with your
system application.
Type and number of circuits
available on the PCB.
Type of line/hardware the PCB can
accept.
Interfaces with:
Describes older version or versions
of the PCB.
Older Version(s):
Only one telephone (or device) can be connected to a RSTU2 port. If more than one telephone
or device is connected to a port or ringing may not function.
Notes
●
For the system to recognise the DTMF tones generated by a standard telephone (or
any other device connected to a standard telephone port), a DTMF receiver Unit
(K5RCU) must be installed on the DK40.
●
Most standard telephones and two-wire devices require the 190VP-P level; however,
some devices may experience ring-trip with 190VP-P and should be set for 130 P-P.
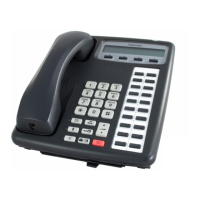
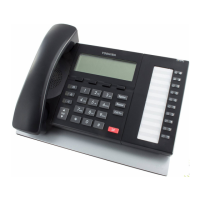
See Figure 34 for an illustration of the PSTU2. Figure 35 shows the RSTU2. See Table 54, for
details of the PSTU and RSTU2 controls and indicators.
Which system slot(s) the PCB can
be installed into.
Compatible Slot(s):
 Loading...