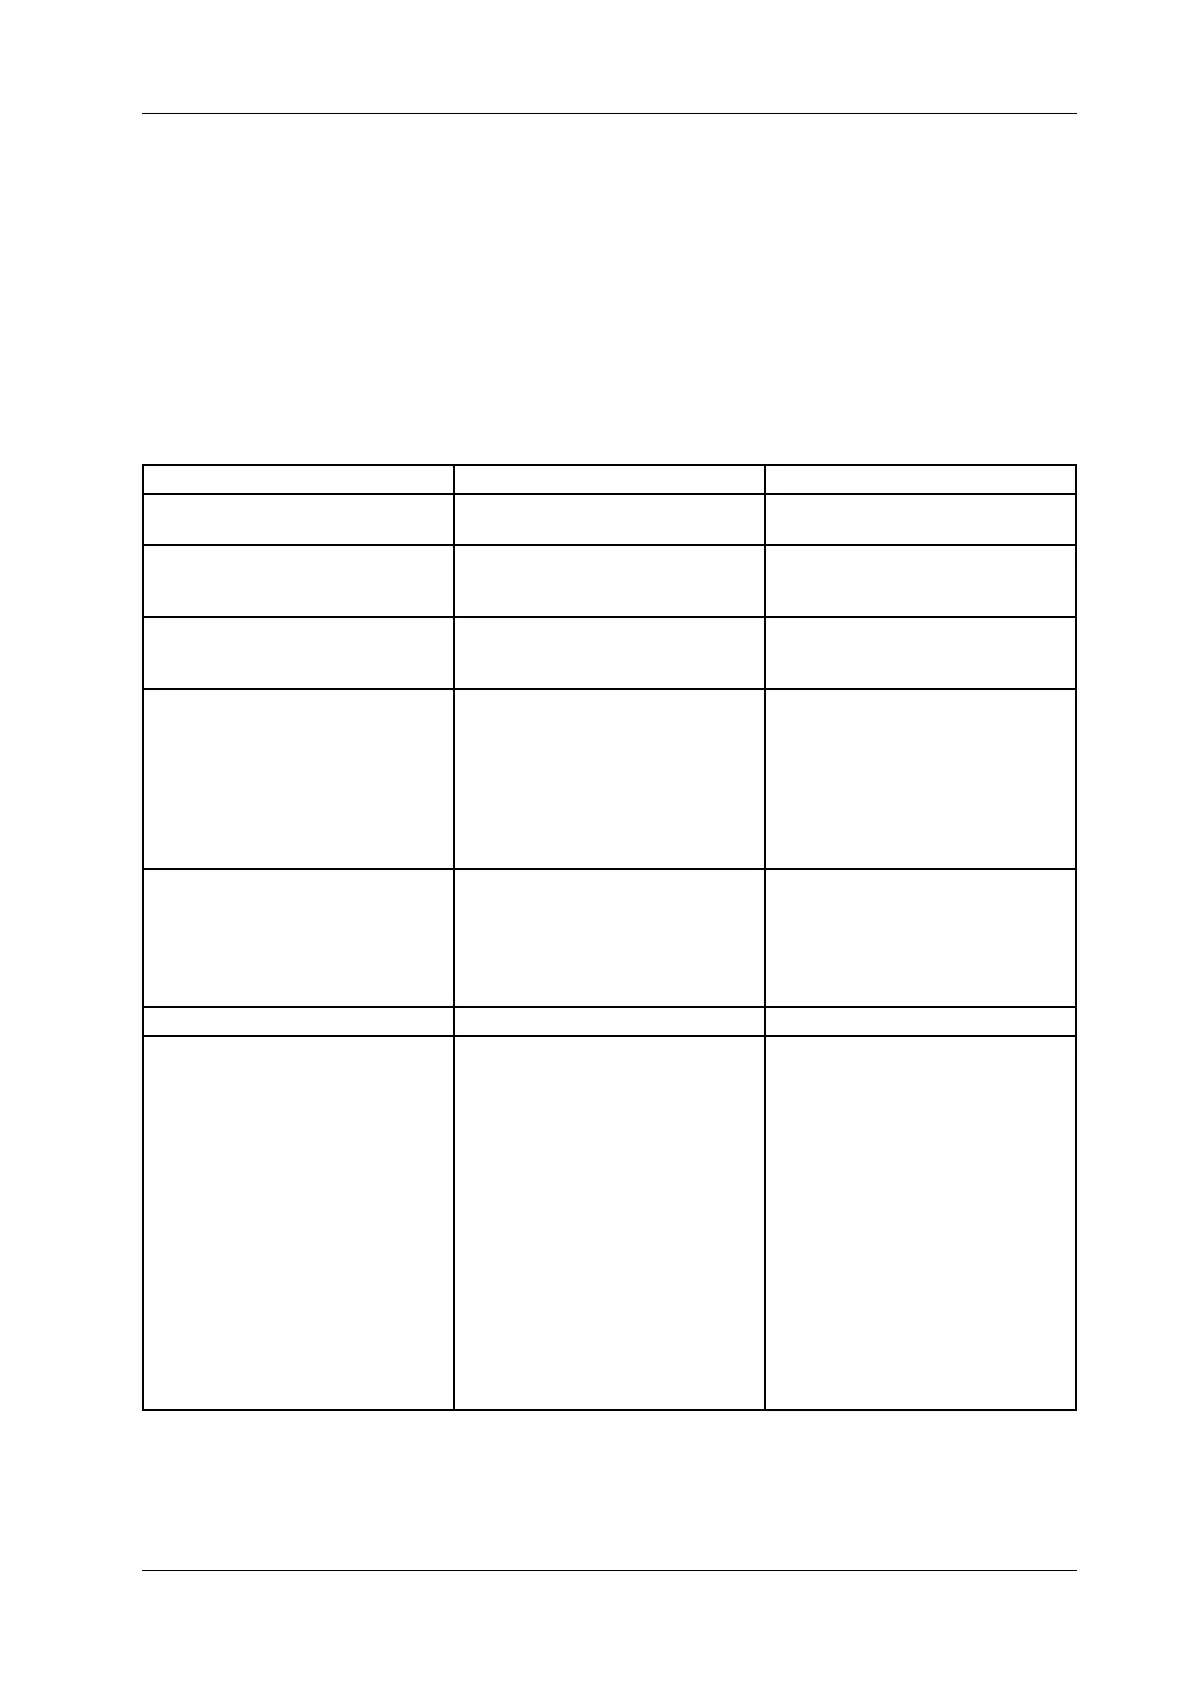
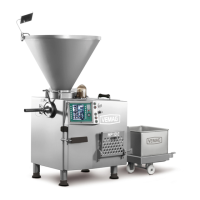
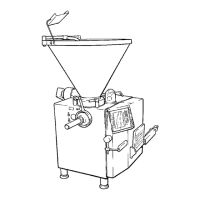
HP10E / HP12E / HP15E / HP20E - Dairy design 9. Troubleshooting
9-1© VEMAG 2013
9. Troubleshooting
9.1 General information
Any attachments or additional devices (optional) which may be present
should be disconnected from the lling machine for troubleshooting
purposes. The relevant safety instructions must be followed. Possible
faults, causes and the measures you need to take to remedy them are
listed below.
9.2 Troubleshooting table
Fault Cause Remedy
Machine does not start. Hopper open.
No lling horn holder.
Source of fault shown in display.
Check part displayed.
Machine stops on leak
detection.
(Oil level tank / Oil leakage FSdrive)
Leakage into the doublescrew drive
leak detection area.
Probable seal failure on
doublescrew drive - contact
VEMAG Customer Service.
Vacuum pump not running. Power switch QM4 triggered.
Vacuum pump overloaded.
Switch on power switch.
Check vacuum pump.
Display does not light up. No mains voltage.
Main switch not on.
Fuse F1, F2, F3 defective.
Power supply or graphic control
defective.
Have machine back-up fuse re-
placed by electrician.
Switch on main switch.
Have fuse replaced by electrician.
Have defective part replaced by
electrician.
Vacuum level not reached, vacuum
unstable.
Leak in vacuum system.
Water or product residues in line to
display.
Air de-oiling element contaminated.
Check vacuum system.
Clean or replace line.
Replace air de-oiling element.
Machine temperature too high. Air lter contaminated. Clean air lter.
Air trapped in product. Unsuitable or worn double screw.
Vacuum display uctuating or too
low.
Air relief bores in double screw
housing blocked.
Too much air blended in.
Vacuum system blocked.
Check double screws.
Check vacuum system for leaks,
paying special attention to the dou-
ble screw drive seal. If the vacuum
display is uctuating, the vacuum
pump is taking in air. In this case,
check the oat in the valve.
Open air relief bore using the setting
screws.
Use mixing speed during the nal
bowl-cutting phase.
Check complete vacuum system for
free ow.