Vertiv™ | Liebert® STS2/PDU
™
User Manual | Rev. 6 | 10/2017 108
To configure the Input Contact Isolator relays:
1. Select INPUT CONTACT ISOLATOR from the Comm Options menu.
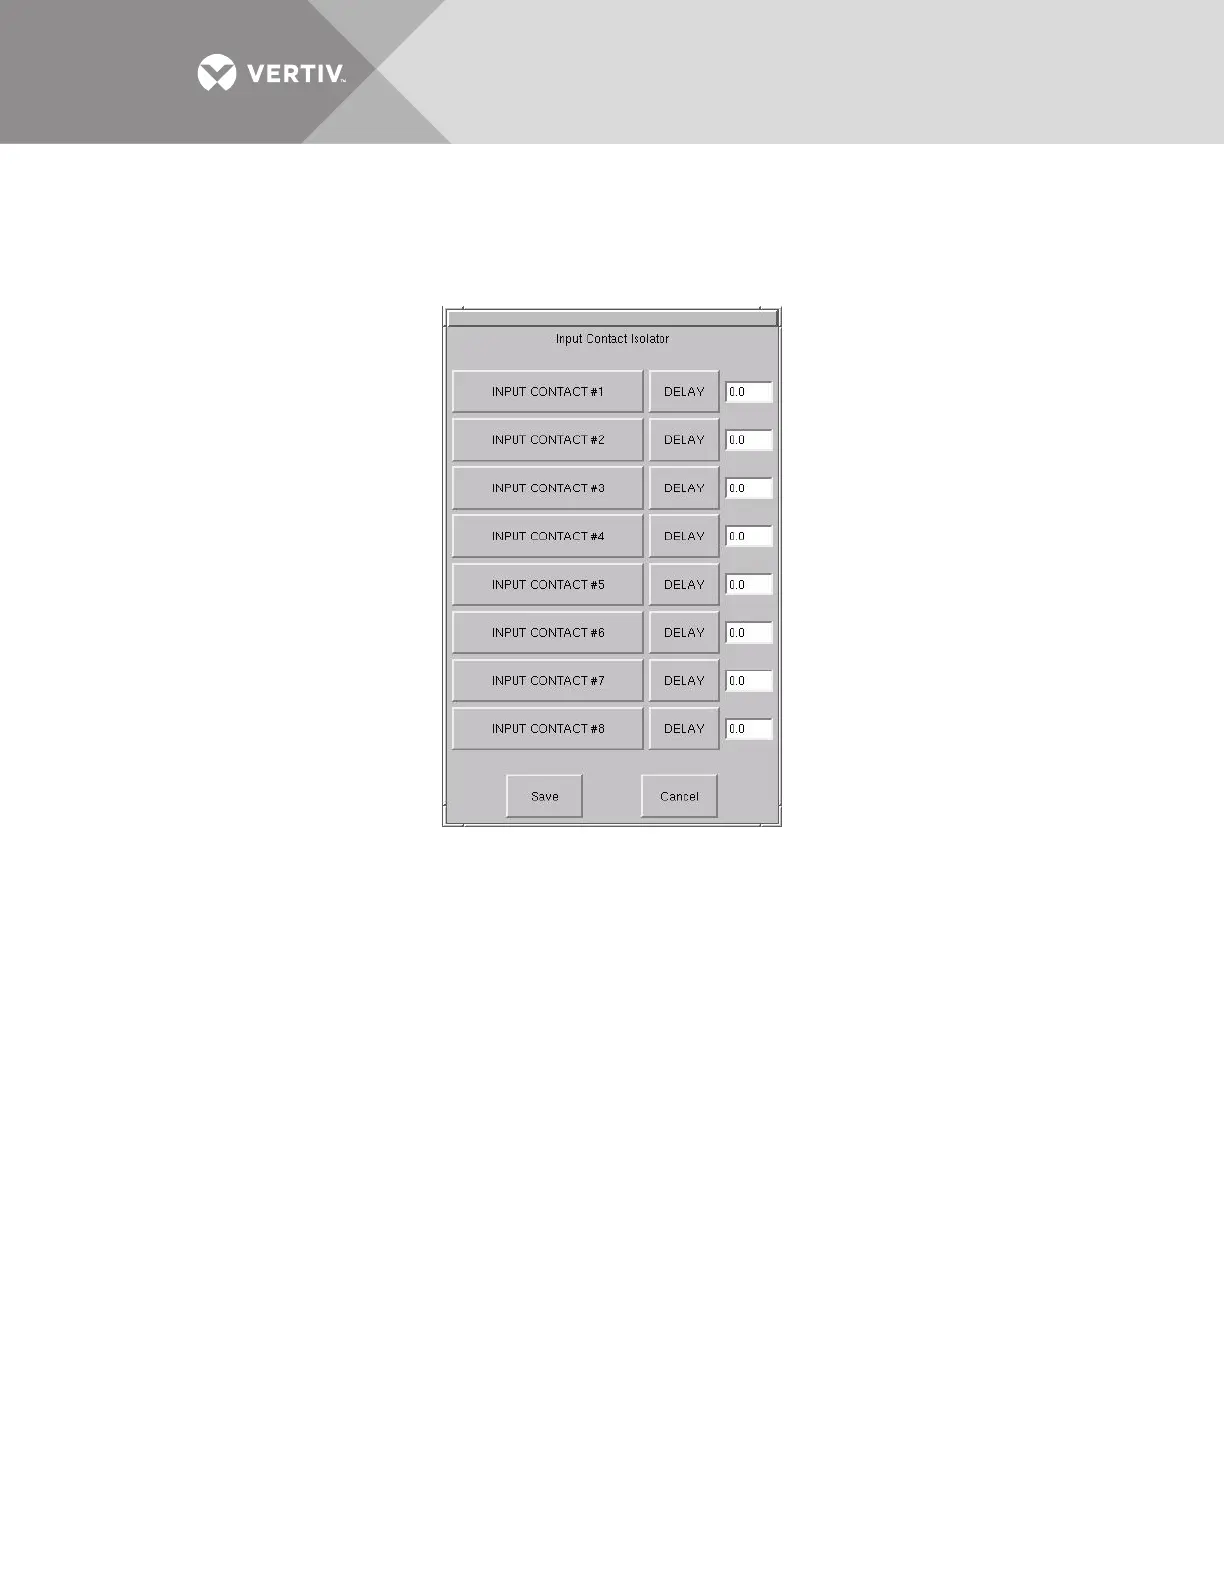
The Input Contact Isolator dialog box is displayed.
Figure 71 Input Contact Isolator dialog box
2. Select INPUT CONTACT 1.
A keyboard is displayed to allow you to enter the name of the alarm.
3. Enter the name of the alarm set for that input. For example, a fan problem could be indicated by naming the button FAN.
4. Select OK on the keyboard to keep your label.
5. Select DELAY.
A keypad is displayed prompting you for a delay time, in seconds, for a condition to exist before the alarm is triggered.
6. Enter the delay value. The range for the values are from 0 (zero) to 99.9 seconds.
7. Select OK on the keypad to keep your setting.
The value you entered is displayed in the field adjacent to the corresponding input contact.
8. Repeat Steps 2 to 7 for each input contact.
9. Select SAVE after you have configured all input contacts.
Be sure to select Save even if you have accessed this dialog only to change a setting.
10. Enter the settings in Table 33 - Input contact isolator settings record.
This information is not saved if control power is removed.
11. Select OK in the Comm Options dialog box to activate the settings.