February 2013
4-286
ColorQube® 9303 Family
REP 75.11
Repairs/Adjustments
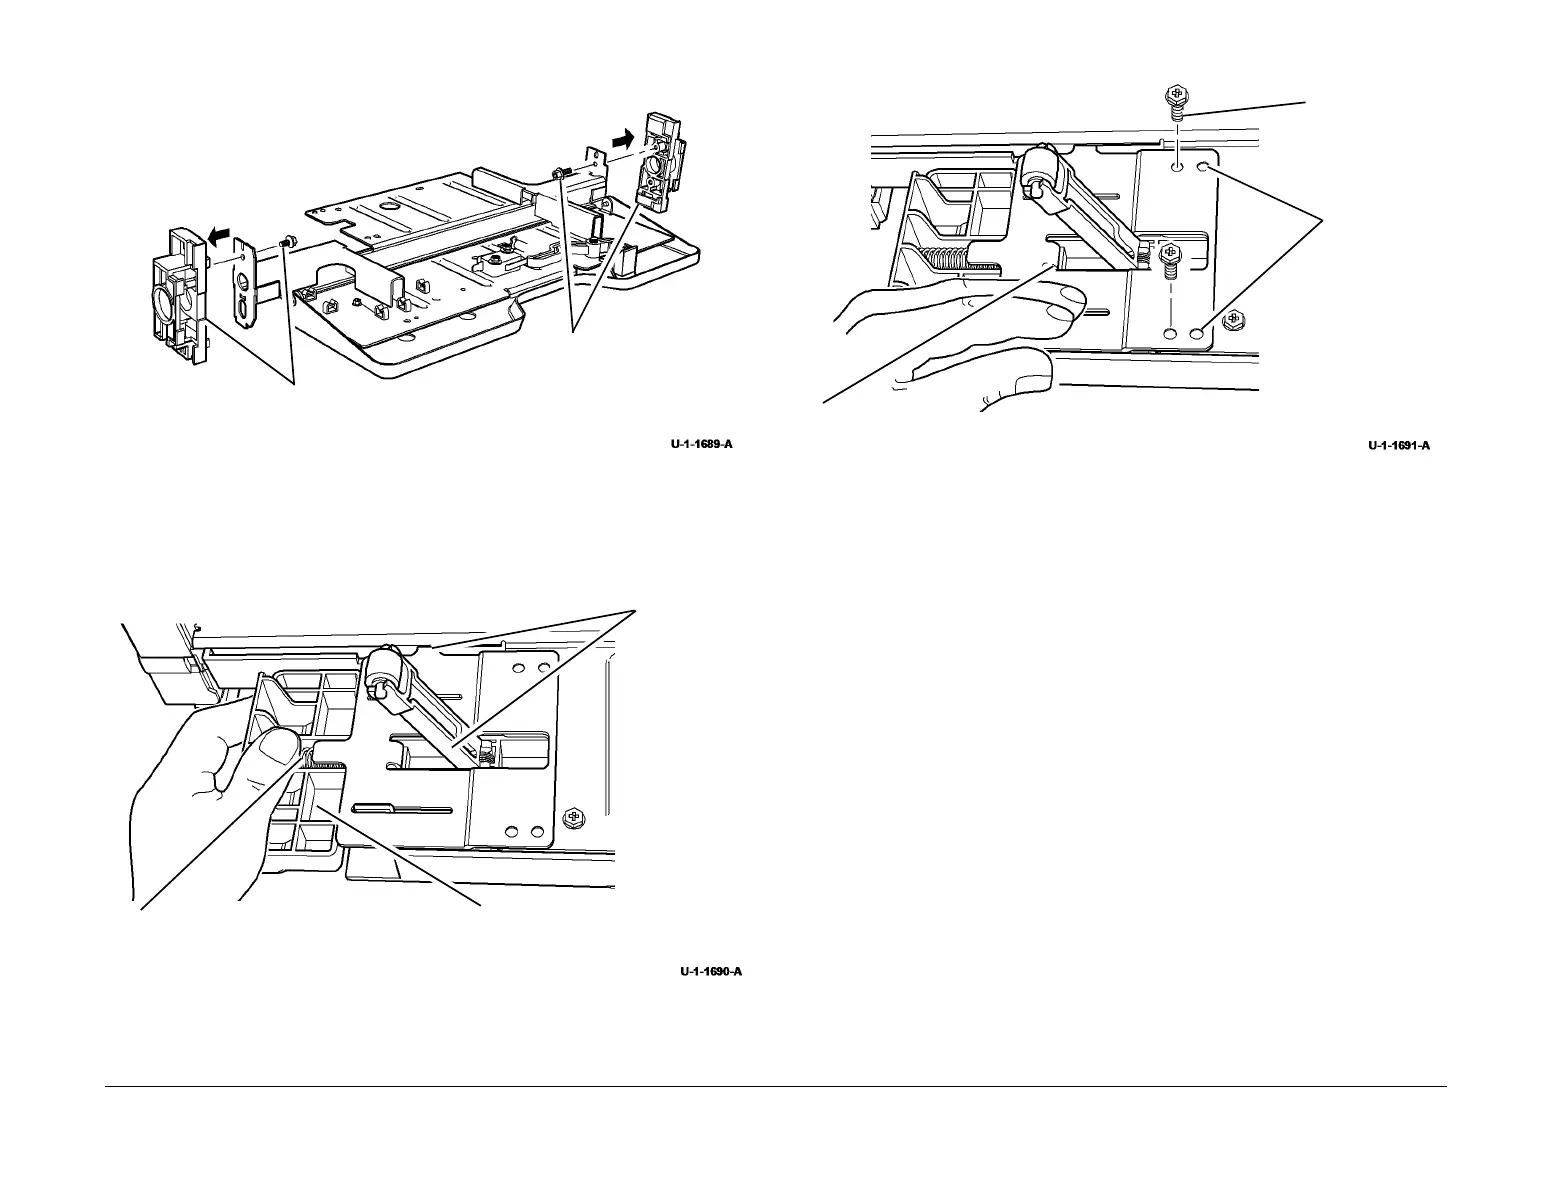
Figure 4 Elevator tray guides removal
Replacement
1. Re-assemble the elevator tray by reversing the removal steps 3 to 5.
2. Install the rear guide assembly, Figure 5 and Figure 6.
Figure 5 Rear guide assembly install
Figure 6 Rear guide assembly install
3. The remainder of the installation is the reverse of the removal procedure, refer to REP
75.10 and perform the replacement procedure.
1
Remove the screw, then
remove the rear elevator
tray guide
2
Remove the screw, then remove
the front elevator tray guide
1
Compress the spring into the cavity and
retain the spring using a thumb or finger
2
Position the infill plate
in the tray assembly
Position the fix
ing plate over
the actuator
arm and place
the tongue in
the cutout
1
Position the spring stop between the spring and the inside end of the cavity
2
Locate the
retaining plate
dowels in the
locating holes
3
Insert and tighten
2 screws
 Loading...


