February 2013
4-298
ColorQube® 9303 Family
REP 81.11
Repairs/Adjustments
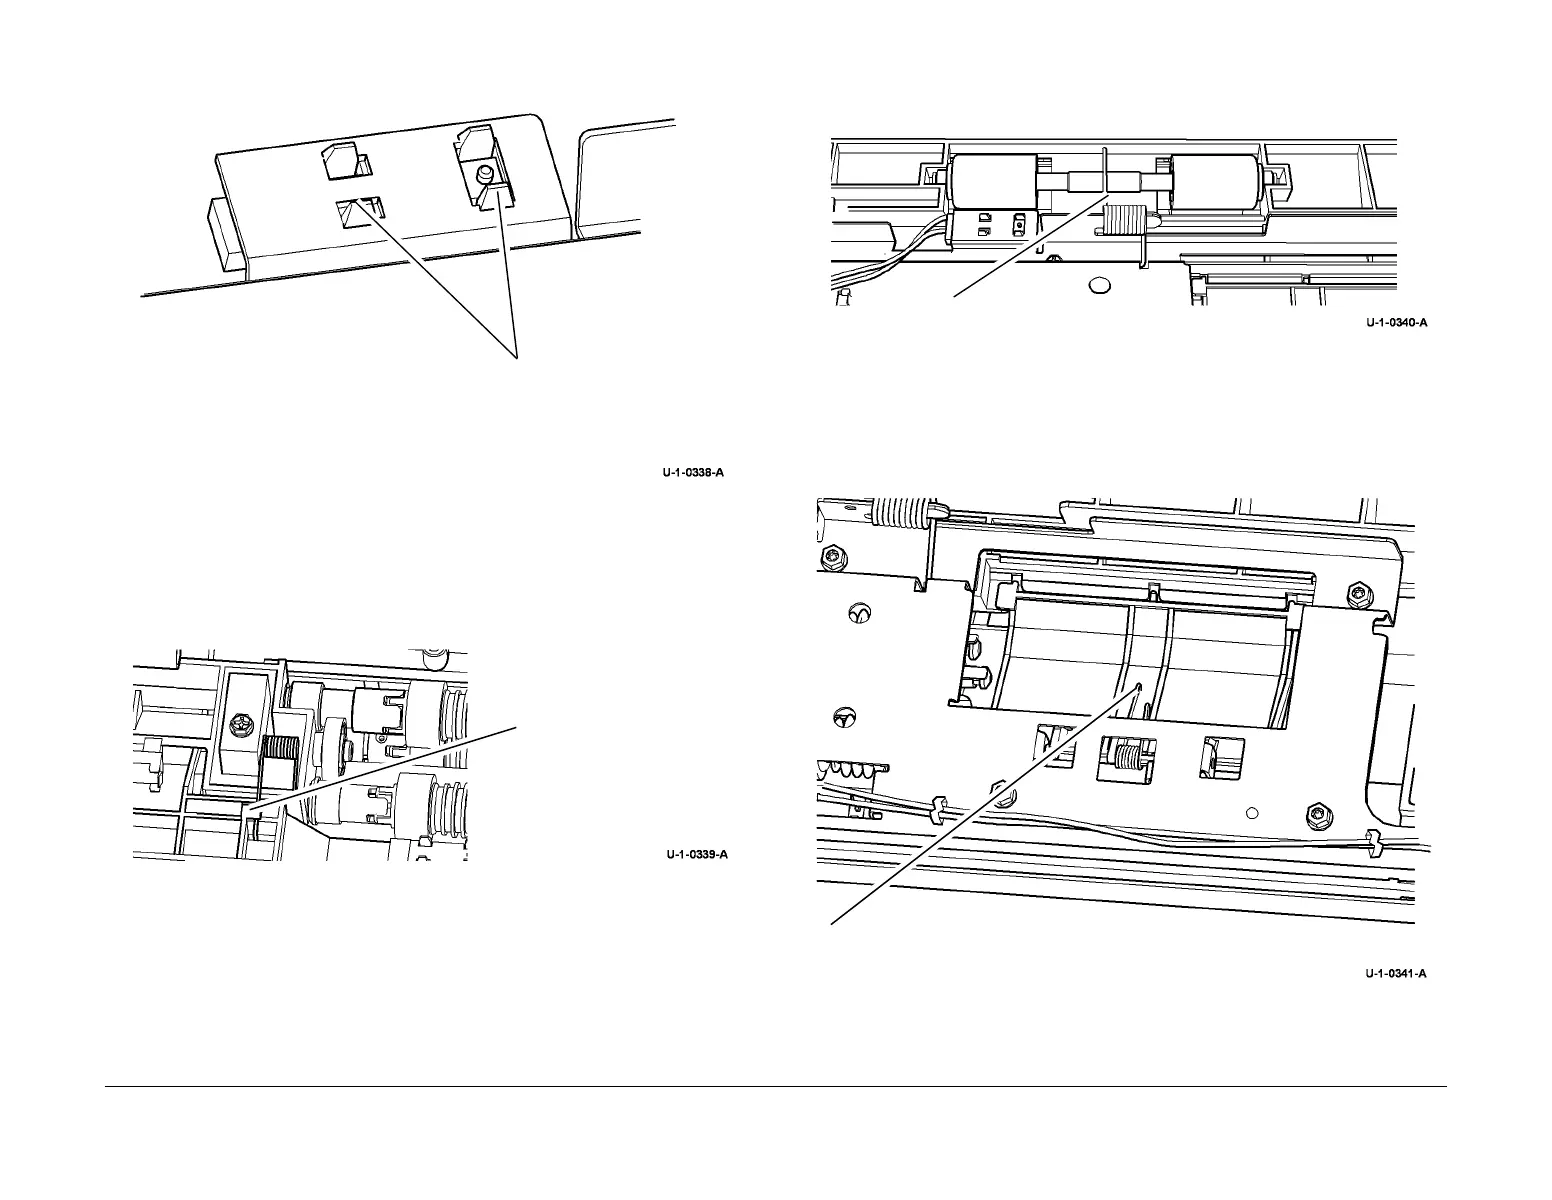
3. Remove tray 5 feed sensor, Figure 2.
Figure 2 Remove the feed sensor
Replacement
1. The replacement is the reverse of the removal procedure.
2. Make sure that the torsion nudger spring on the paper feed assembly is in the correct
position, Figure 3.
Figure 3 Spring location
3. Make sure that the housing spring is positioned on top of the takeaway idler roller shaft
when the upper feed assembly top cover is installed, Figure 4.
Figure 4 Spring position
4. Make sure that the torsion chute spring is positioned on top of the chute upper insert, Fig-
ure 5.
Figure 5 Spring position
5. Check that the correct screw is used to attach the upper feed assembly top cover.
6. Check that the harness routing is correct, Figure 1.
2
Press the tabs to release the
sensor
Locate the torsion nudger
spring under the post
Housing spring position
Position the torsion chute spring on the
top of the chute
 Loading...


