February 2013
4-376
ColorQube® 9303 Family
REP 91.31
Repairs/Adjustments
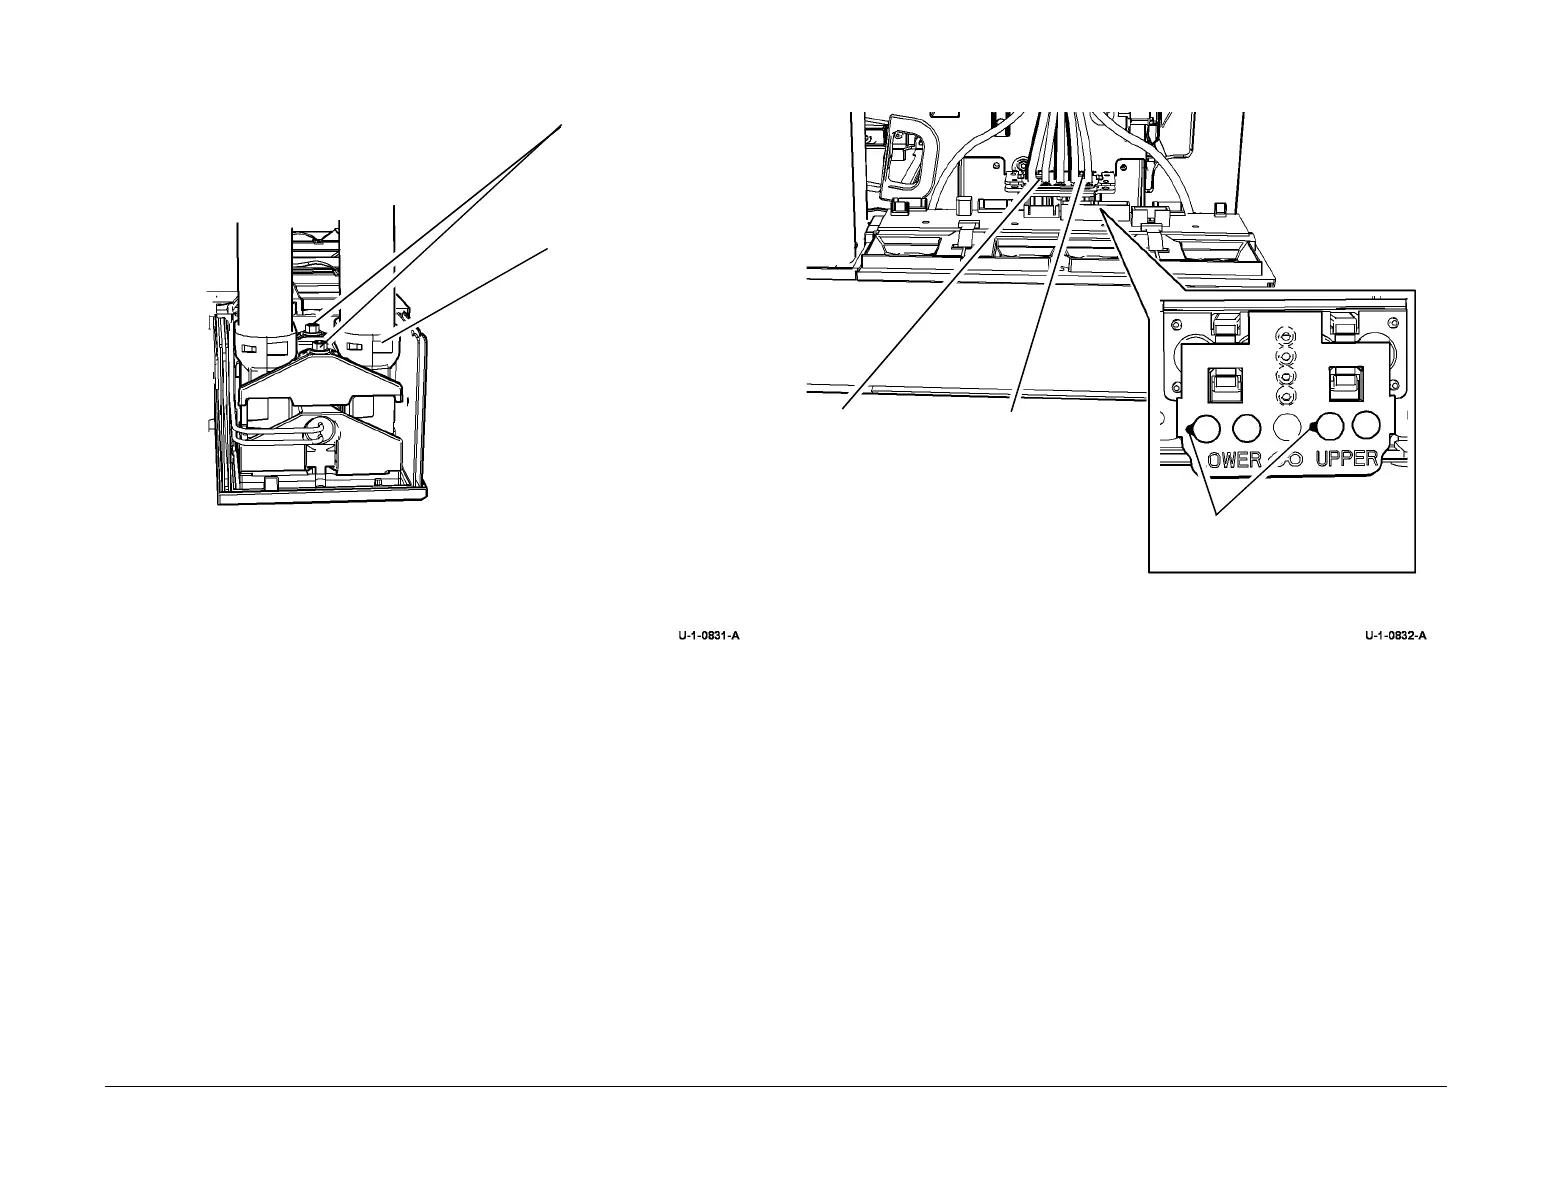
6. Remove the required umbilical, Figure 4.
Figure 4 Umbilical removal
7. Remove the purge hoses from the reservoir, Figure 5.
Figure 5 purge hose removal
Replacement
1. Replacement is the reverse of the removal procedure.
2. Ensure that the ink debris is cleared away from above and around the purge hose con-
nections before removing or re-attaching the hoses to the reservoir.
3. Ensure that the purge hoses are located correctly and that the rib on the tube points
towards the drum, refer to Figure 5.
4. When replacing umbilicals, ensure that there is only one gasket between the umbilical
and the ink reservoir (new umbilicals come with a gasket installed).
5. Ensure there is no ink debris between the ink reservoir and the umbilical before connec-
tion.
1
Remove 2 screws then
the umbilical clamp.
2
Disconnect the required
umbilical and remove it
from the machine.
Upper Umbilical
Lower Umbilical
1
Remove the required purge
hose pair.
A
Lower purge
hose pair.
B
Upper purge
hose pair.
Rib
 Loading...


