February 2013
4-22
ColorQube® 9303 Family
REP 2.1
Repairs/Adjustments
CAUTION
Ensure no strain is placed upon the UI harness.
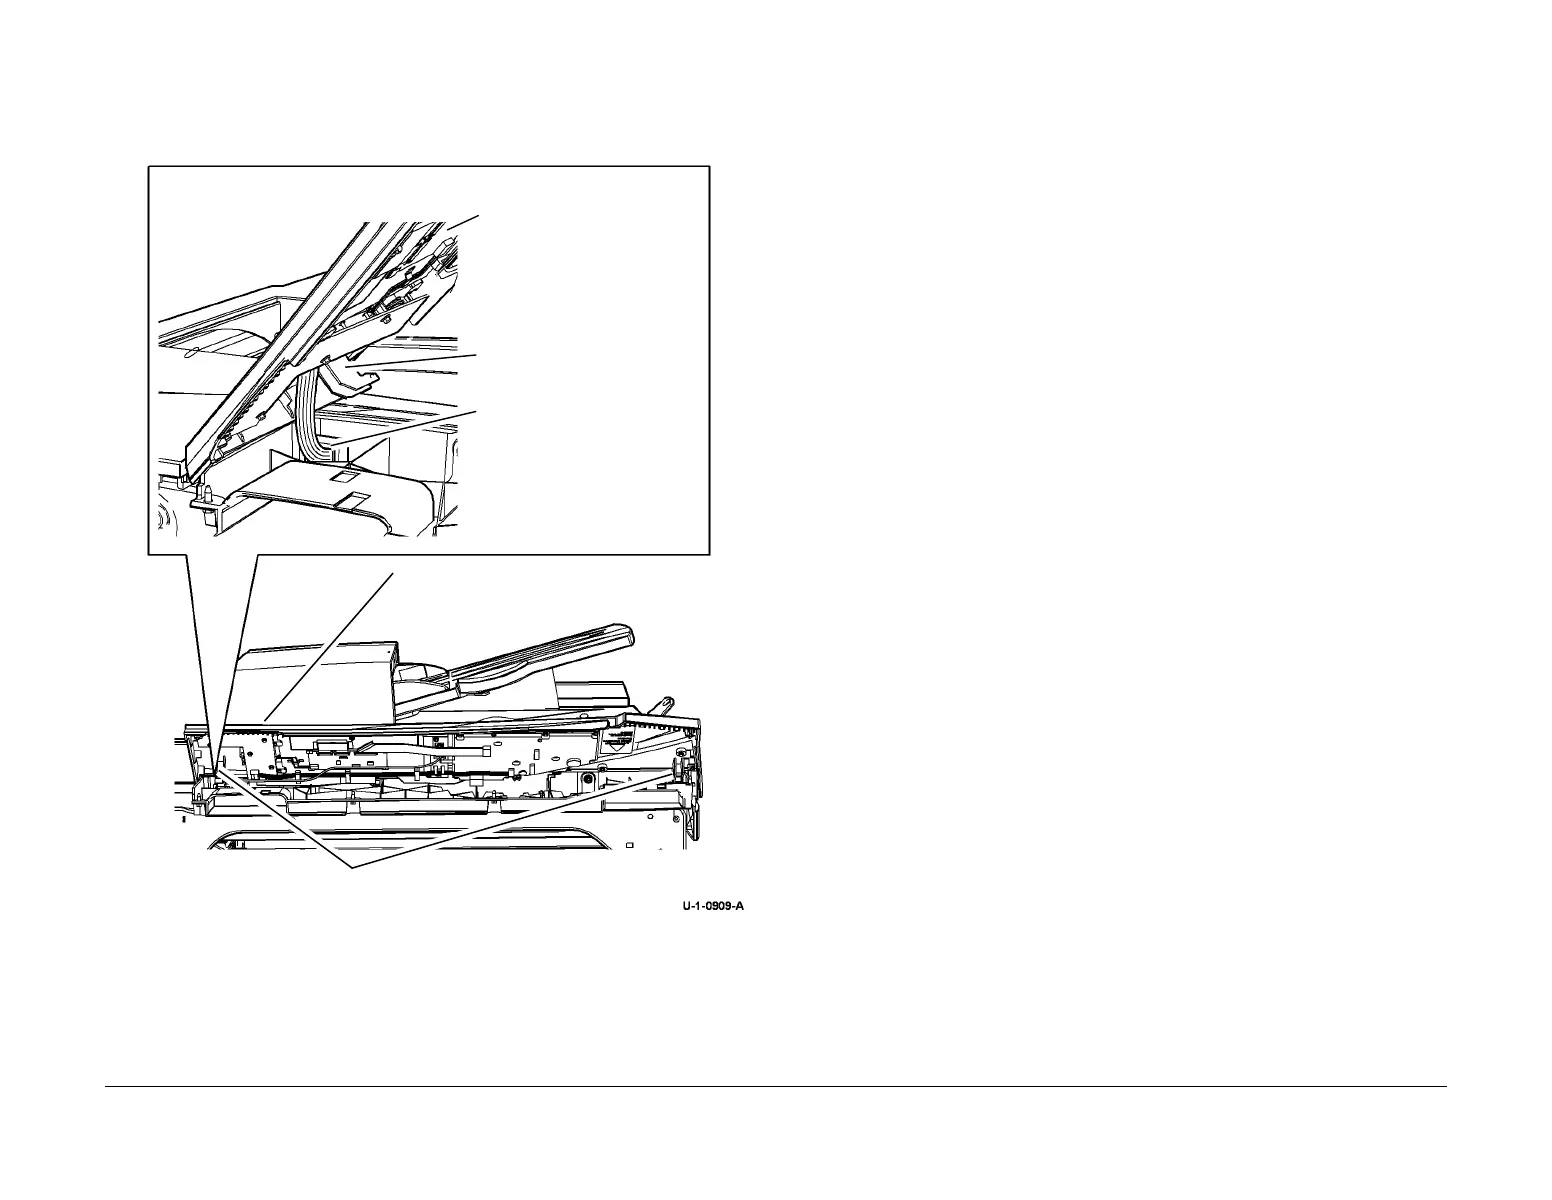
3. Detach the UI control panel, Figure 3.
Figure 3 Detach the UI control panel
4. Remove the scanner rear cover, refer to REP 62.2.
5. Remove the UI Harness cover, PL 62.10 Item 16.
6. Release the UI Harness clamp, PL 62.10 Item 9.
7. Remove the UI control panel with the UI harness, PL 2.10 Item 7.
8. Remove the 4 nuts, PL 62.10 Item 8 and the 4 washers.
9. Remove the UI base, PL 62.10 Item 19 and the 4 grommets, PL 62.10 Item 6.
Replacement
1. The replacement is the reverse of the removal procedure.
2. When installing the UI assembly hook the rear retainers into place. Lower the keyboard
fully, then press down and push the UI assembly until it clicks into place. The 4 screws
can then be installed.
3
Bias the control panel counter
clock wise to access the 3
PWB assemblies and the UI
touch screen.
1
Hold the front edge of the UI control panel, then lif
upwards and away from machine.
4
See Caution
2
Release the 2 hooked retainers.
Hooked retainer

 Loading...


