February 2013
4-127
ColorQube® 9303 Family
REP 12.2-171
Repairs/Adjustments
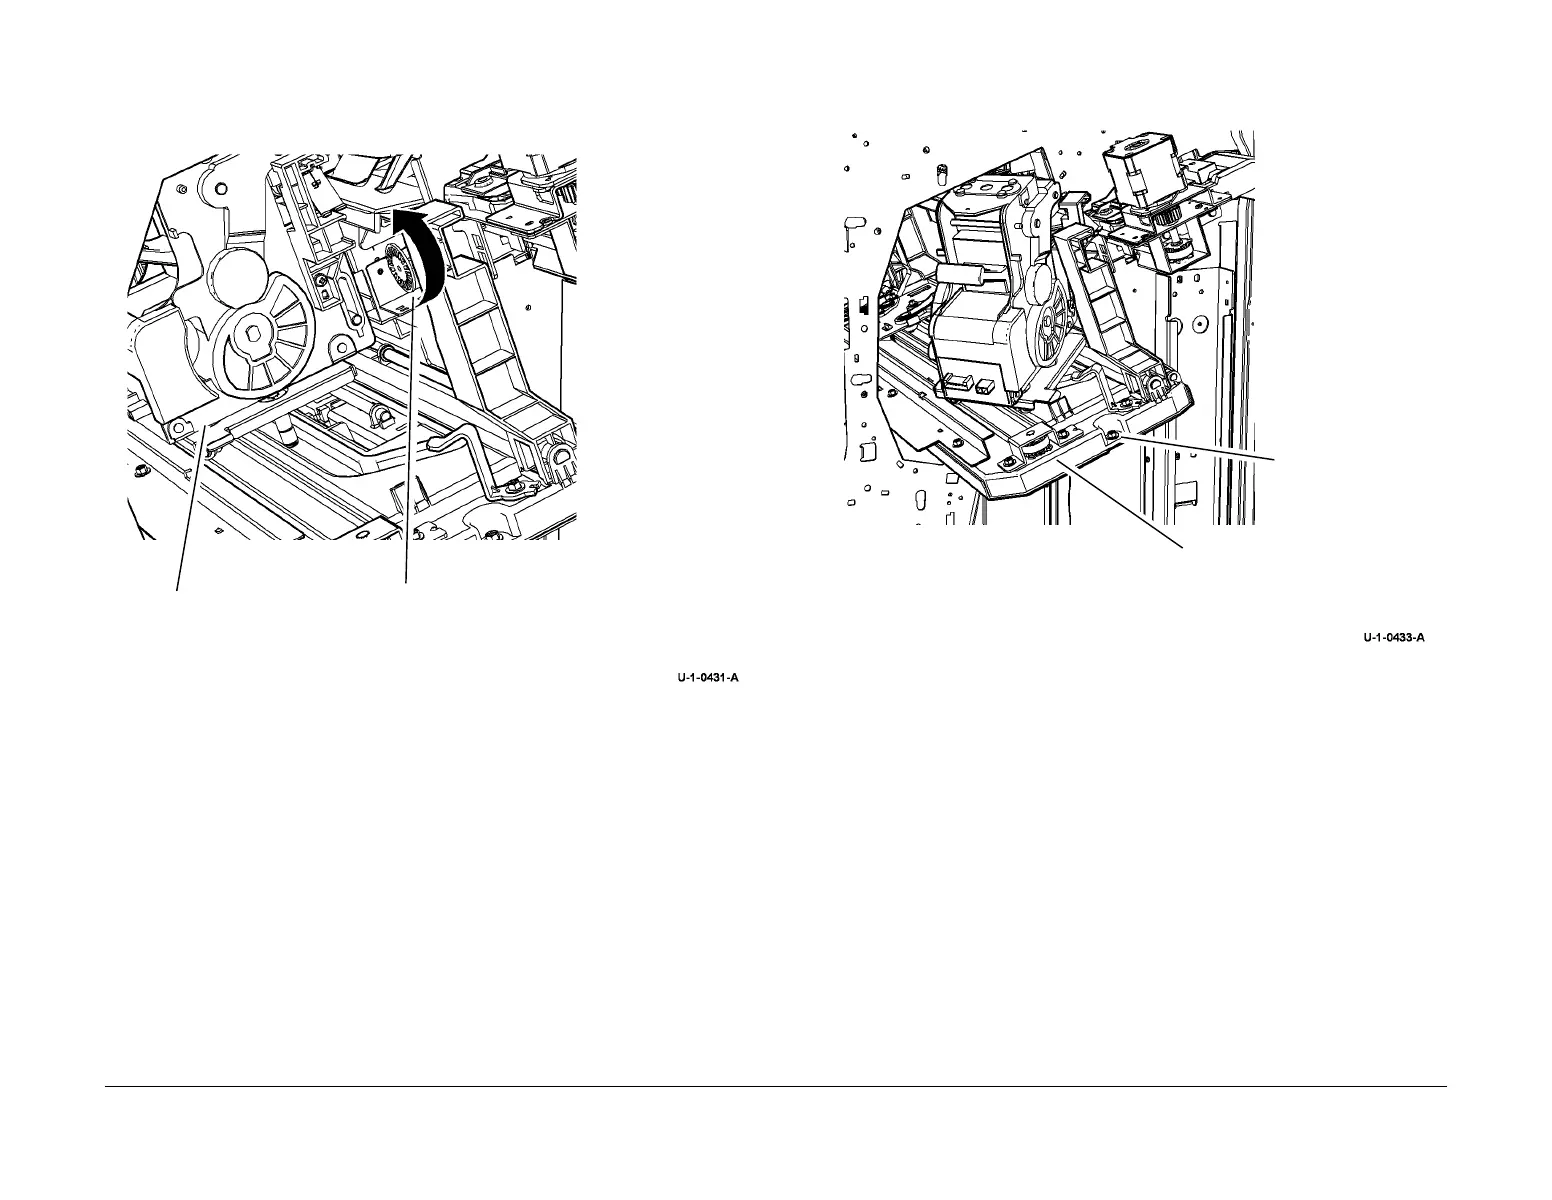
7. Figure 2. With the power cord disconnected, reach behind the stapler and move the ejec-
tor unit to the out position, by turning the encoder of the ejector unit motor, MOT12-236 in
the direction indicated.
Figure 2 Move ejector to the out position
8. Figure 3. Remove the stapler assembly.
Figure 3 Removing the stapler assembly.
Replacement
NOTE: The ejector unit returns to the home position when the HVF is initialized.
1. Slide the stapler assembly into the tray, taking care not to trap the earth wire at the rear.
2. The remainder of the replacement procedure is the reverse of the removal procedure.
2
Turn the encoder wheel.
1
Move stapler to gain
access.
1
Remove the screw.
2
Pull and slide the stapler
assembly forward.
 Loading...


