Repairs/Adjustments
Phaser 3200MFP / Workcentre PE220 04/07 4-35
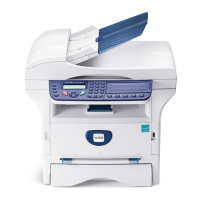
4. Carefully release the CRUM harness from
the engine shield in the direction of the
arrows, Figure 2.
Figure 2
5. Remove 6 screws securing the engine
shield and release the harness. Carefully
release the engine shield from the actua-
tor feed sensor lever, Figure 3.
Figure 3
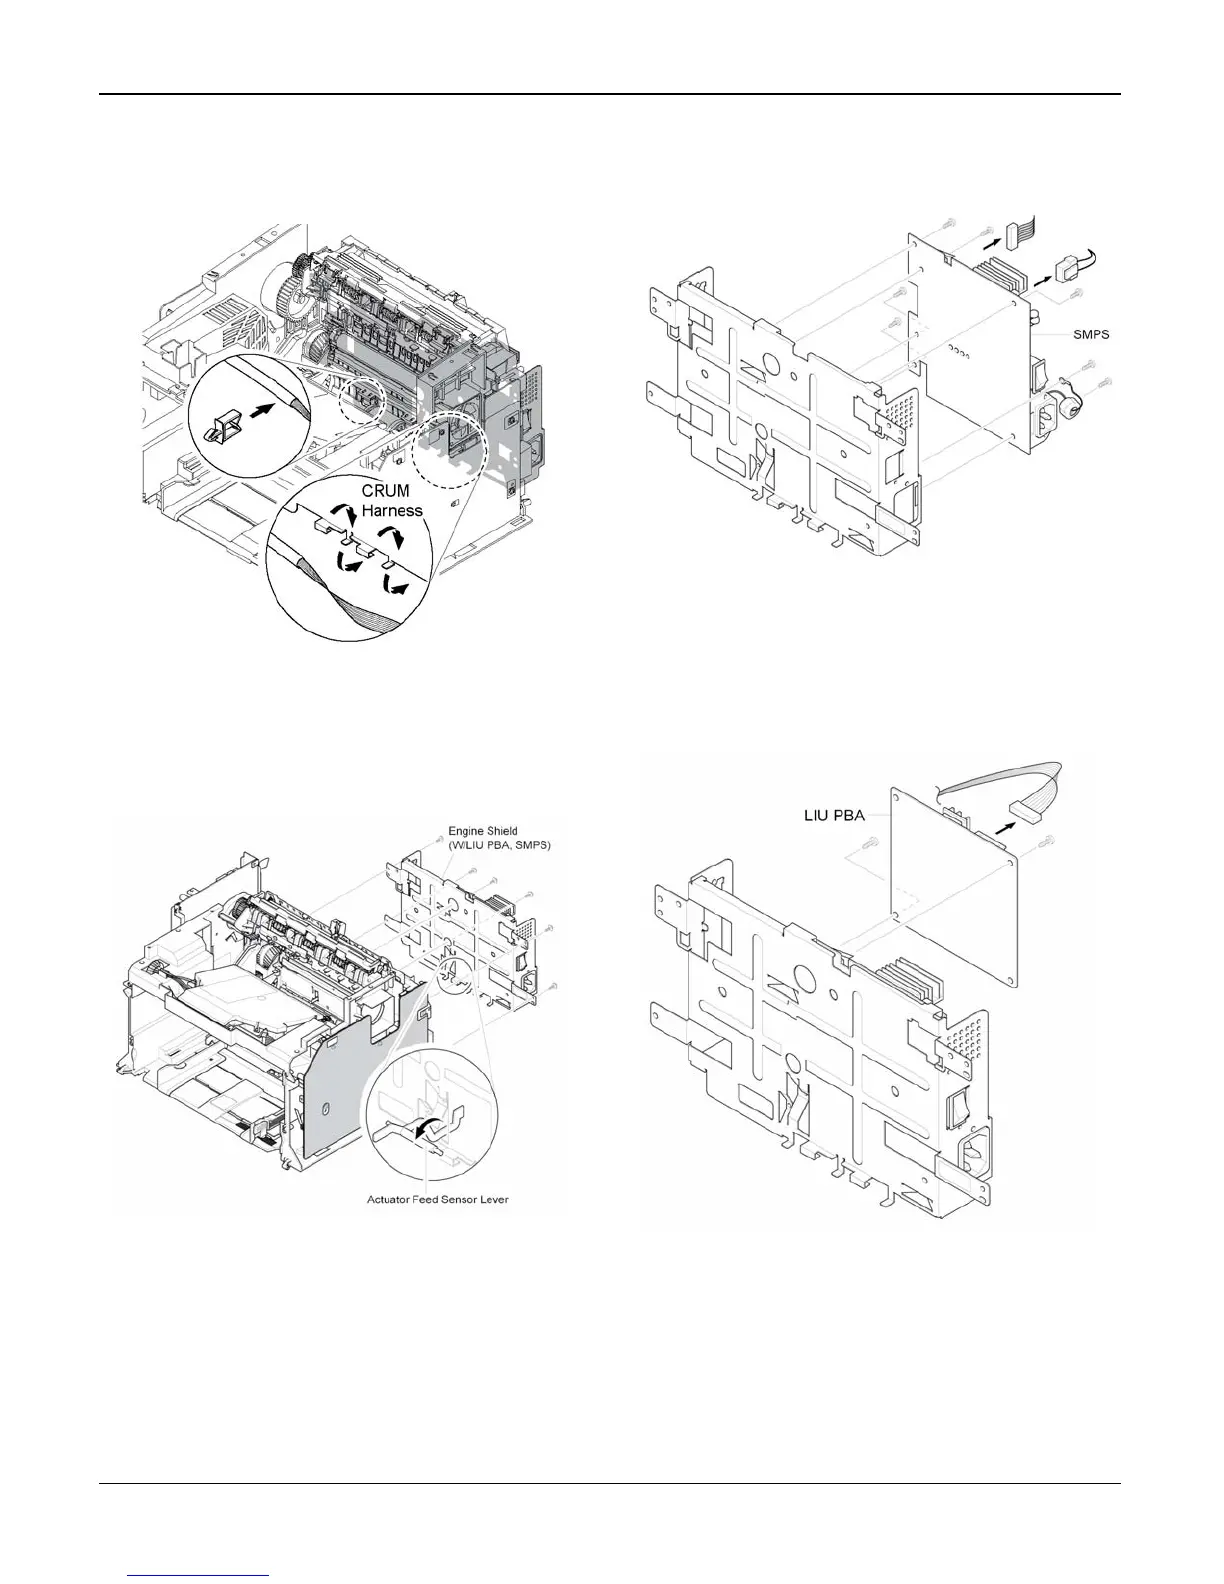
6. If only removing the SMPS, remove the
rear cover, REP 5, and unplug the fuser
connector. Remove 6 screws securing the
SMPS. Unplug the connector from the
main PBA and carefully release the
SMPS, Figure 4.
Figure 4
7. If only removing the LIU PBA, remove the
rear cover, REP 5 and remove 2 screws
securing the LIU PBA. Unplug the con-
nector from the Main PBA and release the
LIU PBA, Figure 5.
Figure 5
Replacement
Replacement is the reverse of the removal
procedure.

 Loading...