Chapter 3 Fuel Injection Equipment
_3_.
_D_is_a_s_s_em_b..:ly;..;,_R_ea_s_s_e_m_b_ly
__
a_n_d_L_n_s_p_e_ct_io_n_o_f_F_u_e_l_In_'J_·e_c_t1_·0_n_P_u_m
__
p
________
3
•
4
JHS(B)(C)E
(8)
Inspection
of
oil seals
Inspect oil seals to see if they are burred or scratched.
(9)
Inspection of roller guide stop
Inspect the side of
the
tip, replace if excessively worn.
(10)
Inspection of O-rings
Inspect and replace
if
they are burred or cracked.
3-3
Reassembly of fuel injection pump
Preparation
After inspection, put all parts
in
order and clean.
See Inspection of Fuel Pump for inspection procedure.
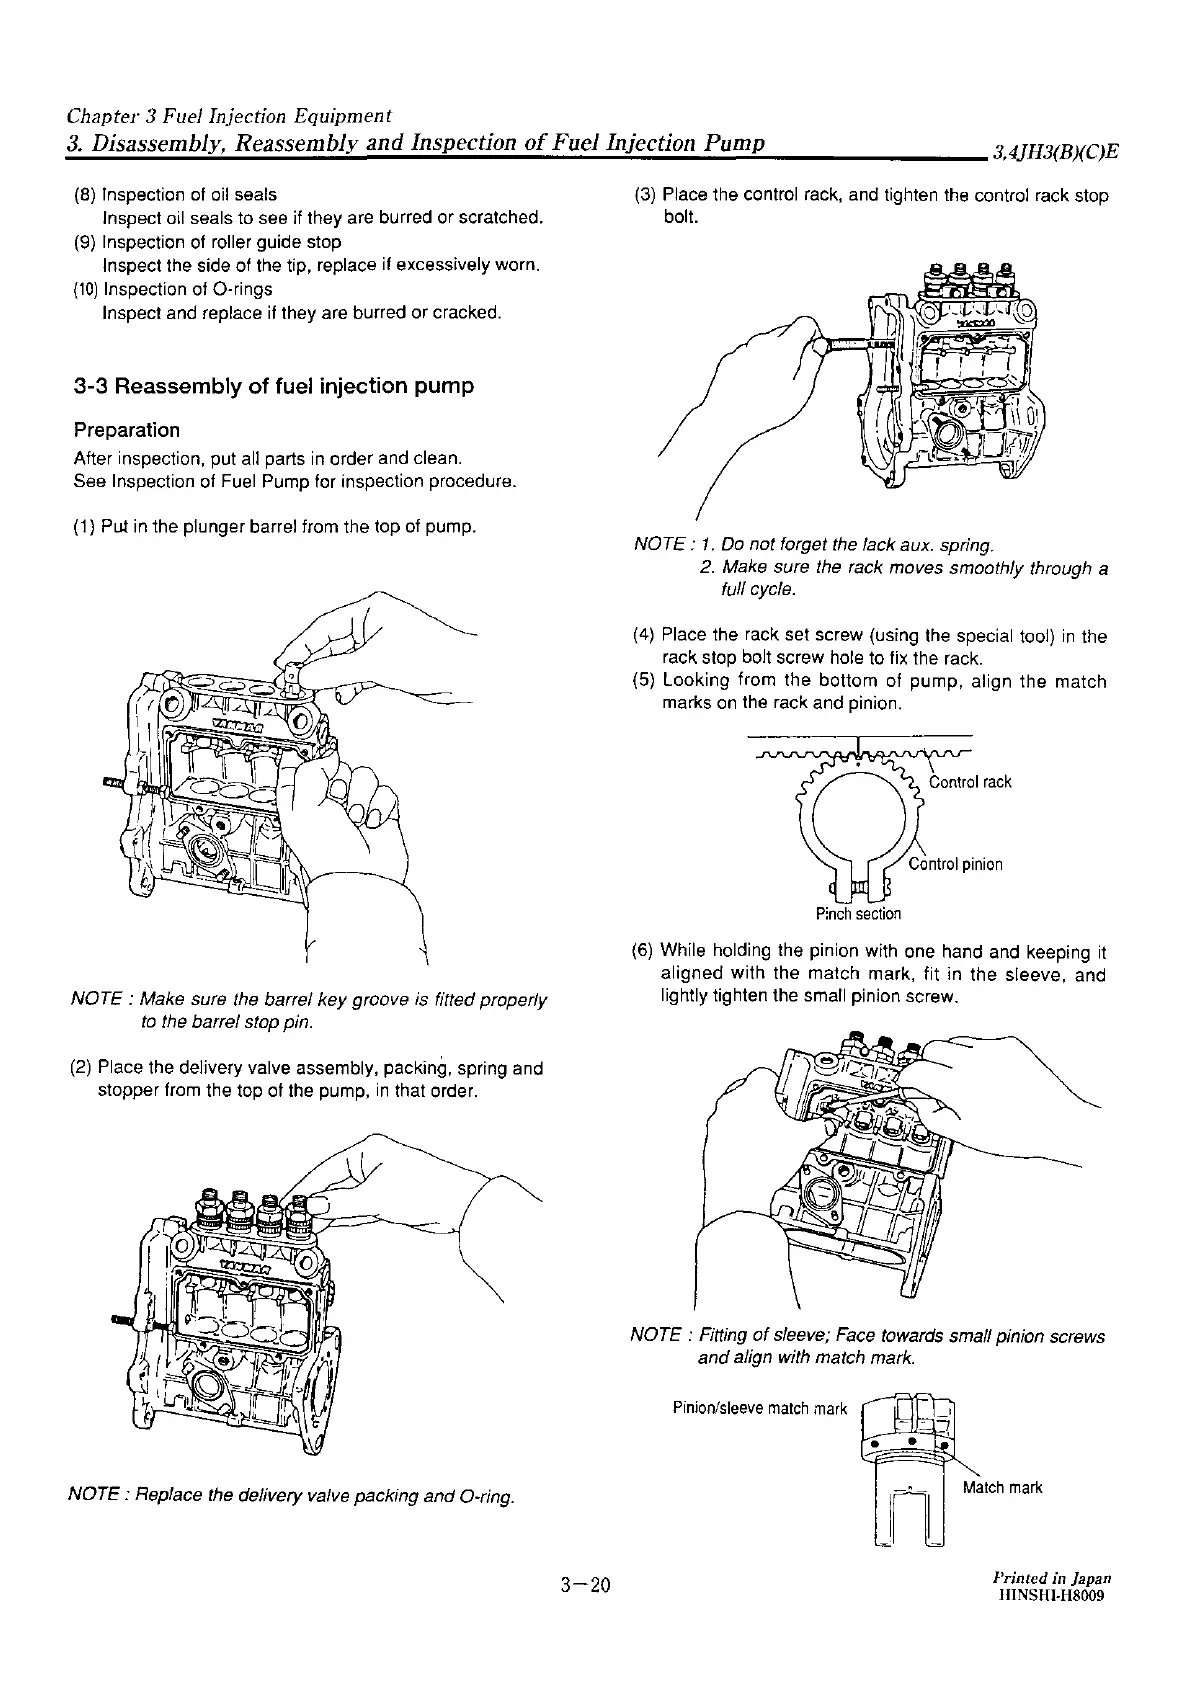
(1)
Pu.t
in
the plunger barrel from the top
of
pump.
NOTE:
Make sure the barrel key groove
is
fitted properly
to
the barrel stop pin.
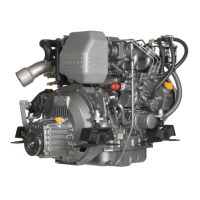
(2)
Place the delivery valve assembly, packing, spring and
stopper from the top of the pump,
in
that order.
NOTE : Replace the delivery valve packing and 0-ring.
3-20
(3)
Place the control rack, and tighten
the
control rack stop
bolt.
NOTE:
1.
Do
not forget the lack aux. spring.
2.
Make sure the rack moves smoothly through a
full cycle.
(4)
Place the rack set screw (using
the
special tool)
in
the
rack stop bolt screw hole to
fix
the rack.
(5) Looking from the bottom of pump, align the match
marks
on
the rack and pinion.
P:nch
section
(6)
While holding the pinion with one hand and keeping
it
aligned with the match mark, fit in the sleeve, and
lightly tighten the small pinion screw.
NOTE : Fitting
of
sleeve; Face towards small pinion screws
and
align with match mark.
Pinion/sleeve
match
mark
Printed in Japan
HINSHI-H8009