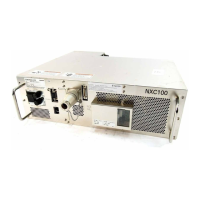
5.1 Replacing NX100 Parts
5-11
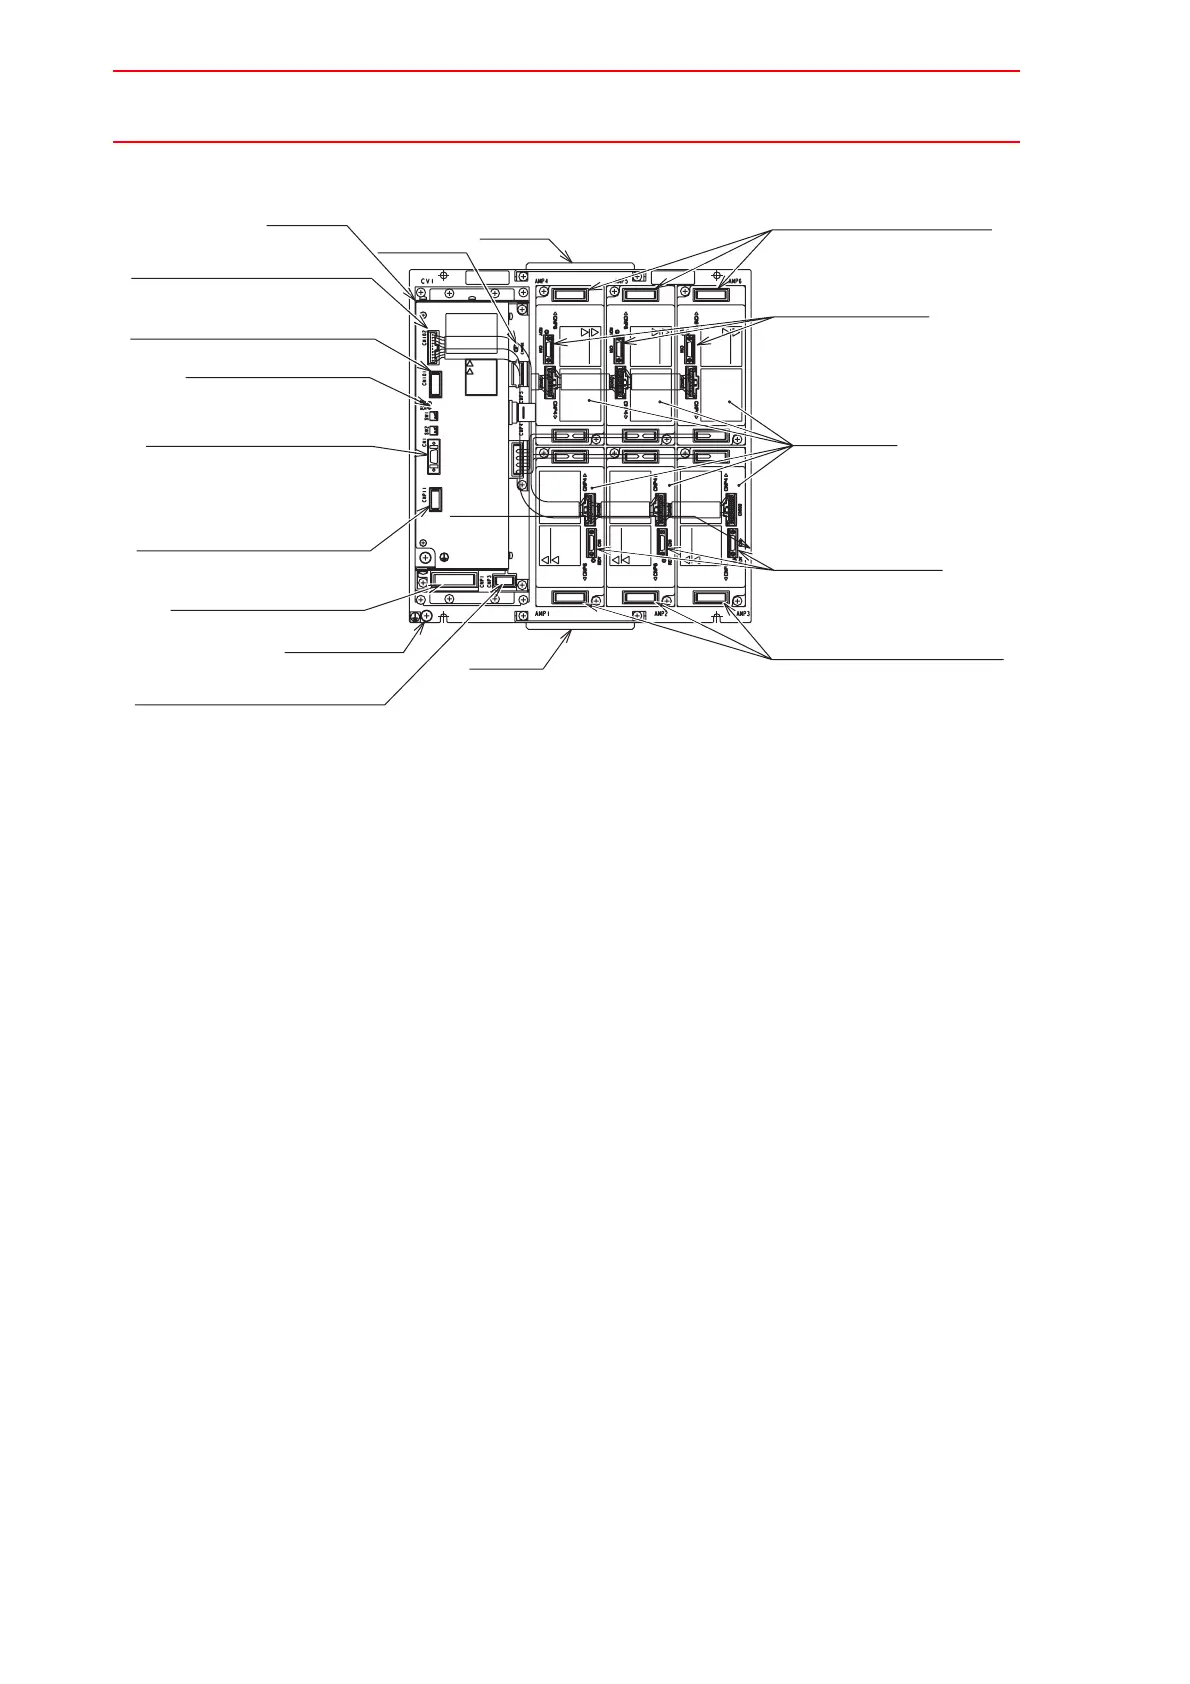
Configuration of Integrated Type SERVOPACK
Replacement Procedure (Separated Type)
• How to Replace Converter
1. Turn OFF the breaker and the primary power supply and wait at least 5 minutes before
replacing. Do not touch any terminals during this period.
2. Verify that the converter CHARGE lamp (red LED) is unlit.
3. Disconnect all the cables connected externally to the converter.
Three-phase AC power supply connector (CNP1)
Regenerative resistor connector (CNP3)
AC control power supply connector (CNP11)
DC control power supply connector (CN101)
Converter control signal connector (CN1)
PWM amplifier control power supply connector (CN102)
PN power supply connector (CNP4)
4. Remove the ground wiring connected to the converter.
5. Remove the two screws at the top on each side of the converter.
6. Hold the top grip and lift it to pull out the converter.
7. Install the new converter and reconnect the connectors in the reverse order of the
removing procedure.
Charge lamp
Converter
Upper grip
(CN1)
(CN101)
Monitor, alarm display LED
DC control power supply connector
Converter control signal connector
(CNP1)
Three-phase AC power suply
connector
(CNP3)
Connector for regenerative resistance
Gronud terminal
Lower grip
(CNP11)
AC control power supply connector
PWM signal connectors
(AMP1 to AMP3-CN1)
(AMP1 to AMP3-CNP6)
Output connectors for motor power
PWM signal connectors
PWM amplifiers
(6 amplifiers)
(AMP4 to AMP6-CNP6)
(AMP4 to AMP6-CN1)
Output connectors for motor power
(CN101)
DC control power supply connector
(CN102)
PWM amplifier control power
supply connector
 Loading...