Section 4 Operation
4-102
(b) Setting of frequency table for spurious measurement: Setup Frequency
Table Screen
• Display the Setup Frequency Table Screen as follows.
Step Key operation Description
1. [Main Func on off] F6 Turns on the Main Func and displays the main menu at the bottom of the
screen.
2. [TX & RX Tester] F1 Switches to the TX Tester mode.
Displays the Setup Common Parameter Screen.
3. [TX Measure] F1 Displays the first page of the TX Measure.
4. Next Menu [ ] Displays the second page of the TX Measure.
5. [Spurious Emission] F12 Displays the Spurious Emission Screen.
Displays the first page of the Spurious Emission menu.
6. Next Menu [ ] Displays the second page of the Spurious Emission menu.
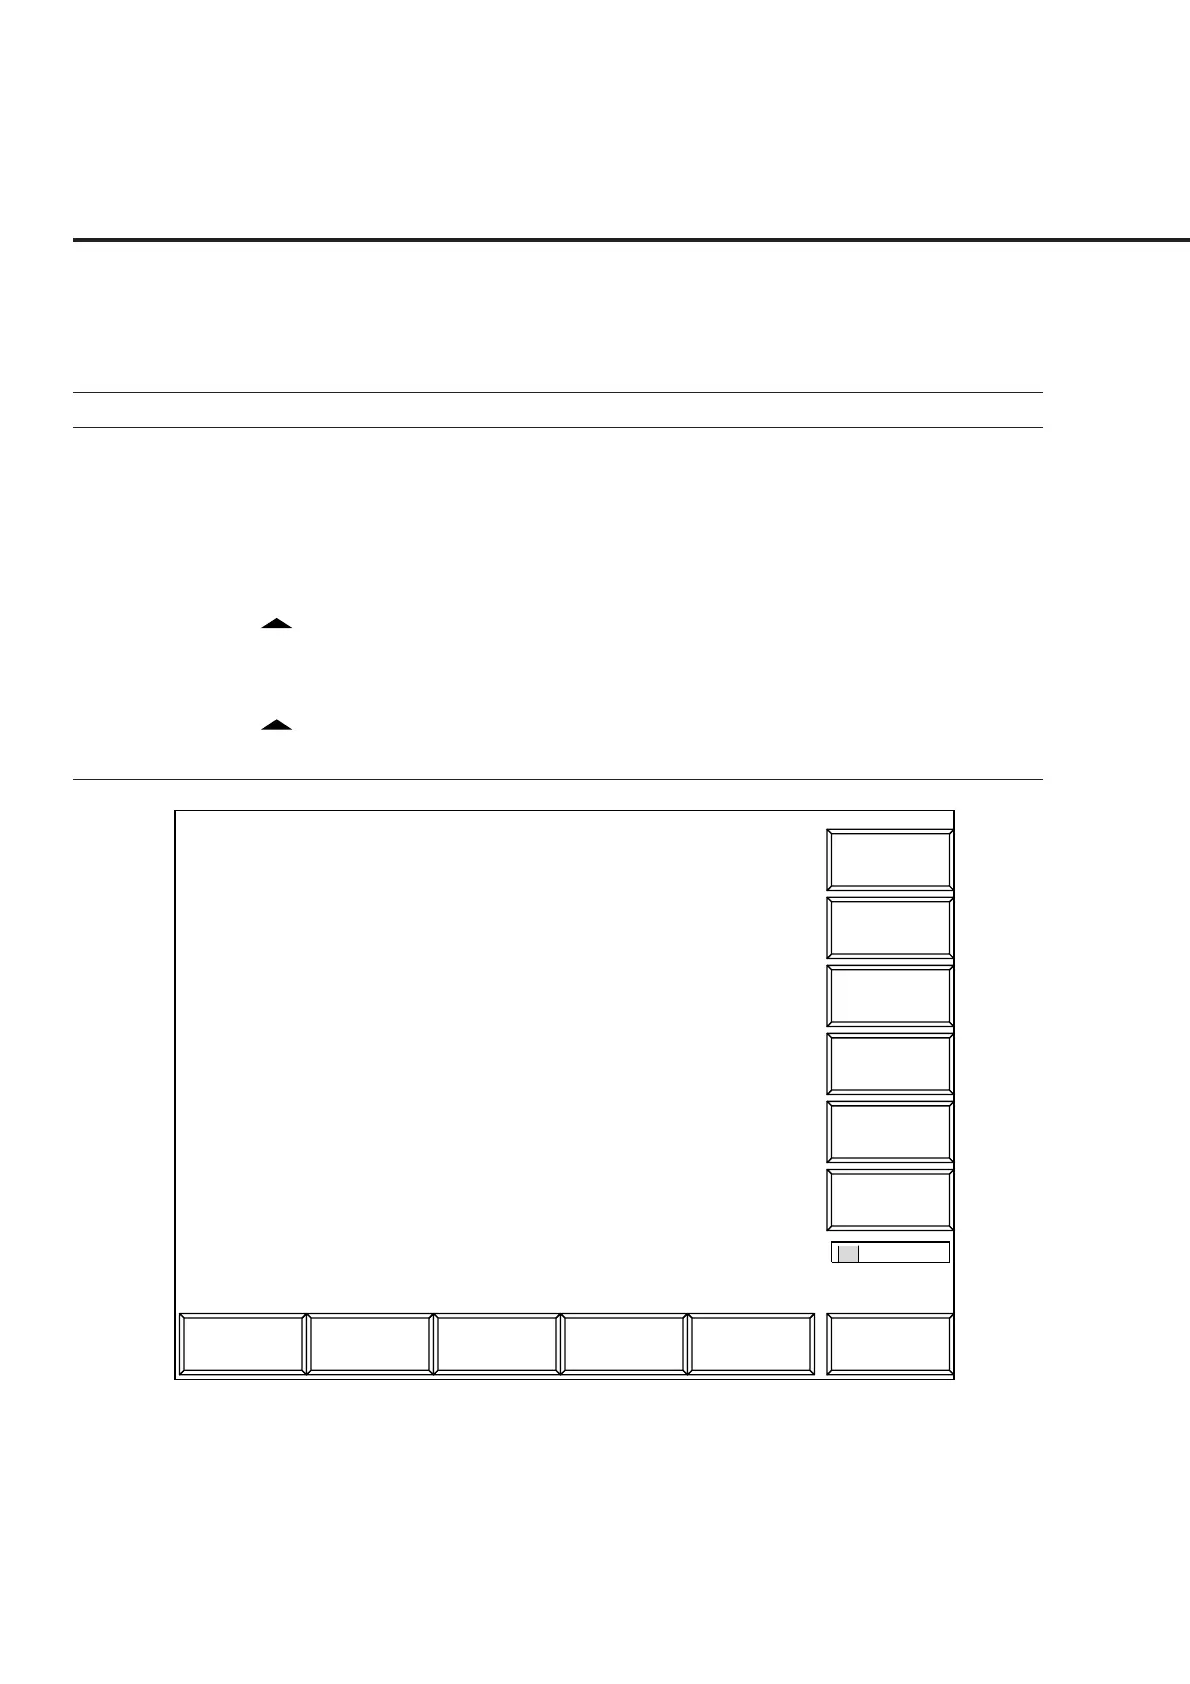
7. [Setup Frequency table] F8 Displays the Setup Frequency Table Screen.
Main Func
On Off
1
Setup Table
MT8801 99-04-30 12:00:00
<< Setup Frequency Table (CDMA) >>
->
Back
Screen
*
Delete
Clear
Harmonics
Insert
Frequency Table : No.1
f 1: [1 775.300 000 MHz]
f 2: [2 662.950 000 MHz]
f 3: [- ---.--- --- MHz]
f 4: [- ---.--- --- MHz]
f 5: [- ---.--- --- MHz]
f 6: [- ---.--- --- MHz]
f 7: [- ---.--- --- MHz]
f 8: [- ---.--- --- MHz]
f 9: [- ---.--- --- MHz]
f10: [- ---.--- --- MHz]
f11: [- ---.--- --- MHz]
f12: [- ---.--- --- MHz]
f13: [- ---.--- --- MHz]
f14: [- ---.--- --- MHz]
f15: [- ---.--- --- MHz]
Save
Frequency
Table
Fig. 4-18 Setup Frequency Table Screen
Note:
If the recalled frequency is modified, the frequency table name becomes “Not
Named” to indicate that the table is not saved in the FD.