5.
Click the Destination tab, then use the default destination or dene a new
location for data storage.
The destination species the location to which data les are autoextracted or
manually extracted.
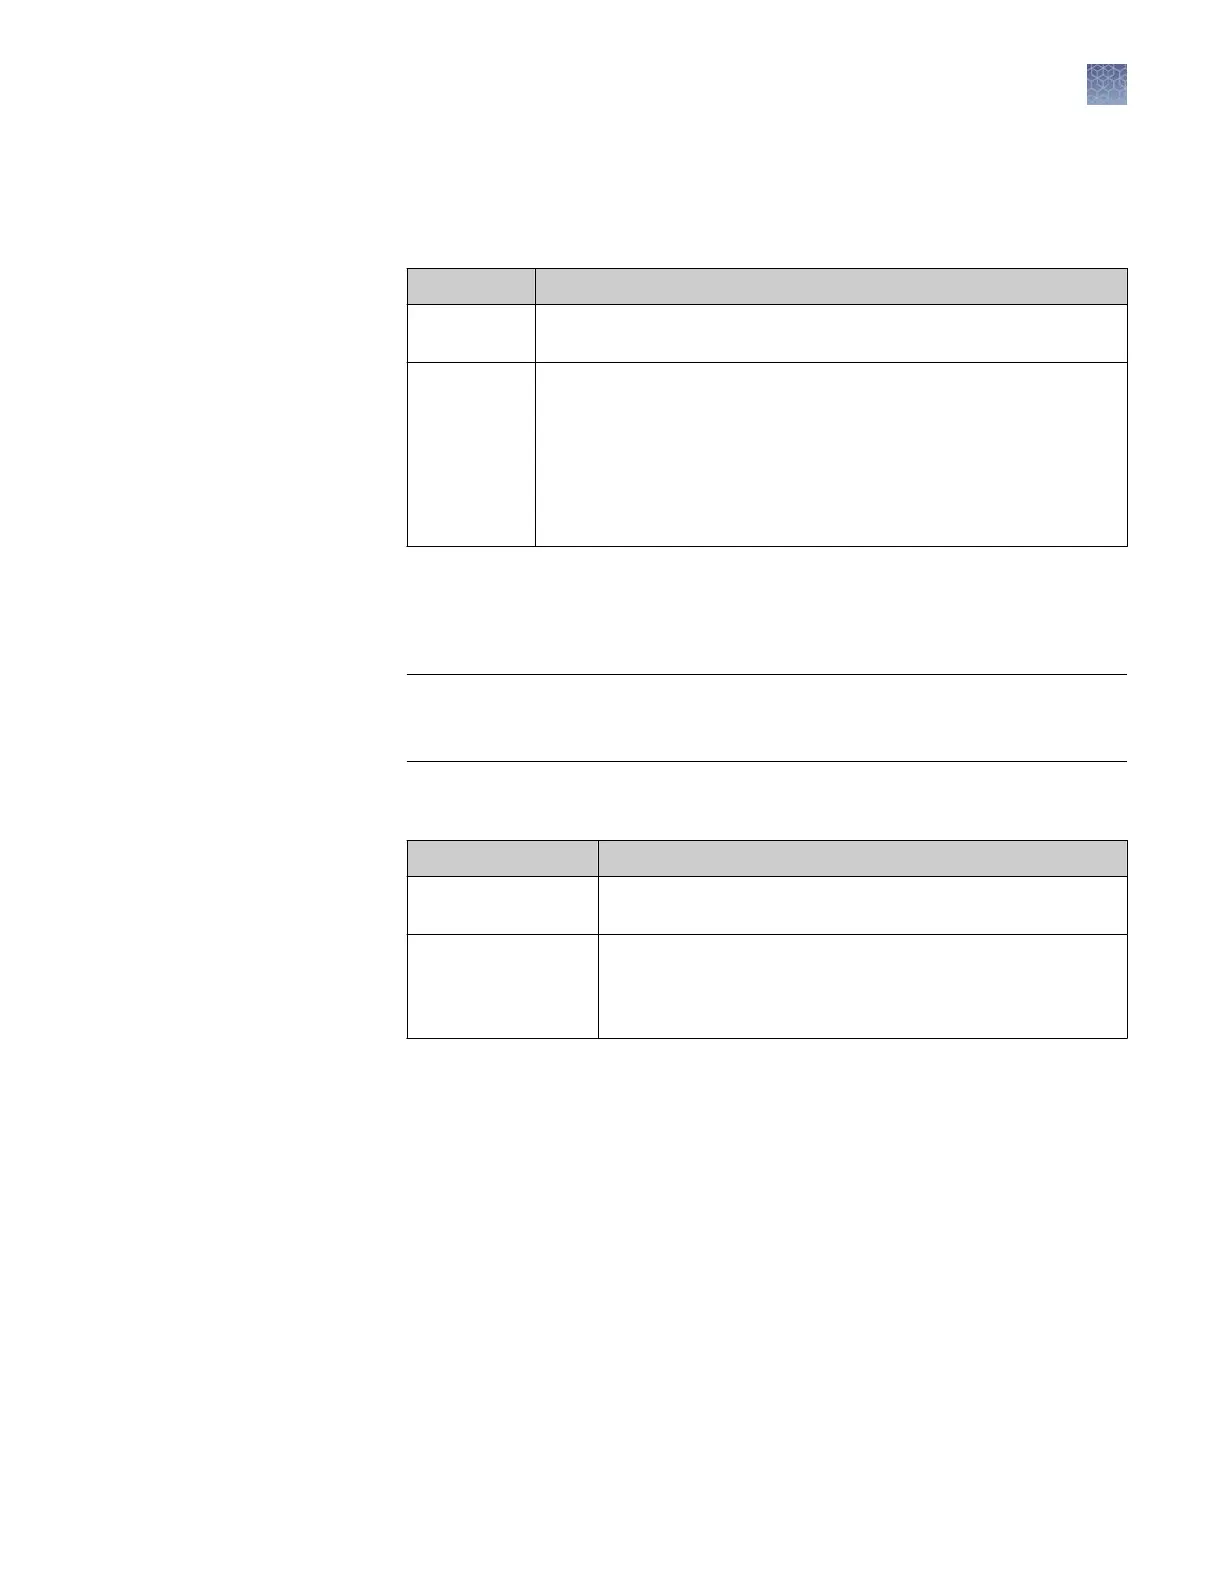
To use Do this
Default
location
No changes are needed. See “Overview of results groups“ on page 79
for default storage location.
Custom
location
1. Select the Use Custom Location checkbox, then click Browse
and navigate to a location.
2. Click Test to ensure the location is accessible.
Note: The maximum length for the complete path is 250 characters
(includes sample name, run folder name, and destination path
name).
Note: Y
ou cannot specify remote storage locations directly from this eld. Before
specifying a remote location, map the remote location to a local drive leer (Map
Network Drive feature in the Windows
™
operating system). You can specify a
mapped drive as a destination.
IMPORTANT! Do not specify C: driv
e locations for data storage. C: drive is used
for the operating system. The software does not perform pre-run disk space
checks on C: drive.
6.
Click the Naming tab. Y
ou can use the default naming conventions for sample
les and Results Group folders or dene new conventions.
To use Do this
Default naming
c
onvention
No changes are needed. See “Overview of results groups“ on
page 79 for default storage location.
Custom naming
conventions
1. Select the Use Custom Location checkbox, then click
Browse and navigate to a location.
2. Click Test to ensure the location is accessible.
Chapter 6 Create and manage plate records and results groups
Create a results group (detailed procedure)
6
3730xl DNA Analyzer with 3730xl Data Collection Software 5 User Guide
81
 Loading...