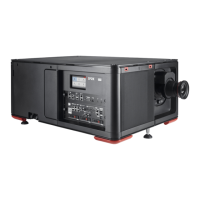
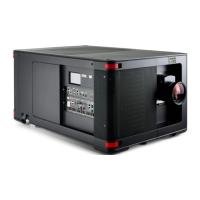
5. Setup
9
0
EN T ER
MEN
U
BA
C
K
DI
G
I
Z
OO
M
PH A
SE
PA
USE
PI P
L
OGO
Image 5-1
The projector’s address will be displayed on the screen in a Textbox
Programming the RCU
1. Push the address key If the address is not entered within 5 seconds, the RCU returns to its default address (zero address) and
controls then all projectors in the room.
2. Enter the same address with the digit buttons within 5 seconds after pushing the address key.
The projector can now be controlled with the RCU.
For example : if the projector address is 3, then press "3" on the RCU to set the RCU’s address to match the
projector’s address.
Common address/Projector address : Beside the projector address, the projector disposes also of a Common
address which can be set to “0” or “1” (by default “0”).
In other words, an RCU set to address “0” will always control a projector regardless of its projector address
(since it uses the common address).
5.3 Setting up the projector address (only if necessary)
What can be done ?
The projector is shipped with projector address set to ”0”
In some cases the projector address must be changed, for example if an unique RCU is used to control 2 or more projectors (inde-
pendently).
In the OSD menu Projector Address, the following addresses can be programmed :
• Projector address: address defined by the user, may be from 0 to 255
0-9 is used for RCU communication, 0–255 being used for RS232 serial communication.
• Common address : address may be 0 or 1
How to change the projector’s address ?
1. Press MENU to activate the Tool bar
2. Press → to select the Installation
3. Press ↓ to Pull down the Installation menu
4. Use ↑ or ↓ to select P rojector addres s
40
R59770324 SIM 5W 22/12/2011
Downloaded From projector-manual.com Barco Manuals