Installation Requirements
48 Transceivers 6200 Series DV14307.03 Issue 06 February 2021
Installation in the Avionic Compartment
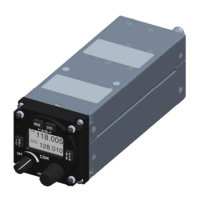
• The RT62X1 is made for installation in avionic compartment.
• Use the mounting kit MK6201-(010) for installation to obey the conditions for certification.
• Attach the mounting tray in the aircraft
(see "Dimensions see "Figure 7: RT62X1, MK6201-(10) Installation page 48).
o Use four M4 (metric) or size 8-32 UNC (imperial) stainless steel screws with
countersunk head.
o A minimum torque for fixing screws is 2.5 Nm (22 inch-lbs).
• Move the flat part "X" of the RT62X1 into the slot S
(see "Figure 7: RT62X1, MK6201-(10) Installation page 48).
• Use the screws (A) to tighten the device to the mounting slot
(see "Figure 7: RT62X1, MK6201-(10) Installation page 48)
o Use four M4 (metric) or size 8-32 UNC (imperial) stainless steel screws with
countersunk head.
o A minimum torque for fixing screws is 2.5 Nm (22 inch-lbs).
• More information please see.
"Dimensions - RT62X1 with MK6201" page 54,
"Dimensions - Mounting kit - MK6201" page 55.
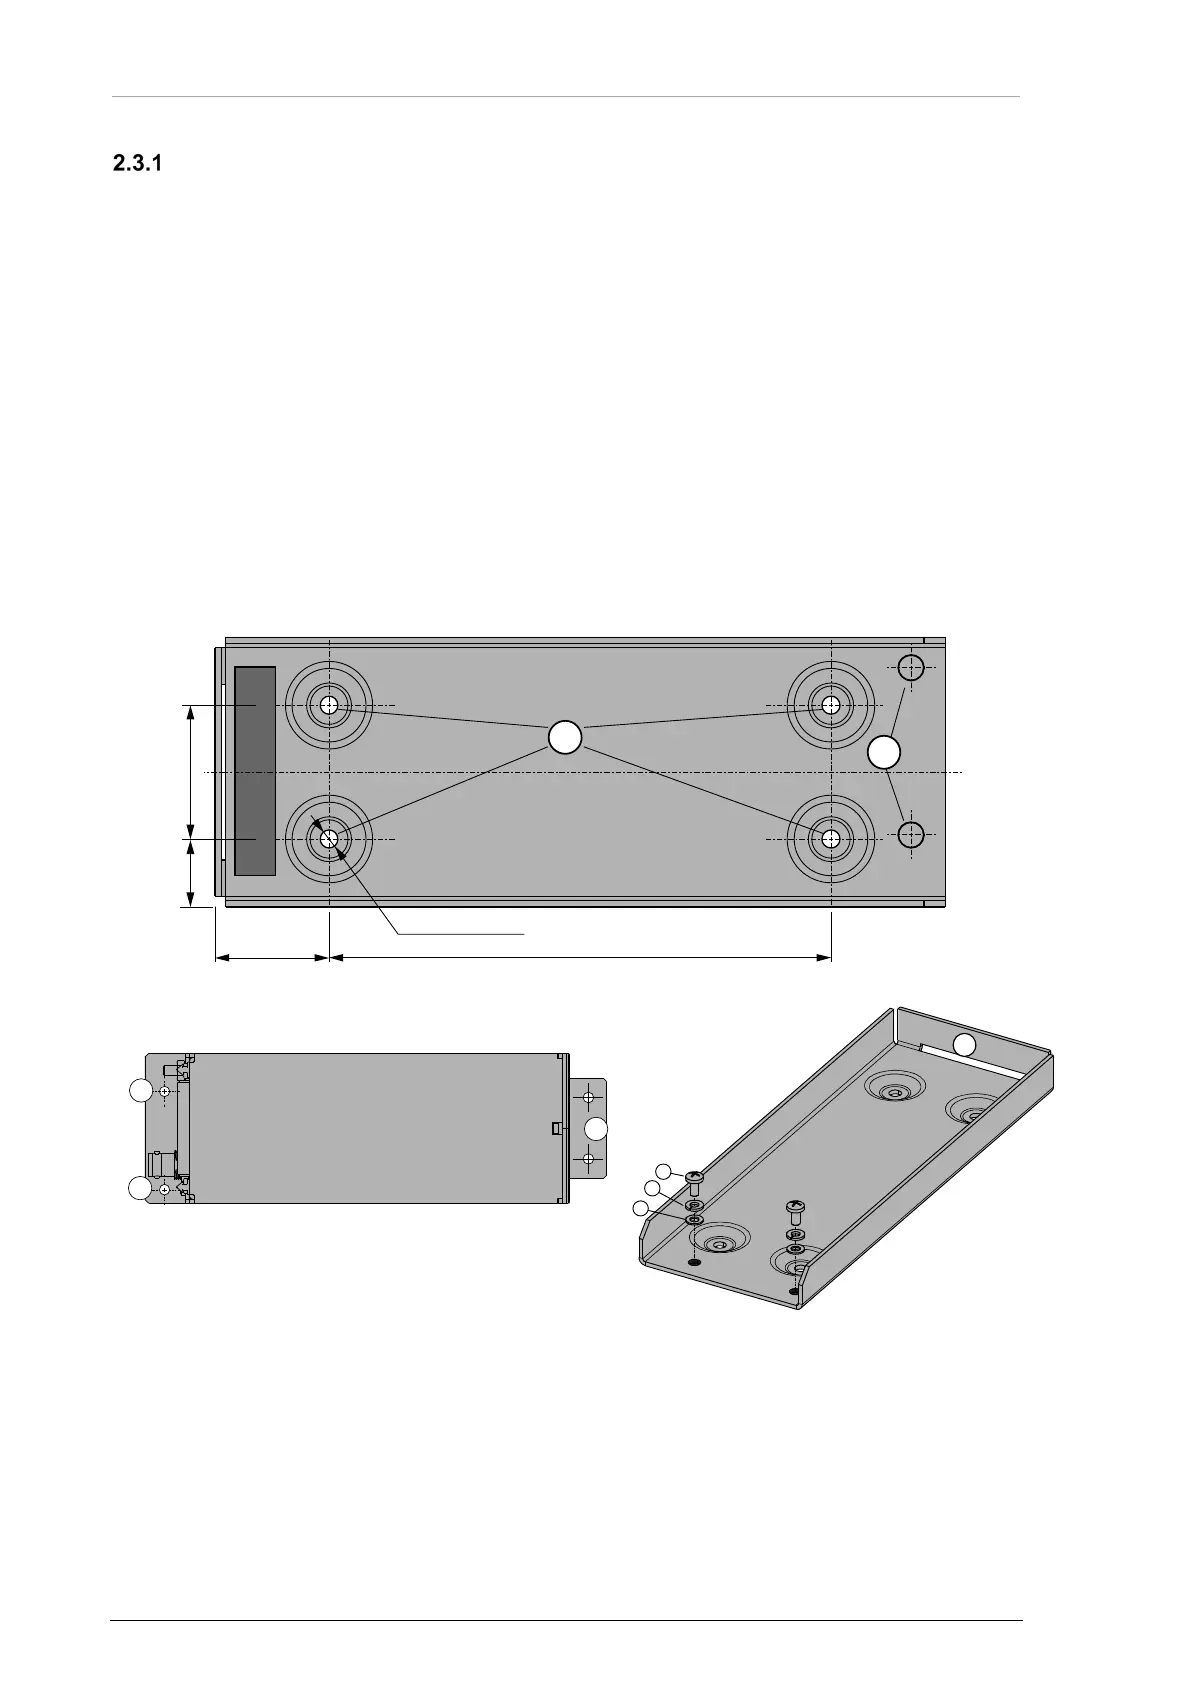
Dimensions mm (inch)
1: Phillips head screw M3x6
2: Spring washer B3
3: Flat washer B3
Figure 7: RT62X1, MK6201-(10) Installation
B
A
120 (4.72)
4x Ø 4.3 (0.17)
27.3
(1.07)
32 (1.26)16.3
(0.64)
T
op view