Installation Requirements
DV14307.03 Issue 06 February 2021 Transceivers 6200 Series 49
Cockpit Panel Installation
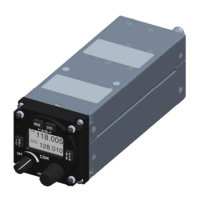
• The AR62X3 is made for cockpit panel installation.
• Use the mounting kit MK6403-1 for installation.
o Use the holes (2x 3) on both sides of the frame to attach the mounting tray in the
aircraft. The screws (6x) and the clips (6x) are included in the delivery.
o Move the AR62X3 into the mounting tray, use an Allen wrench (3/32") to tighten the
device to its final position.
o A minimum torque for fixing screws is 0.9 Nm (8 inch-lbs).
More information please see "Mounting kit - MK6403-1", page 56.
Dimensions mm (inch)
Figure 8: MK6403-1: Cockpit Panel Installation
Rear Panel Installation
• The AR62X1 and RCU62X1 are make for rear panel installation.
o The four screws for installation are already attached at the front of the device.
o A minimum torque for fixing screws is 0.9 Nm (8 inch-lbs).
o More information please see:
"Dimensions - AR6201" page 50.
"Dimensions -RCU62X1" page 52.
Dimensions mm (inch)
61x61 mm (2.4x2.4 in)
(no scale drawing)
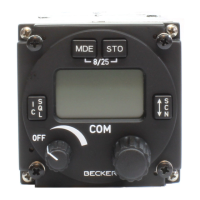
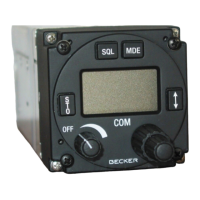
Figure 9: AR62X1, RCU62X1 (front view)
Figure 10: Drilling Template -Rear-Panel Installation