Operating your ATEM Switcher
To perform a cut transition using the CUT button on ATEM Television Studio HD:
1 Select the source you want on the preview bus using the source buttons on the
front control panel or the LCD menu. If you select a camera input, the button will
illuminate green.
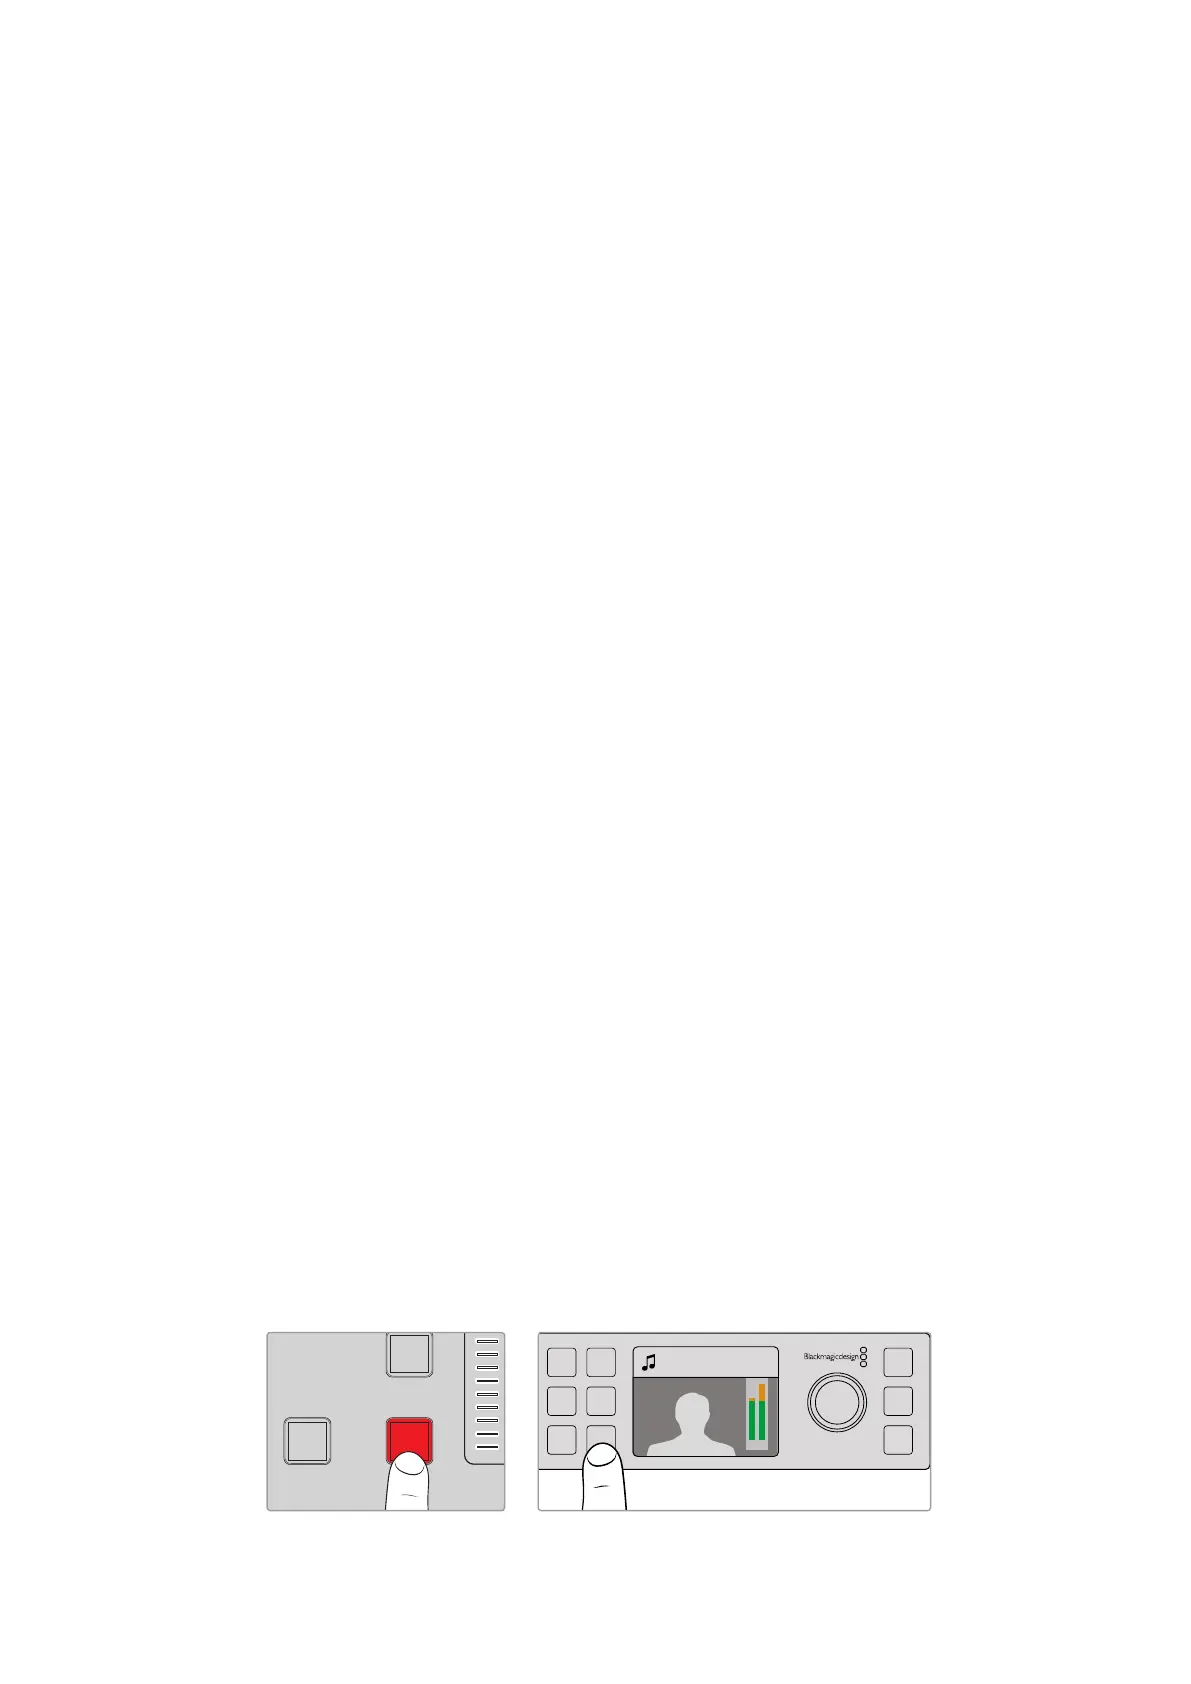
2 Press the ‘cut’ button on the built in control panel to immediately switch the
source to air.
if you selected a camera source on the control panel buttons, the button illuminated green will
now be red to indicate it is on the program output.
To perform a cut transition using the CUT button on an ATEM Television Studio Pro
model switcher:
1 On the preview bus, select the video source that you want on the program output.
The program output will remain unchanged.
2 Press the CUT button. The sources selected on the program and preview buses are
exchanged to indicate that the video source that was on preview is now on program
and vice versa.
It’s recommended to use the ‘cut’ button to perform transitions because it provides the
opportunity to verify the video content on the preview output before sending it to the
program output, for example to verify that a camera is in focus.
To perform a cut transition using the CUT button on the software control panel:
1 On the preview bus, select the video source that you want on the program output.
The program output will remain unchanged.
2 In the transition control block, press the CUT button. The sources selected on the
program and preview buses are exchanged to indicate that the video source that was
on preview is now on program and vice versa.
To perform a cut transition on the software control panel using a keyboard:
1 Ensure that <caps lock> is off.
2 Press the number key on the keyboard corresponding to the video source that you
want on the program output. The source will be selected on preview and the program
output will remain unchanged.
3 Press <spacebar>. The sources selected on the program and preview buses are
exchanged to indicate that the video source that was on preview is now on program
and vice versa.
Auto Transitions
An auto transition allows you to automatically transition between program and preview sources
at a predetermined rate. Any upstream keys that were selected in the next transition and any
downstream keys that were tied to the transition control will also change state. Auto transitions
are performed using the auto button. Mix, dip, wipe, DVE and stinger transitions can all be
performed as an AUTO transition.
Press the auto button to perform an auto transition
Camera 4
+2.3dB
MENU
SET
FTB
MP 2
AUTO
DSK 1
MIX
MP 1
CUT
ON ON ON ON ON ON ON ON
AFV AFV AFV AFV AFV AFV AFV AFV
1 2 876543
AUX
11
MACRO
12
DVE
PIP 1
DVE
PIP 3
DVE
PIP 2
DVE
PIP 4
DSK 1
AUTO
DSK 2
AUTO
FTB
DSK 1
CUT
DSK 2
CUT
CUT AUTO
KEY 1
CUT
BKGD
KEY 1
TIE
BKGD
KEY 1
TIE
110