Using the ATEM Television Studio HD Front Panel
Audio Control
To turn audio for this input on permanently, simply press the ON button above its source button.
Now the audio from that input will be sent to the built in audio mixer and be heard on the
program output.
To select audio only when the input is on air, select the AFV button. This means audio follows
video and the input is now only on when the source is on air.
Audio Levels
The function of the knob on the front panel is primarily for audio level adjustment, although it is
used for menu selection when you are in the LCD menus. However, normally it’s used for audio
level control, and you can tell what it’s controlling by looking at the LCD. The label on the LCD
will tell you what the knob is adjusting.
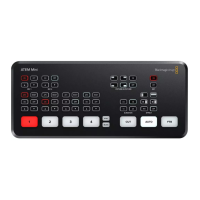
Normally, the LCD has the label Master and this means the knob is adjusting the main audio
mixer master output. Adjusting the knob will lower the whole program audio levels and you can
see the effect on the main audio meters in the LCD that are superimposed on the video preview.
Use the knob to adjust the master audio level and you
can see the effect on the main audio meters in the LCD
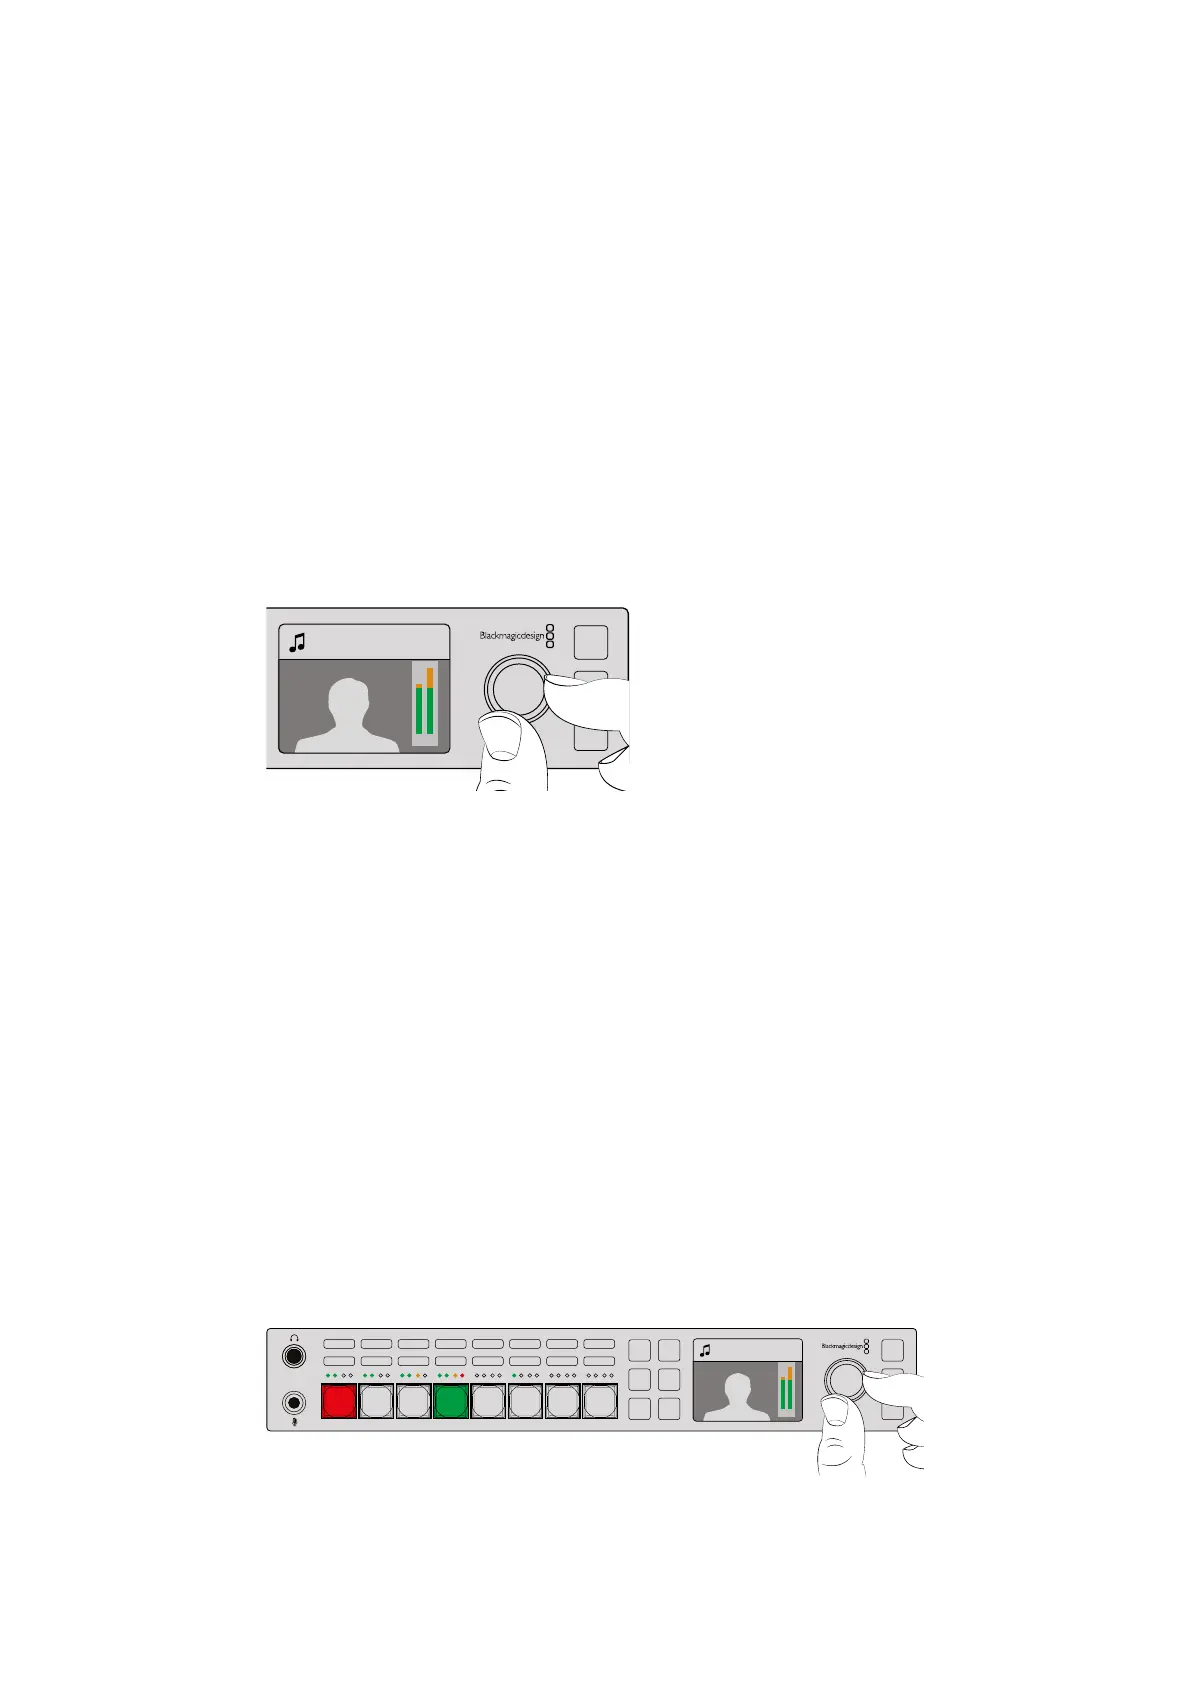
If you want to adjust the audio for one of the inputs, this is where the small 4 LED meter above
the source button is used. This small meter lets you identify where a hot audio level could be
coming from. If the main audio level is too high and only one of the small meters on the front
panel has a red flashing LED then this means that only that single input is too high level.
So in this case you don’t want to adjust the master audio level because all the other inputs will
now become too low. You really want to select the input audio level and adjust just that single
audio level.
To adjust an input audio level, for example on input 4:
1 Select the input 4 button. This is easier when using program/preview mode as you can
just select it on the preview source.
2 The LCD will change to that input and for this example input 4 would be displayed
on the LCD.
3 Now adjust the knob and you will see the small 4 LED audio meter will reduce in level.
If this input is on air, you will also see the master audio output will be reduced because
this input is being lowered in level.
The small 4 LED meters above each input let you quickly identify if a
specific input audio level is too high and you can adjust it by pressing
the respective input button and then adjusting the control knob
Master
+2.3dB
AUX
MENU
SET
FTB
MP 2
AUTO
DSK 1
MIX
MP 1
CUT
ON ON ON ON ON ON ON ON
AFV AFV AFV AFV AFV AFV AFV AFV
1 2 876543
Camera 4
+2.3dB
AUX
MENU
SET
FTB
MP 2
AUTO
DSK 1
MIX
MP 1
CUT
ON ON ON ON ON ON ON ON
AFV AFV AFV AFV AFV AFV AFV AFV
1 2 876543
89