Getting Started
Plugging in Multi View Monitoring
To get started with your ATEM switcher, the first step is to plug in power and a monitor and see
it working! When power is connected, you will see the LCD and several buttons on the control
panel illuminated.
A convenient way to check that your ATEM is powered on and working correctly is to plug an
HDMI television or SDI monitor into the multi view output on the rear panel.
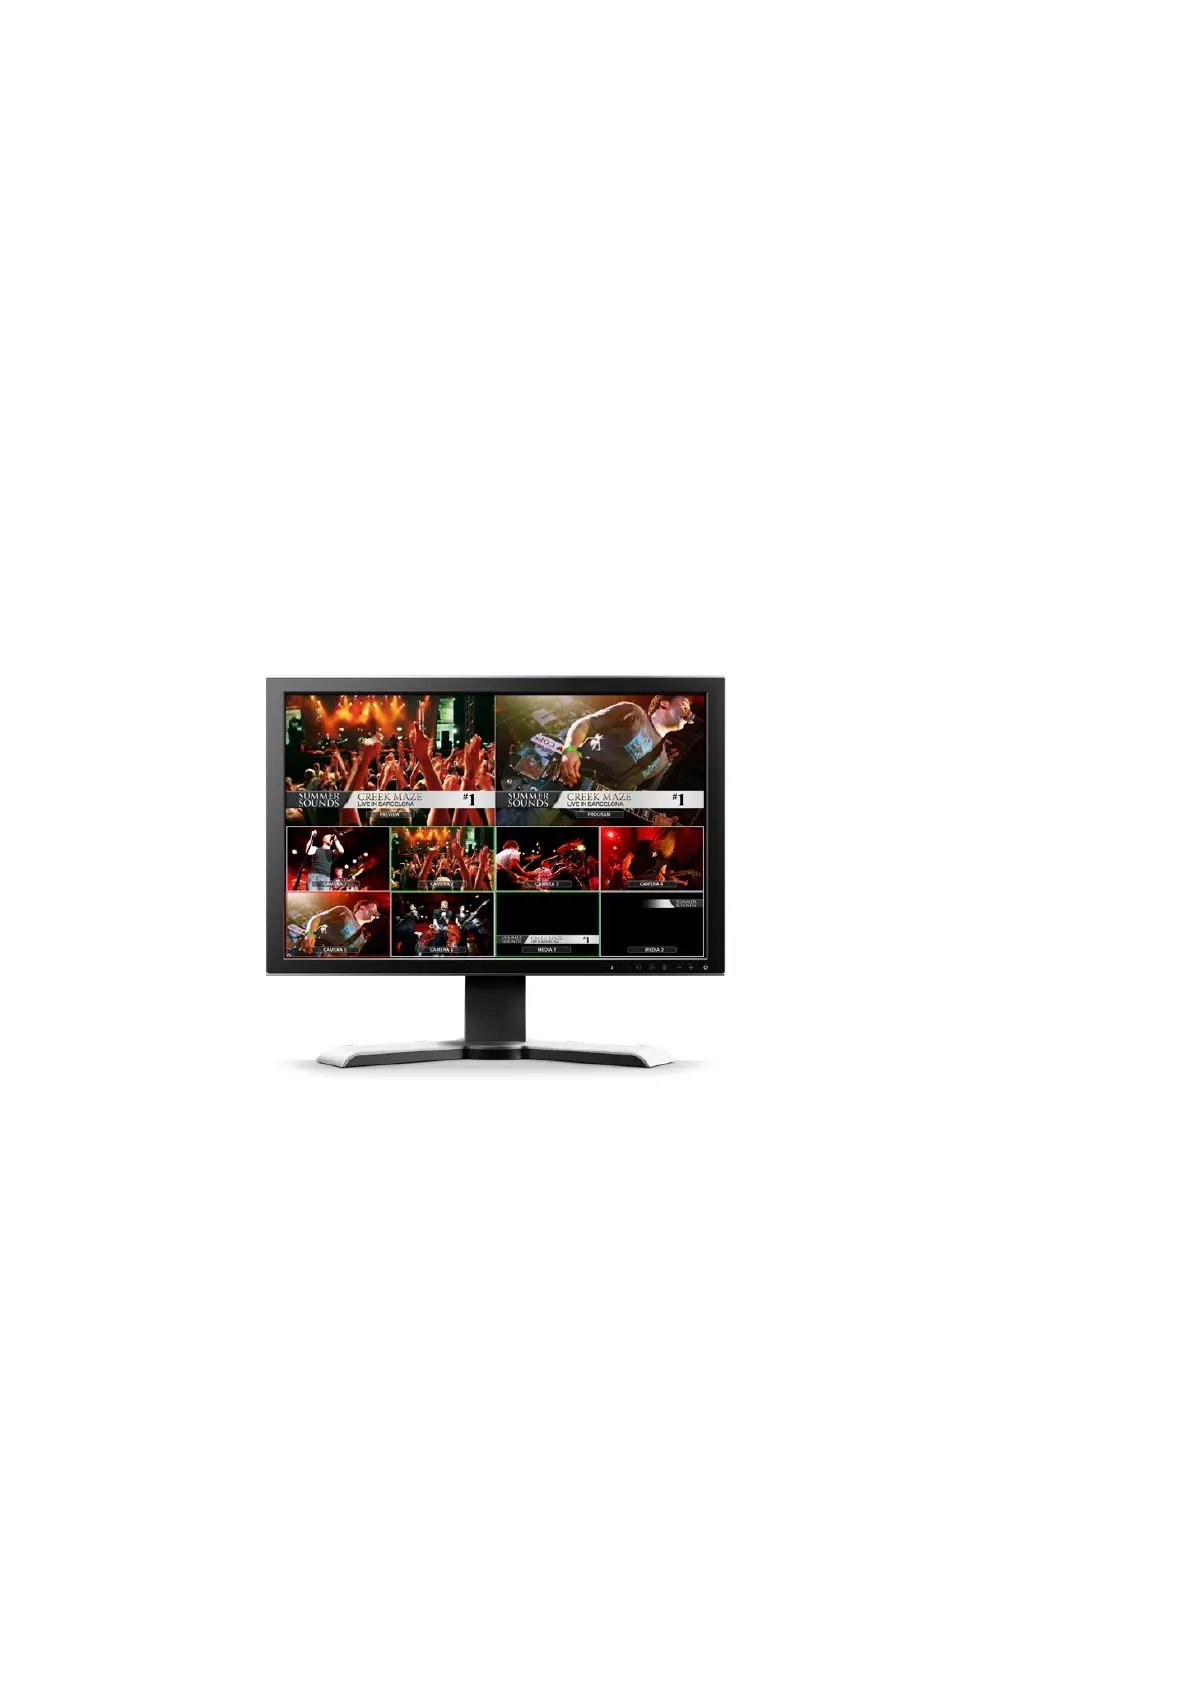
Looking at the multi view, you should see 8 video boxes at the bottom, and two larger boxes at
the top, all bound by white borders. Each box will have a label.
If you see this video output, then your ATEM is powered on and running fine! All you need to do
now is plug in some video sources so you can start using your switcher!
If you don’t see the multi view output on your television, check the connections and cables are
correct. You need to plug into the multi view connector on the rear of the ATEM. Next, check if
your television is compatible with the video standard set in the ATEM. If your television is not
compatible with the set standard, don’t worry, because you can quickly change the switcher's
video standard using the 'settings' LCD menu on the control panel. Simply press the 'menu'
button to open the menu and use the settings knob and 'set' button to navigate through the
menu items and change settings.
Use the switcher's multi view output to monitor all the video inputs
you are switching, plus the preview and program output
Plugging in Cameras and Other Video Sources
Now you’re ready to plug in cameras! All you need to do is connect a cable from the camera
video output, either HDMI or SDI depending on which ATEM switcher you are using, and then
connect it to an input on the ATEM switcher.
You can even plug in up to 4 Blackmagic HyperDeck Studio model disk recorders and control
them using the ATEM software control panel. This is a very powerful feature that effectively
gives you an entire videotape department at your fingertips. HyperDecks are connected to
your switcher via SDI or HDMI video inputs and controlled via Ethernet. For detailed information
about how to connect HyperDecks to your ATEM switcher and control them using ATEM
Software Control or an ATEM hardware panel, refer to the ‘HyperDeck control’ section of
this manual.
Each connector on the switcher has an input label so you can see what camera or source is
what input when viewed on the multi view and the control panel. If all your cameras and sources
are using the same video standard as set in your switcher, you will see each of them appear as
you plug them in.
9